

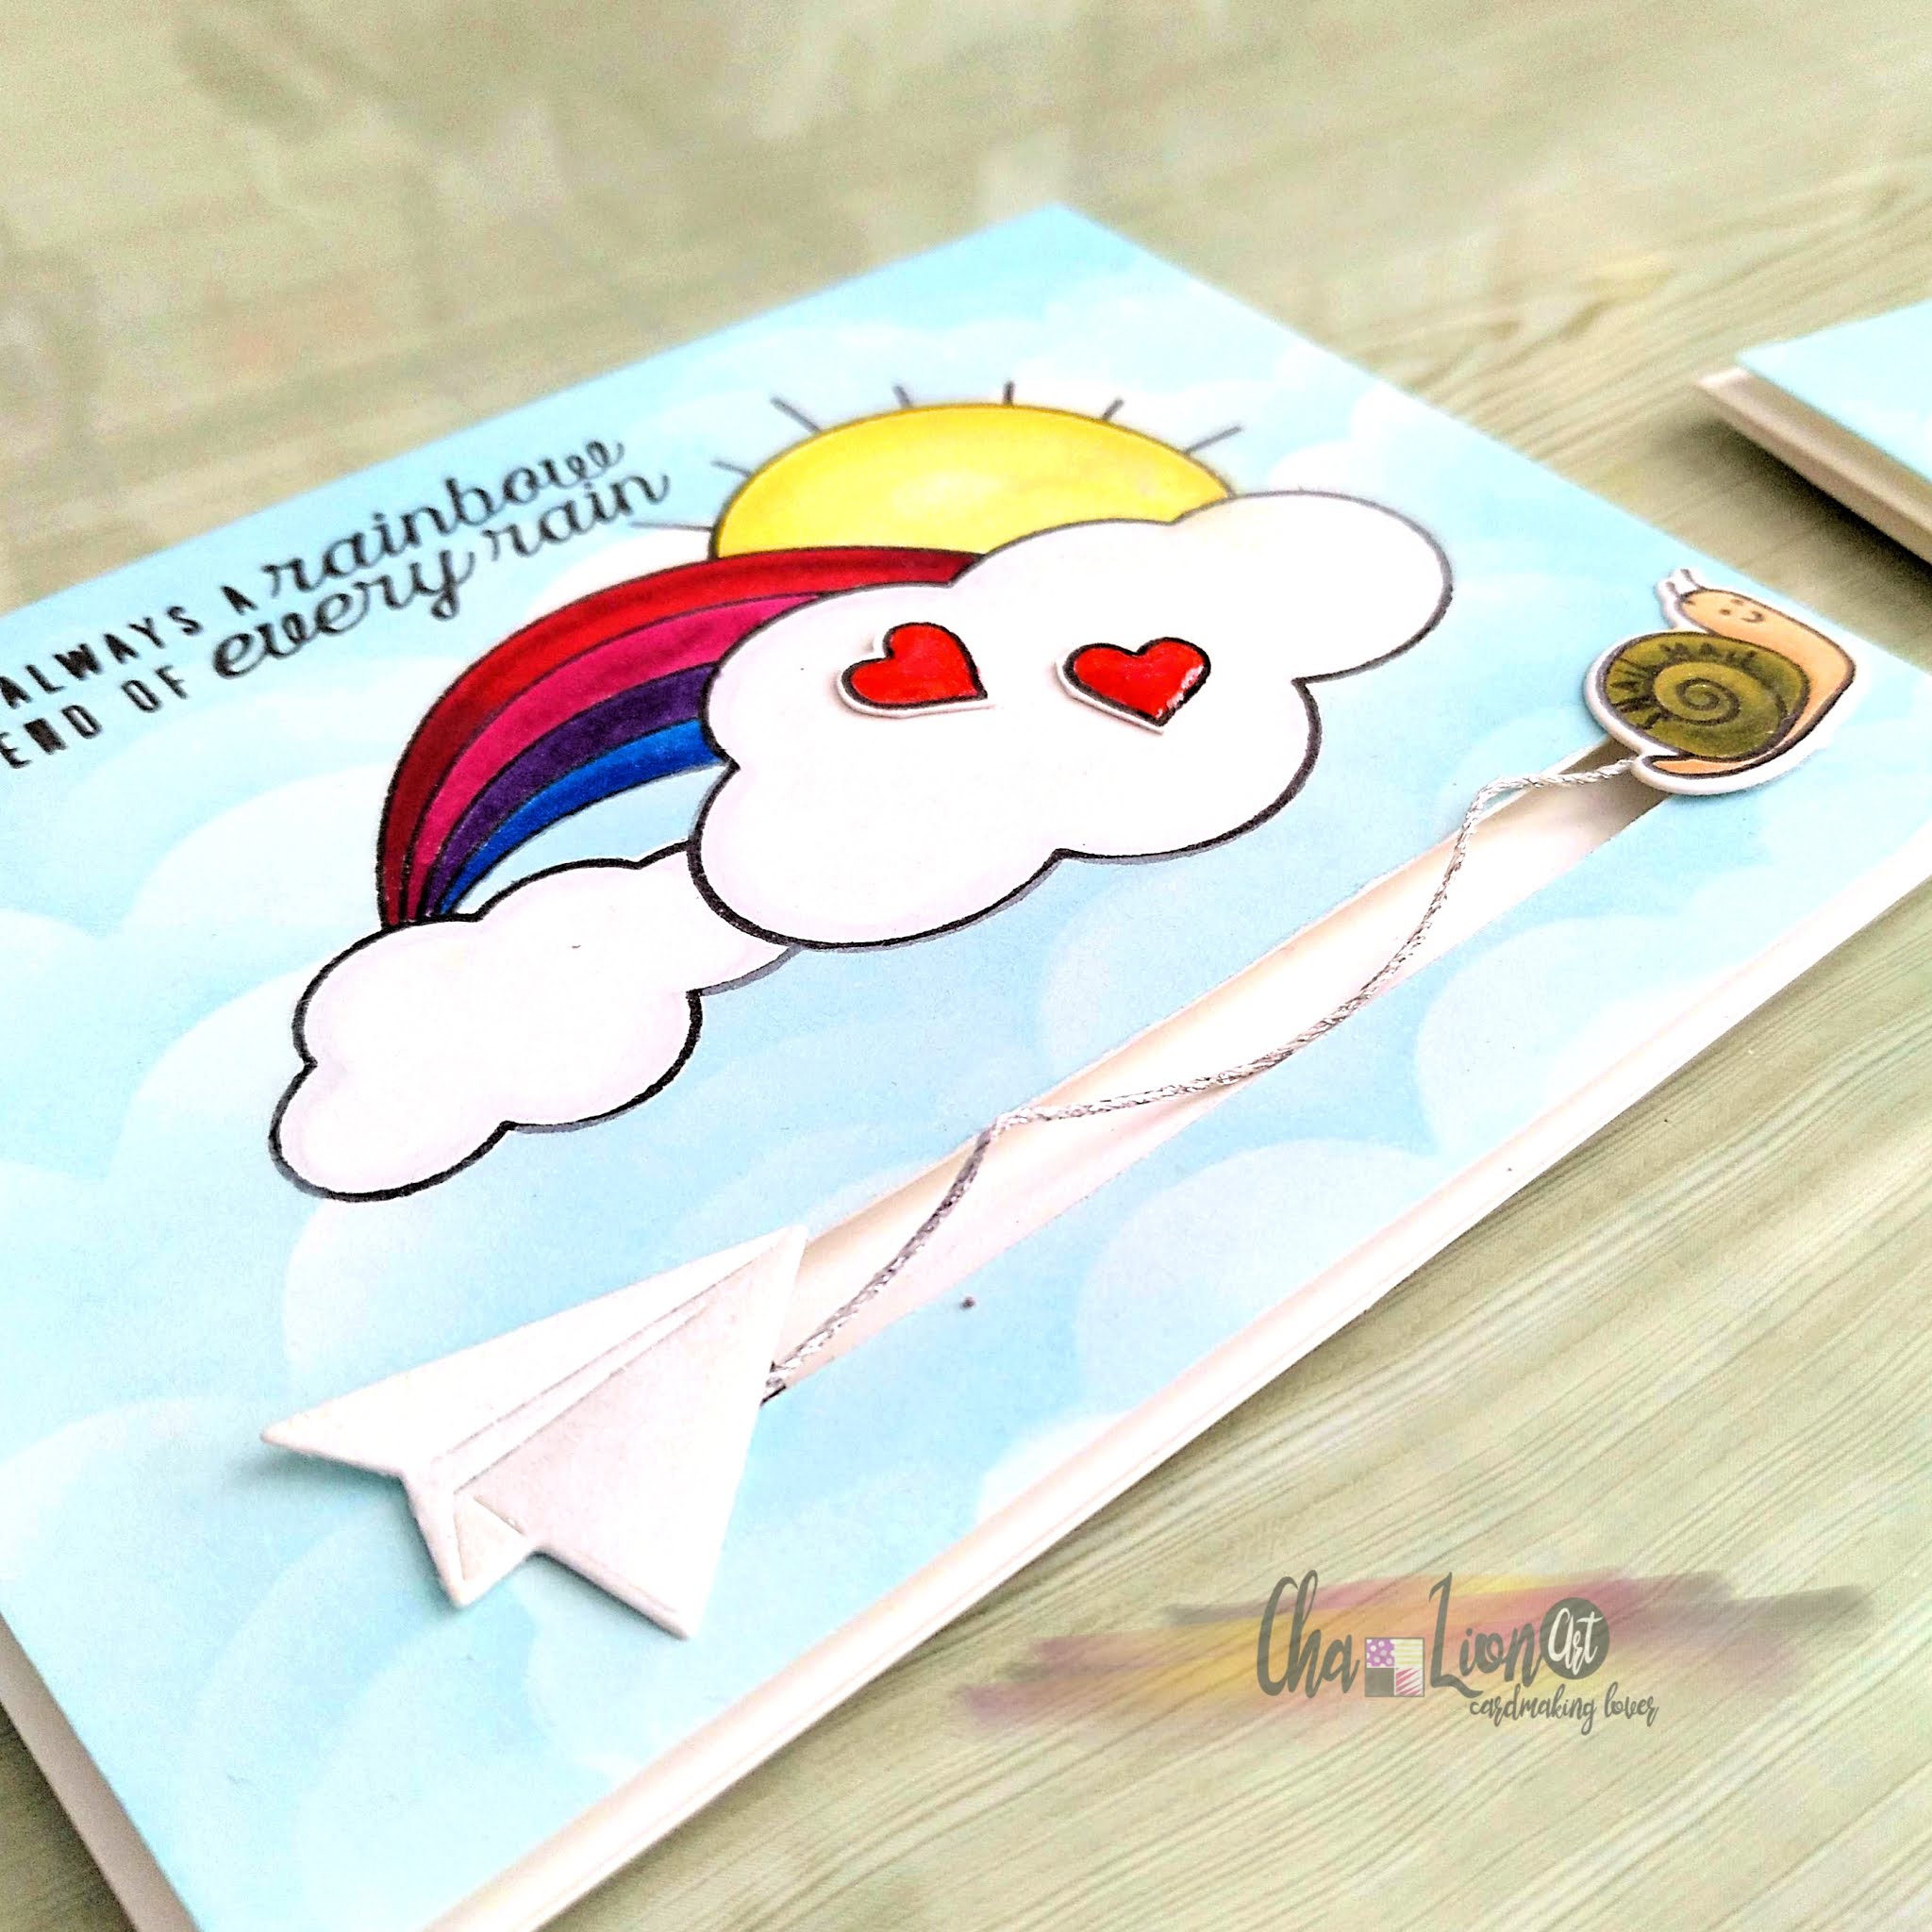
Hello there! It's me, Cha! Today I wanted to show you a slider card. This is the first slider card that I made. I was so excited to show you this because I haven't used a die for making this slider, just a craft knife instead. For today's card, I used the My Monthly Hero kit from May 2020. I love this kit because it makes everyone happy because of the elements that this kit comes with. Love the rainbow that I used for today's card and I used also different elements to create two cards. Relax and let's start!
¡Hola a todos! Soy Cha. Hoy quería enseñarles una tarjeta con deslizador. Esta es mi primera tarjeta con deslizador que hice. Estoy emocionada de enseñarles esto porque no he utilizado un troquel para crear la parte que desliza la imagen, simplemente utilicé un cúter. Para la tarjeta de hoy, utilicé el kit de Hero Arts llamado My Monthly Hero kit de Mayo2020. Me encanta este kit porque te hace feliz por las imágenes que vienen con el kit. Me encanta el arcoiris que utilicé para la tarjeta de hoy y también los diferentes elementos que trae con los cuales creé dos tarjetas. ¡Relajense y comencemos!

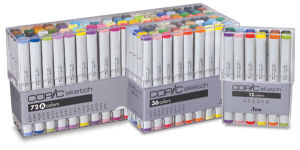
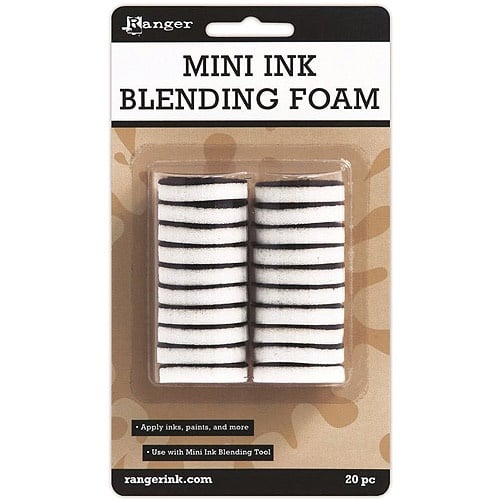
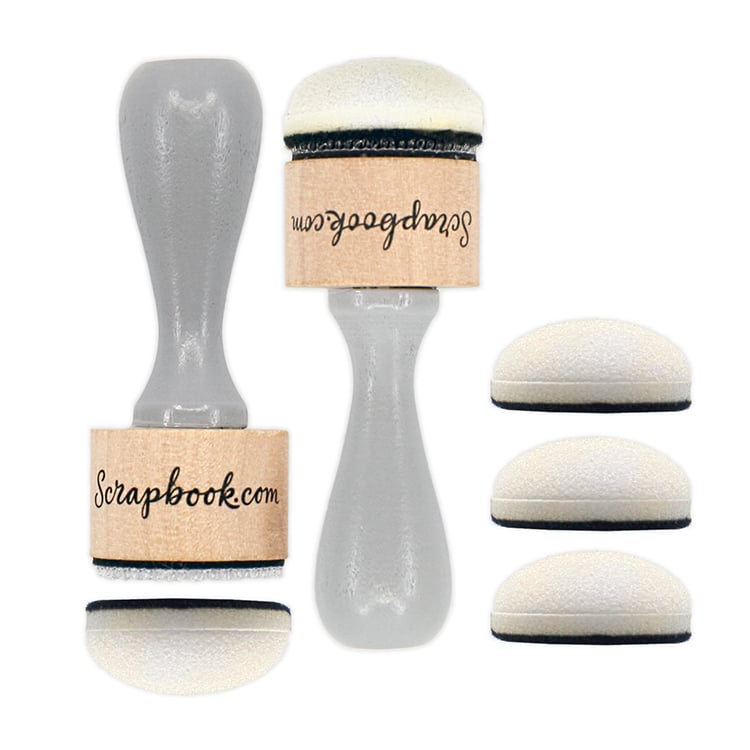
I picked a 4,25 by 5,5-inch Dove White Premium Cardstock. I put it in my MISTI Stamping tool to make all the stamping and, also, to stamp the images more than once so that I could get a more defined image. First, I positioned the rainbow that came with the kit and put it on the lid of the MISTI, once I wanted the image in the position that I wished, I inked it up with Hero Arts Intense Black Ink. I stamped the image twice firmly. Then, I stamped the same image on Masking Paper and cut it precisely with a pair of scissors. I added this piece of masking on top of the image on the panel. At this time, I started coloring the background. I used a cloud stencil that I had in my stash but you could create your own using the Cloudy Sky Scene Dies. If you die cut the clouds that come with this die set on a piece of acetate, you can create your own stencil and it is hardwearing, you can use it more than once. So I created my cloudy sky with Distress Oxide ink Tumbled Glass using an ink blending tool. Finally, I removed the masking from the rainbow and colored it with Copic Markers.
Elegí un trozo de cartulina blanca (Dove White Premium Cardstock). Puse este panel en la Herramienta para Estampar Sellos MISTI para estampar todas las imágenes y para conseguir unas imágenes más nítidas estampando las imágenes más de una vez. Primero, posicioné el arcoiris que lo puse en la tapa de la MISTI, una vez que tenía la posición escogida en donde iba a estampar, tinté el sello de la imagen del arcoiris con la tinta negra Hero Arts Intense Black Ink. Estampé la imagen dos veces firmemente. Luego estampé la misma imagen en Papel de Enmascarar y la recorté de manera precisa por los bordes con unas tijeras. Una vez recortada, la puse sobre la imagen que había estampado en el panel. En este momento, comencé a colorear el fondo. Utilicé una máscara o stencil de nubes que tenía entre mis materiales pero pueden crear su propia máscara utilizando el set de troqueles Cloudy Sky Scene Dies. Si troquelan las nubes que vienen con este set de troqueles en un trozo de acetato, pueden crear su propia máscara y, además, es duradero, pueden utilizarlo una y otra vez. Así que creé mi fondo de nubes con la tinta Distress Oxide ink Tumbled Glass utilizando un aplicador de tinta. Finalmente, quité el papel de enmascarar del arcoiris y lo coloreé con los rotuladores Copic.

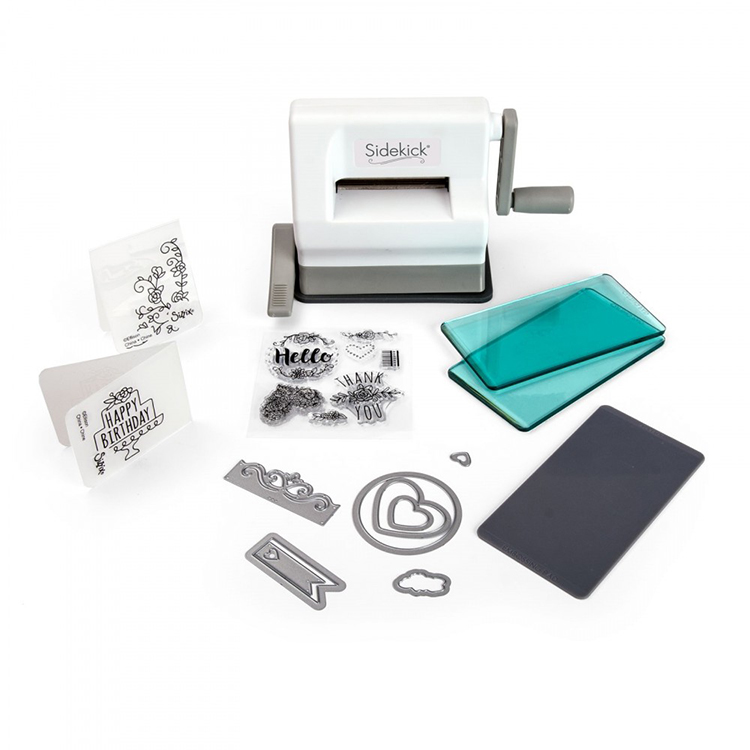
I also stamped several images such as the plane, or the sun from the same kit on Dove White Premium Cardstock. I colored these images with Copic Markers. I did not color in a fancy way. I die cut these images with their coordinating dies using the Sidekick from Sizzix.
También estampé algunas imágenes como el avión o el sol que venían con el mismo kit sobre cartulina blanca (Dove White Premium). Coloreé estas imágenes con los rotuladores Copics. No coloreé con mucho adorno más bien coloreé de manera simple. Luego troquelé estas imágenes con los troqueles coordinados y utilizando la troqueladora pequeña Sidekick de Sizzix.

I created the slider for this card in a very easy way. I took my mat and the craft knife. Then, I simply drew a rectangle with a ruler while I positioned the images very well in order to design the card. Then, I cut that rectangle with the craft knife. I trimmed the sides of the edges, just 0,5 inches. Later, I lined up the panel with a white notecard and traced the rectangle that I'd previously cut. This would help to line up the card once I'd added the foam tape. So, I added the foam tape behind the panel, not to close from the rectangle that we cut. I added a coin (the smallest ones such as 1 cent of Euro) on the tracing lines from the notecard. On top of the coin, I added a small foam square. I was sure that the position of the coin with the foam square was totally line up, so I removed the released paper from the foam tape and lined it up on the notecard taking as a reference the square with the coin. I verified if the coin moved freely along the rectangle from one side to the other. If you see that the coin is stuck at some point it is because of the foam tape, so just added a little of an Anti-Static Powder Tool to avoid the coin be stuck at a certain point.
Creé la parte deslizadora para esta tarjeta de una manera bastante sencilla. Puse el tapete para cortar y utilicé el cúter para crear esta parte de la tarjeta. Dibujé un rectángulo el cual la imagen se iba a deslizar con una regla mientras ponía las imágenes para diseñar la tarjeta. Entonces, corté el rectángulo con el cúter. Además, recorté los laterales de la tarjeta, solo media pulgada. Más tarde, alineé el panel con una tarjeta base blanca y tracé el rectángulo que previamente había cortado. Esto me ayudaría a alinear el panel una vez que haya añadido la espuma adhesiva para darle relieve y para que la imagen pueda desplazarse de un lado hacia otro. Así que añadí la espuma adhesiva en la parte trasera del panel preincipal, pero no muy cerca del rectángulo que recortamos. Añadí una moneda (la más pequeña de todas como lo es 1 céntimo de Euro) y la puse sobre las marcas del rectángulo de la base de la tarjeta. Sobre la moneda puse un cuadrado de espuma adhesivo. En este punto estaba segura que la moneda con el cuadrado de espuma estaba alineada completamente, así que lo pegué con cuidado y tomando como referencia el rectángulo que había trazado en la base de la tarjeta. Comprobé si la moneda se movía libremente de un lado hacia el otro del rectángulo. Si ves que la moneda está atascada es debido al los adhesivos de espuma, simplemente añade un poco del la Herramienta de Polvo Antiestática para evitar que la moneda se atasque en cierto punto.

Finally, I added a piece of thread from one image to the other and glued them with just some scotch tape behind each one. Then, I glued one image on one side of the rectangle and, the other one, I added on top of the foam square that we added on top of the coin. You can watch the video on my YouTube Channel so that you can see how it works the slider thing.
Finalmente, añadí un trozo de hilo desde una imagen a la otra y las pegué con cinta adhesiva en la parte trasera de cada una. Luego, pegué una de las imágenes en un lateral del rectángulo, y la otra, la añadí sobre el cuadrado adhesivo de espuma que añadí sobre la moneda. Pueden ver el vídeo en mi canal de YouTube para que puedan ver como funciona la parte deslizante de esta tarjeta.

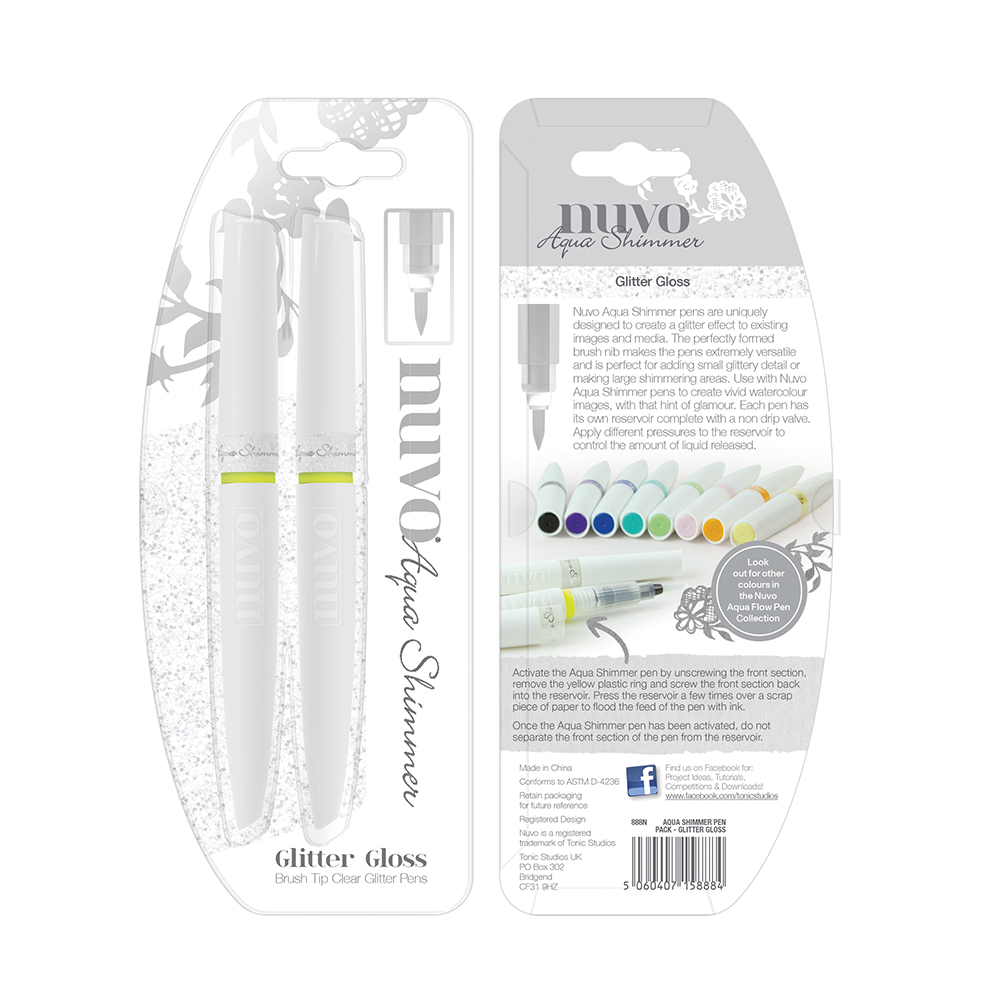
To finish this card, I stamped the sentiment with Hero Arts Intense Black Ink using the MISTI tool and added some dimension to the card with the Hero Arts Crystal Clear Lacquer Pen and some glimmer to the images with the NUVO Aqua Shimmer Pen.
Para terminar esta tarjeta, estampé la frase con la tinta Hero Arts Intense Black Ink utilizando la Herramienta MISTI y añadí relieve a la tarjeta añadiendo Hero Arts Crystal Clear Lacquer Pen y algo de brillo a las imágenes con el NUVO Aqua Shimmer Pen.

Here it is another card that I made but it was failed to do because the slider didn't work. But I think it is beautiful, too!
Pueden ver la otra tarjeta que hice pero no la logré hacer porque la parte deslizante no funcionó. Sin embargo creo que ha quedado muy bonita también.

I hope you like these cards and don't forget to leave a comment!
Espero que les guste estas tarjetas y ¡no olviden de dejar algún comentario!
Thank you so much for your support! See you soon!
Muchas gracias por su apoyo. ¡Hasta pronto!


|


.jpg)
.jpg)

1 Comments
Marisela Delgado said: Hola, Cha! Que lindas tarjetas! Como decimos nosotros, te aventaste! 😁😊 Espero que te encuentres bien. Las nuevas infecciones siguen. Vamos muy mal, Cha. Bueno, saludos a tus papas. Con mucho carino, Mari.
ReplyDelete