

[Link products are found at the end of the page | Los enlaces de los productos se encuentran a final de página]
Hi everyone! It's me, Cha! I've been a little disappeared because I've had a lot of work these weeks but I have some cards that I would like to share in the next weeks. For today's card, I'm up at A Blog Named Hero to share a card that I made using one background that was released some time ago and the poinsettia die cut that was released in the winter catalog last year (2019). Remember that I do not have vintage products as I'm new in this world of cardmaking. Joining us this challenge, you have the chance to win some prizes! We're waiting for your cards!
¡Hola a todos! Soy Cha, He estado un poco desaparecida porque he tenido mucho trabajo en estas últimas semanas pero tengo algunas tarjetas que me gustaría compartir con ustedes en las próximas semanas. Para la tarjeta de hoy, estoy en el blog A Blog Named Hero para compartir una tarjeta que hice utilizando un fondo que fue lanzado hace algún tiempo y el troquel de la flor de Pascua (o Nochebuena) fue lanzada en el catálogo de invierno del año pasado (2019). Recuerden que no tengo productos vintage ya que soy nueva en este mundo de la tarjetería creativa. Participa con nosotros en este reto, tienen la oportunidad de ganar bonos regalos! ¡Estamos esperando por sus tarjetas!


First of all, I started making a background. I picked a 4,25 by 5,5-inch Nautical Premium Cardstock and stamped the Festive Bauble Bold Prints with Navy Mid-tone Shadow ink. Then, I sprayed some gold spray to give the card a little bit of festive mood. Later, I wanted to highlight the baubles and colored some of them with Midas Touch Aqua Shimmer Pen. I trimmed the sides of this panel 0,5 inches because I wanted to create a gold frame around it.
Primero comenzamos realizando el fondo. Escogí una cartulina de color azul marino (Nautical Premium Cardstock) de 4,25 por 5,5 pulgadas y estampé el sello de caucho llamado Festive Bauble Bold Prints con la tinta Navy Mid-Tone Shadow ink. Luego, rocié con spray dorado para darle a la tarjeta un poco de estado festivo. Más tarde, quise resaltar las burbujas y coloreé alguna de ellas con brillo dorado (Midas Touch Aqua Shimmer Pen). Recorté media pulgadas de los laterales del panel porque quise crear un marco dorado alrededor.

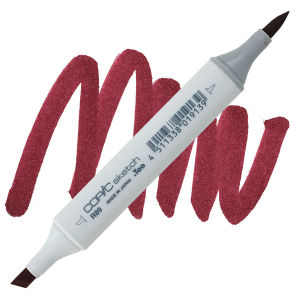
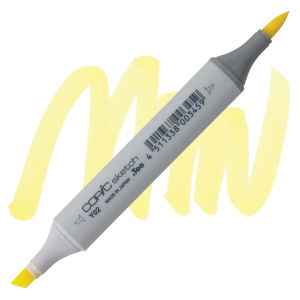
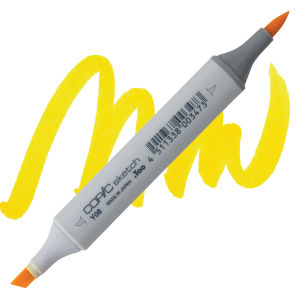
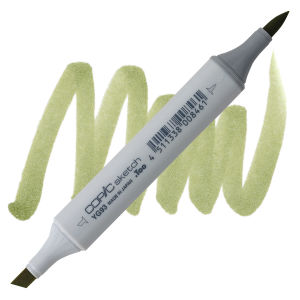
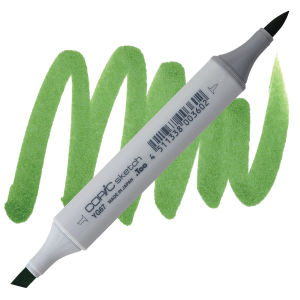
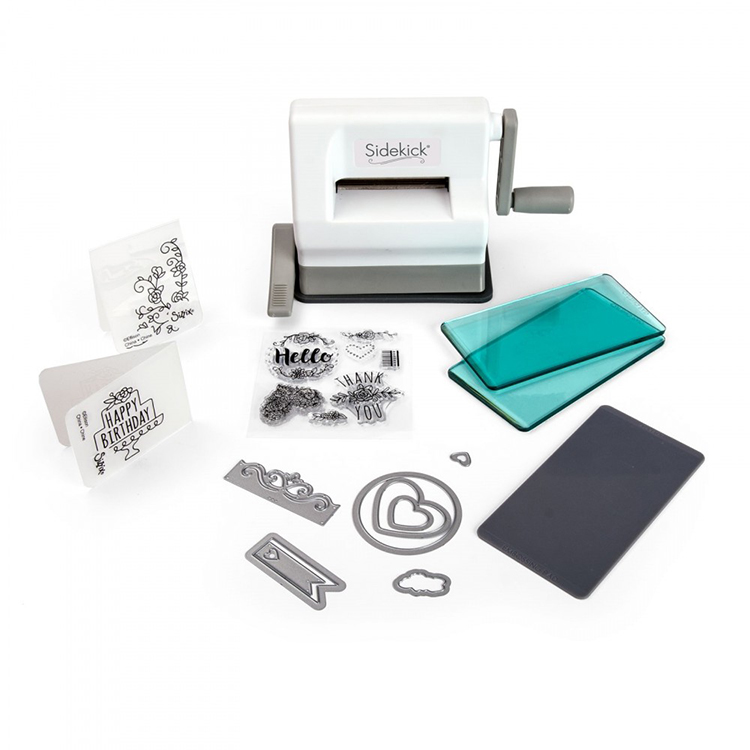
Later, using the Sidekick die cutting machine, I die cut the pieces from Paper Layering Poinsettia die set using Dove Premium Cardstock. I did not color them in a fancy way. I just colored the petals and the leaves with Copic Sketch markers. I used the following colors:
Más tarde, utilizando la troqueladora pequeña Sidekick, troquelé las piezas del set de troqueles Paper Layering Poinsettia utilizando cartulina blanca (Dove Premium Cardstock). No coloreé de manera elaborada. Simplemente coloreé los pétalos y hojas con los rotuladores Copic Sketch. Utilicé los siguientes colores:
When I finished coloring all the die-cuts, I added some liquid glue in the edges of the petals and the leaves so that I could add some gold glitter to them. I let all the pieces aside until they were completely dry before I started to assemble them.
Cuando finalicé de colorear todos las partes troqueladas, añadí pegamento líquido en los bordes de los pétalos y las hojas para poder añadir purpurina dorada. Dejé todas las piezas a un ladito hasta que estuvieran todas secas antes de comenzar a pegarlas.

I picked the background that I had created before adding the sentiment at the bottom of the card. I used the sentiment from the stamp set Color Layering Christmas Tree. I stamped the sentiment with Versamark Ink and heat embossed with Gold Glitter Embossing Powder.
Para la frase de la tarjeta, la estampé en la parte inferior de la tarjeta utilizando la tinta Versamark Ink y repujé (realicé la técnica de embossing) con los Polvos de Embossing dorados con Purpurina. Utilicé la frase del set de sellos Color Layering Christmas Tree.

Finally, I assembled every piece of the poinsettia using the Precision Glue and added it to the card. I adhered the card on a piece of mirror gold cardstock that I have in my stash and mounted on a White Side Folded Card. To embellish this card, I just added some yellow dots to the center of the flower, using the Yellow Lacquer Pen that came in one of the My Monthly Hero kit (February 2020) although you can use some NUVO drops.
Finalmente, monté cada pieza de la flor de Pascua (o Nochebuena) utilizando el pegamento líquido Precision Glue y la añadí a la tarjeta. La tarjeta la pegué sobre una cartulina de color dorado espejo que ya tenía en casa y la monté sobre una base de tarjeta blanca. Para adornar esta tarjeta, simplemente añadí algunos puntos de relieve de color amarillo en el centro de la flor, utilizando el Yellow Lacquer Pen que vino en uno de los kits de Hero Arts, My Monthly Hero kits (Febrero 2020) aunque se puede utilizar el NUVO drops.

And that's it! This is the card for today! I hope you feel inspired to join us in this challenge before it finishes. Remember that you can participate until July 10th!
¡Y eso es todo! ¡Esta es la tarjeta para el día de hoy! Espero que se sientan inspirados para participar en este reto de tarjetas antes de que finalice. Recuerden que pueden participar hasta el 10 de julio.
You can visit my blog to read the posts in Spanish (visit HERE).
Thank you so much!
¡Muchas gracias!
Take care,
¡Cuídense!

 |
| [Not all the products are part f my Affiliate Program | No todos los productos son parte de mi Programa de Afiliados] |
|


.jpg)
.jpg)


2 Comments
Marisela Delgado said: Yay! Purpurina! Hermosa tarjeta! mariandmonsterd@yahoo.com
ReplyDelete¡Gracias Mari! Me alegro mucho que te haya gustado!
ReplyDelete