

[Product links are listed down below the page | Enlaces a los productos se encuentran a final del vídeo]
Hello there! It's me, Cha! It's been a while but I'm here with another My Monthly Hero kit. Due to the Coronavirus pandemic, the packages have been delivered slow and now I'm receiving almost all of them! Today I will be showing you two cards that I made with the My Monthly Hero kit April 2020 - Australian theme. This kit is sold out but Hero Arts has a lot of stencils that you can do this technique! I decided to use the Dry Embossing technique with the stencil that came with this kit to highlight the blending colors. I hope you like these cards and you can see the video on my YouTube Channel to get more visual details. Let's start!
¡Hola a todos! Soy Cha. Ha pasado un tiempo pero aquí estoy con otro kit de My Monthly Hero de Hero Arts. Debido a la pandemia del Coronavirus, los paquetes han sido entregados con retraso y ahora 'estoy recibiendo casi todos! Hoy les enseñaré dos tarjetas que hice con el kit My Monthly Hero de Abril 2020 - Tema de Australia. Este kit está agotado pero Hero Arts tiene muchas máscaras que puedes utilizar para realizar esta técnica. Decidí utilizar la técnica Repujado en Seco (Dry Embossing) con la máscara que venía con este kit para resaltar los colores. Espero que les guste estas tarjetas. Además pueden ver el vídeo en mi canal de YouTube para visualizar pequeños detalles. ¡Comencemos!

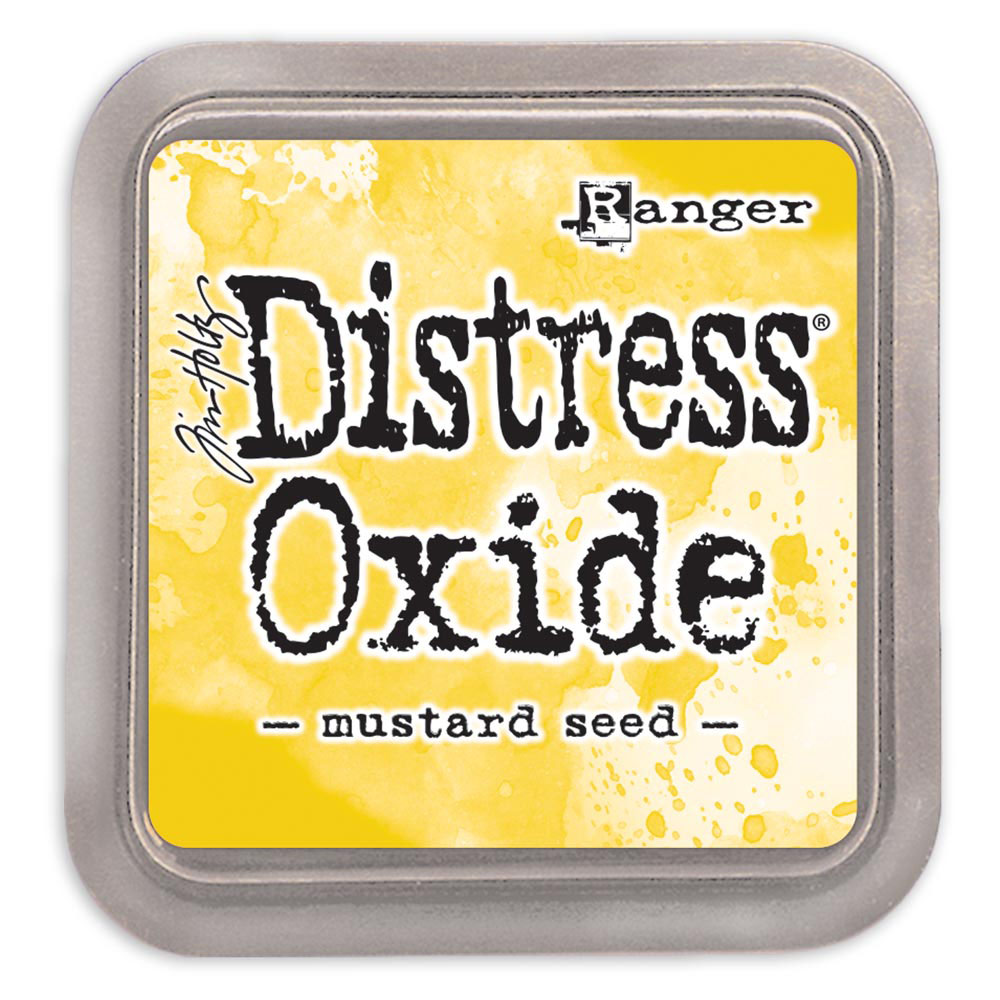
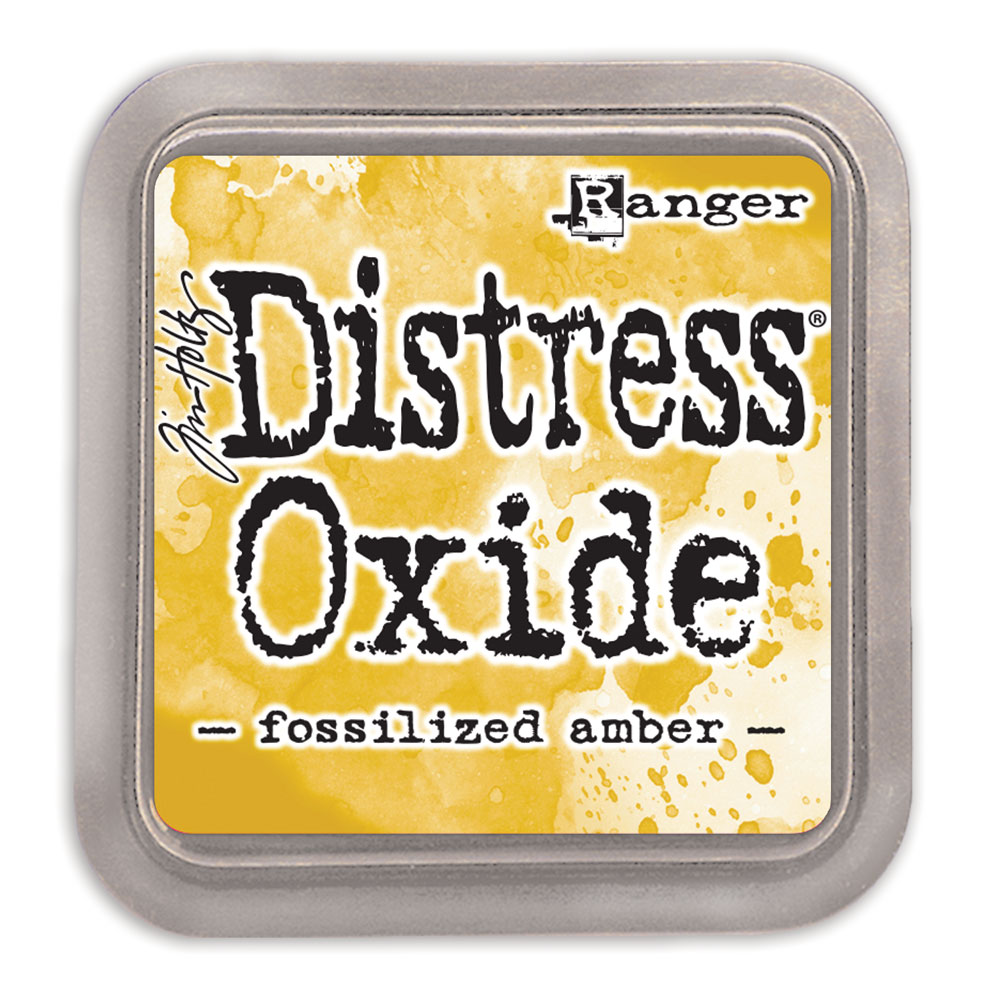
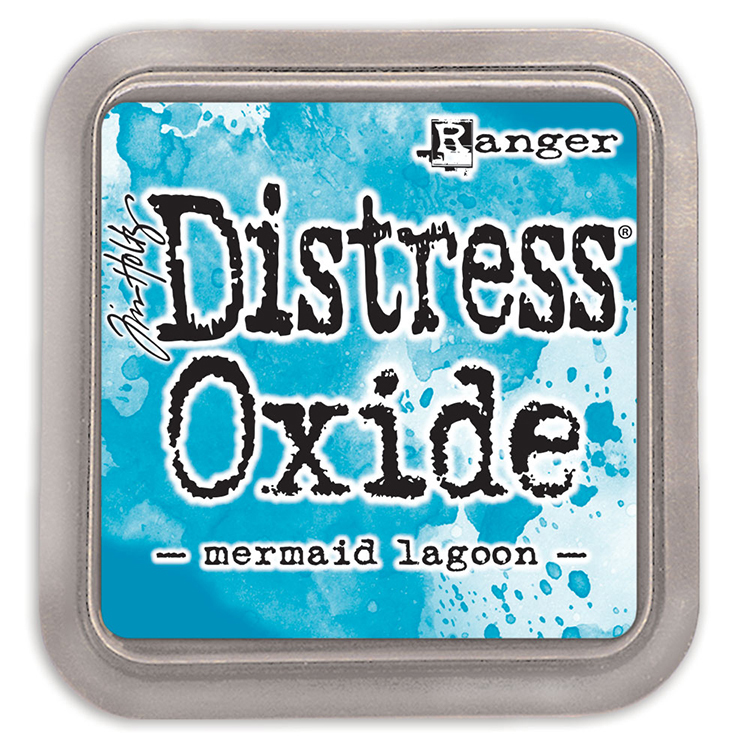
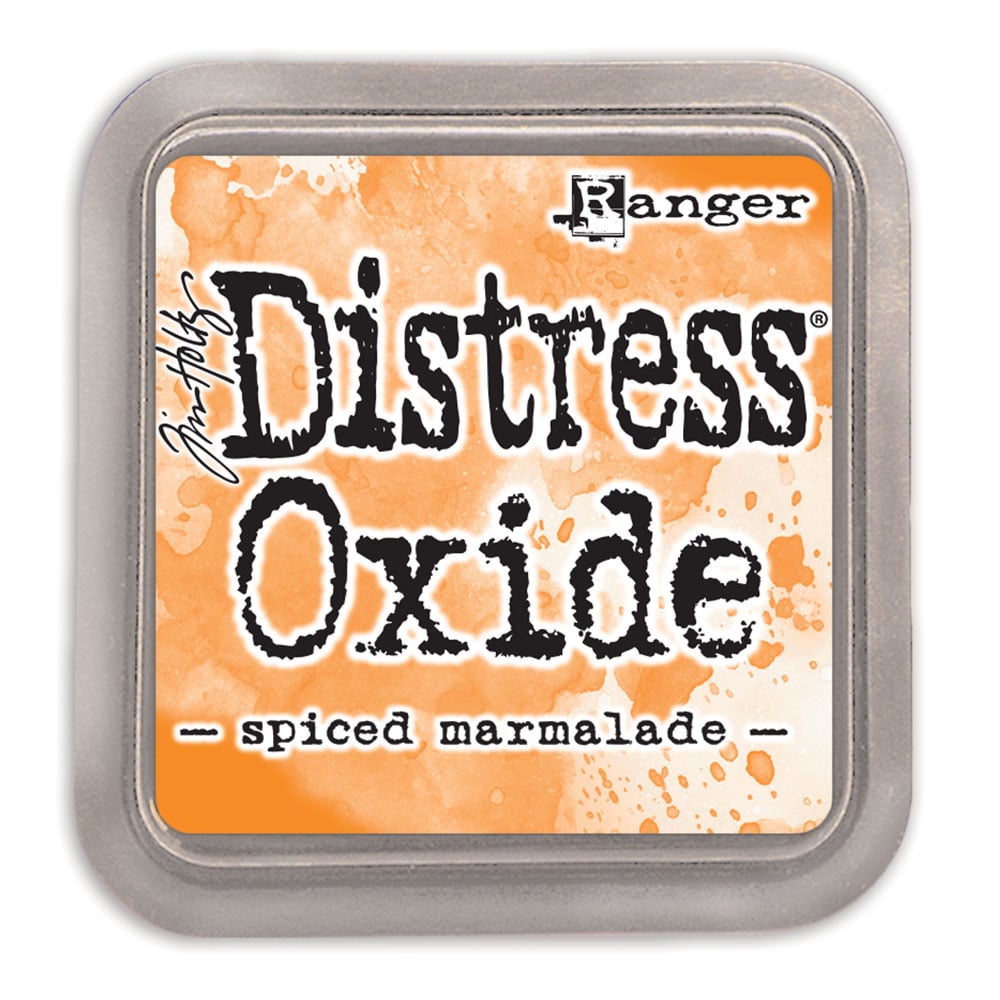
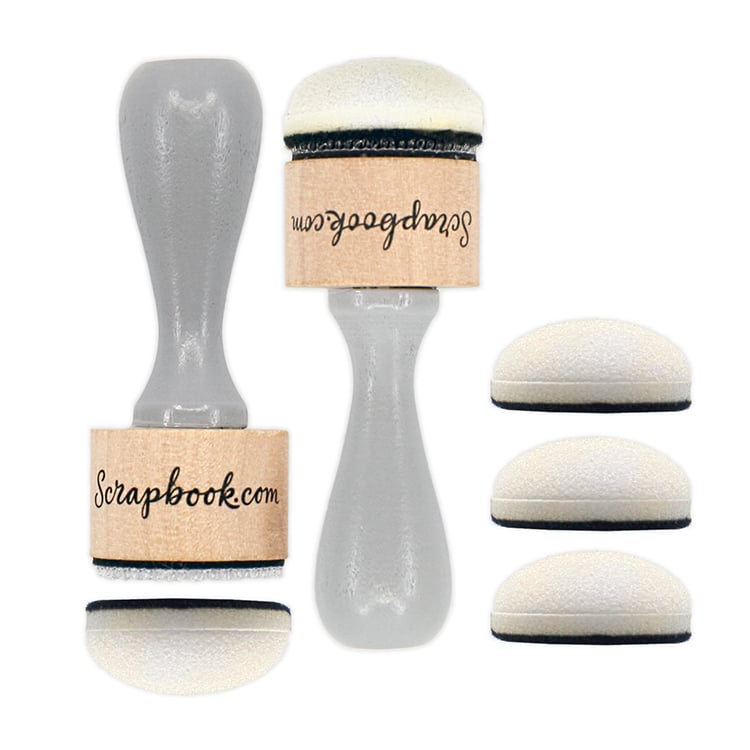
First of all, I made two backgrounds in the same way but in different colors so, I picked two 4,25 by 5,5-inch panels from Dove Premium Cardstock. I placed the stencil on one of the two pieces to know about the colors that I was going to use. I colored the scenes with Distress Oxides and blending tools but you can use the Hero Arts Reactive or Pigment Inks as well. I colored the area of the sun with Mustard Seed, I colored the sky with Broken China and the ground with Ripe Persimmon. Later, I put the stencil on top of the cardstock and I highlight the scene with different colors to give more contrast to it. I colored the sun with Squeezed Lemonade and Fossilized Amber, the sky with Tumbled Glass although I changed my mind later and I colored it with Mermaid Lagoon and, the bottom of the card with Spiced Marmalade, Tea Dye and Vintage Photo. When I was satisfied with the coloring, I put the stencil on top of the panel and I passed it through my Big Shot Die-Cutting Machine in tab 1, using the Tan Embossing Pads. I passed the panel through the die cutting machine several times and the result is gorgeous. You can see the dimension to the card that combines with the colors.
Primero, realicé dos fondos de la misma manera pero en diferentes colores, así que seleccioné dos paneles de 4,25 por 5,5 pulgadas en cartulina blanca (Dove Premium Cardstock). Posicioné el stencil o máscara sobre una de los dos paneles para saber la posición de los colores que iba a utilizar. Coloreé las escenas con las tintas Distress Oxides y utilicé aplicadores de tintas pero puedes utilizar las tintas reactivas o de pigmentos de Hero Arts también para realizar esta técnica. Coloreé la parte del sol con la tinta Mustard Seed, coloreé el cielo con Broken China y el suelo con Ripe Persimmon. Más tarde, posicioné el stencil sobre la cartulina y resalté la escena con colores oscuros para darle más contraste. Coloreé el sol con Squeezed Lemonade y Fossilized Amber, el cielo con Tumbled Glass aunque cambié de opinión y lo coloreé con Mermaid Lagoon y, la parte inferior de la tarjeta con Spiced Marmalade, Tea Dye y Vintage Photo. Cuando estuviera satisfecha con el color, puse la máscara sobre el panel y lo pasé por la troqueladora Big Shot utilizando la plataforma 1, con las Almohadillas para Embossing (Tan Embossing Pads). Pasé los paneles un par de veces por la troqueladora y el resultado es precioso. Puedes ver el relieve de la tarjeta que combina con los colores.

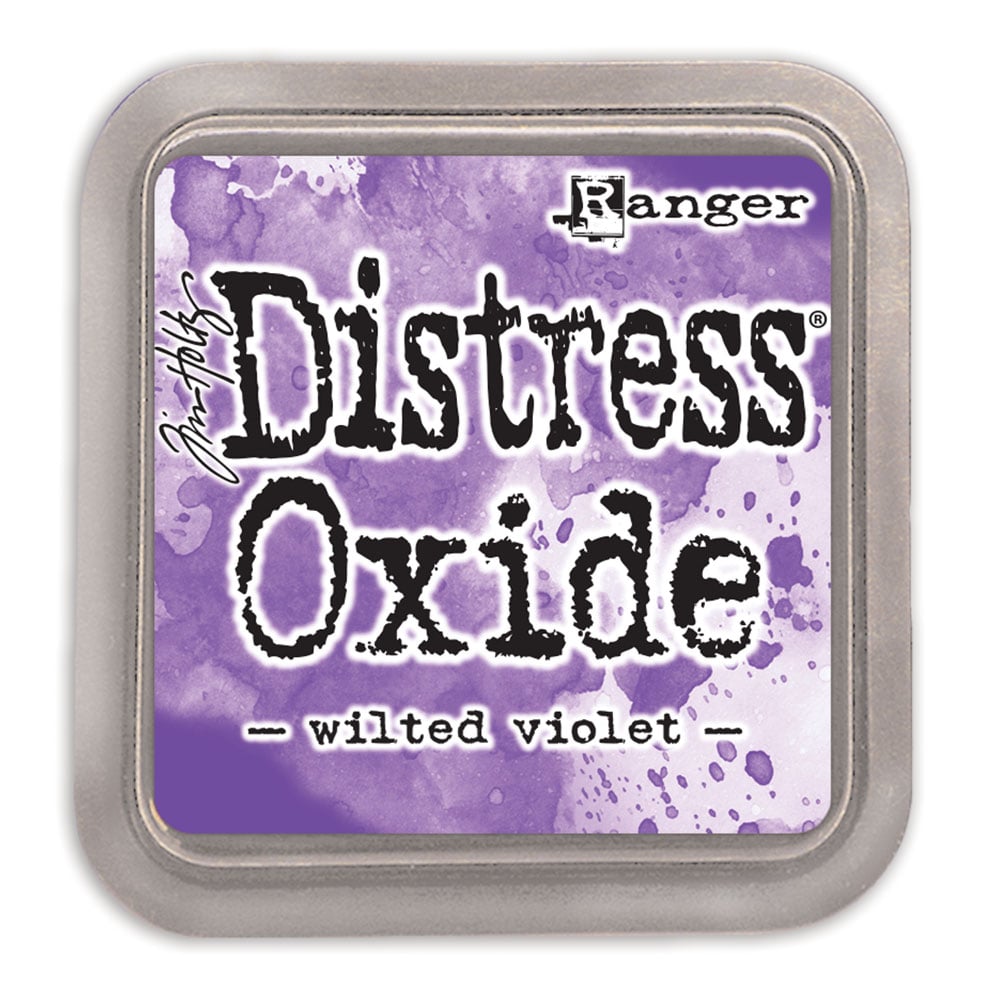
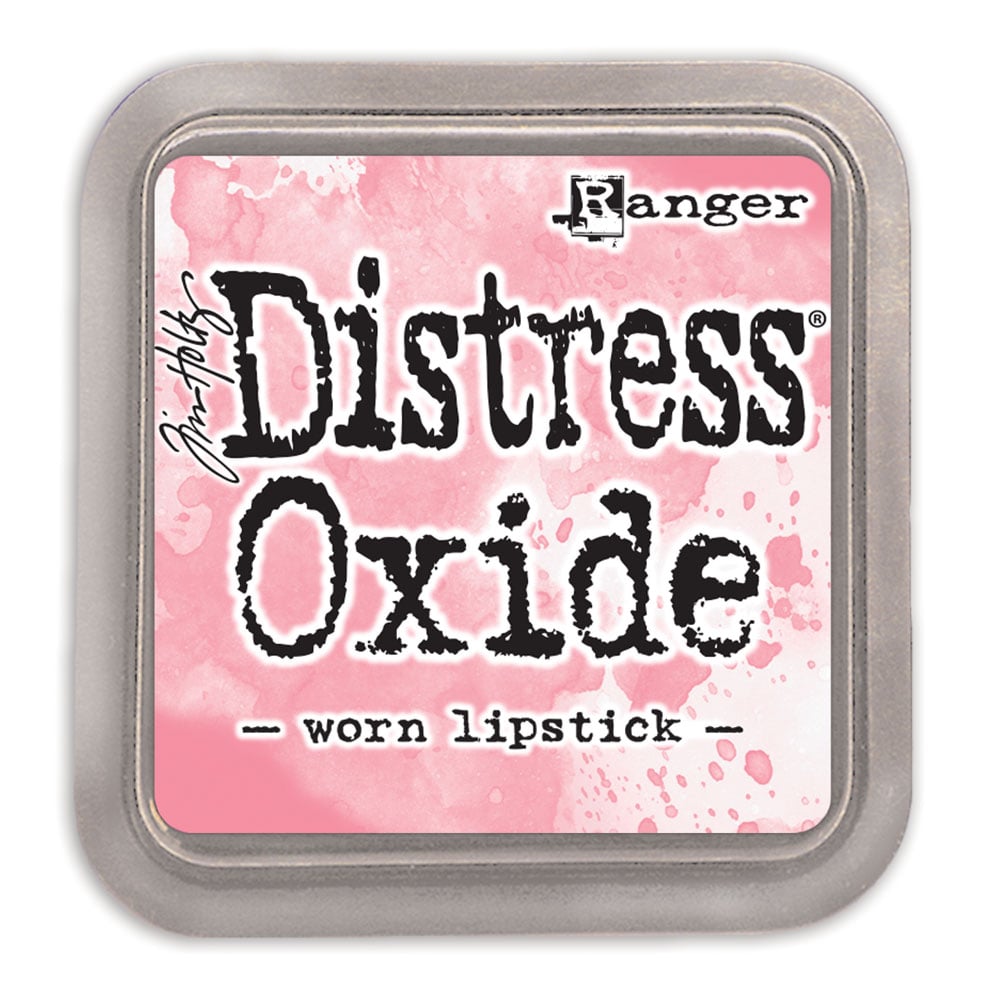
I also created another background in different colors: Mustard Seed, Fossilized Amber, Wilted Violet, Shaded Lilac, Picked Raspberry, Worn Lipstick, Abandoned Coral, Gathered Twigs, and Antique Linen.
Creé otro fondo en diferentes colores: Mustard Seed, Fossilized Amber, Wilted Violet, Shaded Lilac, Picked Raspberry, Worn Lipstick, Abandoned Coral, Gathered Twigs y Antique Linen.

When I finished creating the backgrounds, I moved on to stamp the images. I used the images from the main kit (My Monthly Hero kit April 2020). For the first card, I stamped the images on Hero Arts Mustard Premium Cardstock with Pumpkin Pie Shadow ink, and for the second card, I stamped the images with Cup O'Joe Shadow ink on Hero Arts Sand Premium Cardstock. For all my stamping, I used the Mini MISTI Stamping Tool because I stamped the images several times to get solid images since they are silhouettes. I die cut the images using their coordinating dies that came with the kit too. I did not do anything different, I simply glued the images on each card using several adhesives.
Cuando terminé de crear los fondos, continué estampando las imágenes. Utilicé las imágenes desde el kit principal (My Monthly Hero kit Abril 2020). Para la primera tarjeta, estampé las imágenes sobre cartulina amarilla (Hero Arts Mustard Premium Cardstock) con la tinta Pumpkin Pie Shadow ink, y para la segunda tarjeta, estampé las imágenes con la tinta Cup O'Joe Shadow ink sobre cartulina marrón (Hero Arts Sand Premium Cardstock). Para estampar todas las imágenes utilicé la Herramienta de Estampación Mini MISTI ya que estampé todas las imágenes varias veces para obtener imágenes sólidas porque son imágenes de siluetas. Troquelé las imágenes utilizando los troqueles coordinados que venían con el kit también. No hice nada diferente aquí, simplemente pegué las imágenes de cada tarjeta utilizando varios adhesivos.

I also stamped the sentiment that came with the kit on top of the sun using the same inks, Pumpkin Pie Shadow Ink and Cup O'Joe Shadow Ink. Besides, I added some gold shimmer to the images with the NUVO Midas Touch Shimmer Pen.
Estampé también la frase que vino con el kit sobre el sol utilizando las mismas tintas, Pumpkin Pie Shadow Ink y Cup O'Joe Shadow Ink. Además, añadí brillo dorado a las imágenes con el NUVO Midas Touch Shimmer Pen.

Finally, I mounted these cards on Hero Hues Dove White Side Folded Cards.
Finalmente monté las tarjetas sobre las bases de las tarjetas de color blancas (Hero Hues Dove White Side Folded Cards).

And that's it! These are the cards for today! I hope you like the way I used the My Monthly Hero Kit in April 2020 and stay tuned for my coming videos and posts!
¡Y esto es todo! Estas son las tarjetas para hoy. Espero que les guste la manera que utilicé este kit de My Monthly Hero kit de Abril 2020 y ¡estén atentos a las próximos vídeos y blog!
Thanks a lot for being there! I'd really appreciate it.
¡Muchas gracias por seguir aquí! Lo aprecio mucho.


[Not all the product links are not part of Affiliate Programs | No todos los enlaces a los productos forman parte del Programa de Afiliados]
|


.jpg)
.jpg)
.jpg)

1 Comments
Marisela Delgado said: Hola, Cha! Que hermosas tus tarjetas! Que hermosos colores! Tenia las esperanzas de oir tu voz pero no hablaste. Te salieron hermosas, Cha. 😊 Cha, las cosas siguen muy mal por aca. Creo que el gobernador va tener que cerrar el estado de nuevo porque las infecciones siguen y la gente no quiere seguir las reglas. Todos los dias aumentan las infecciones por 1,000. Ahora los mas enfermos son los jovenes. No creian que se enfermarian pero ahora estan falleciendo. No, Cha, vamos muy mal y Arizona y Florida estan peor. Hay que hacer mucha oracion y confiar en el Senor. Te mando un abrazo muy fuerte, Cha. Mari
ReplyDelete