

[Product links are listed at the end of the page | Enlaces a productos se encuentran alistados a final de página]
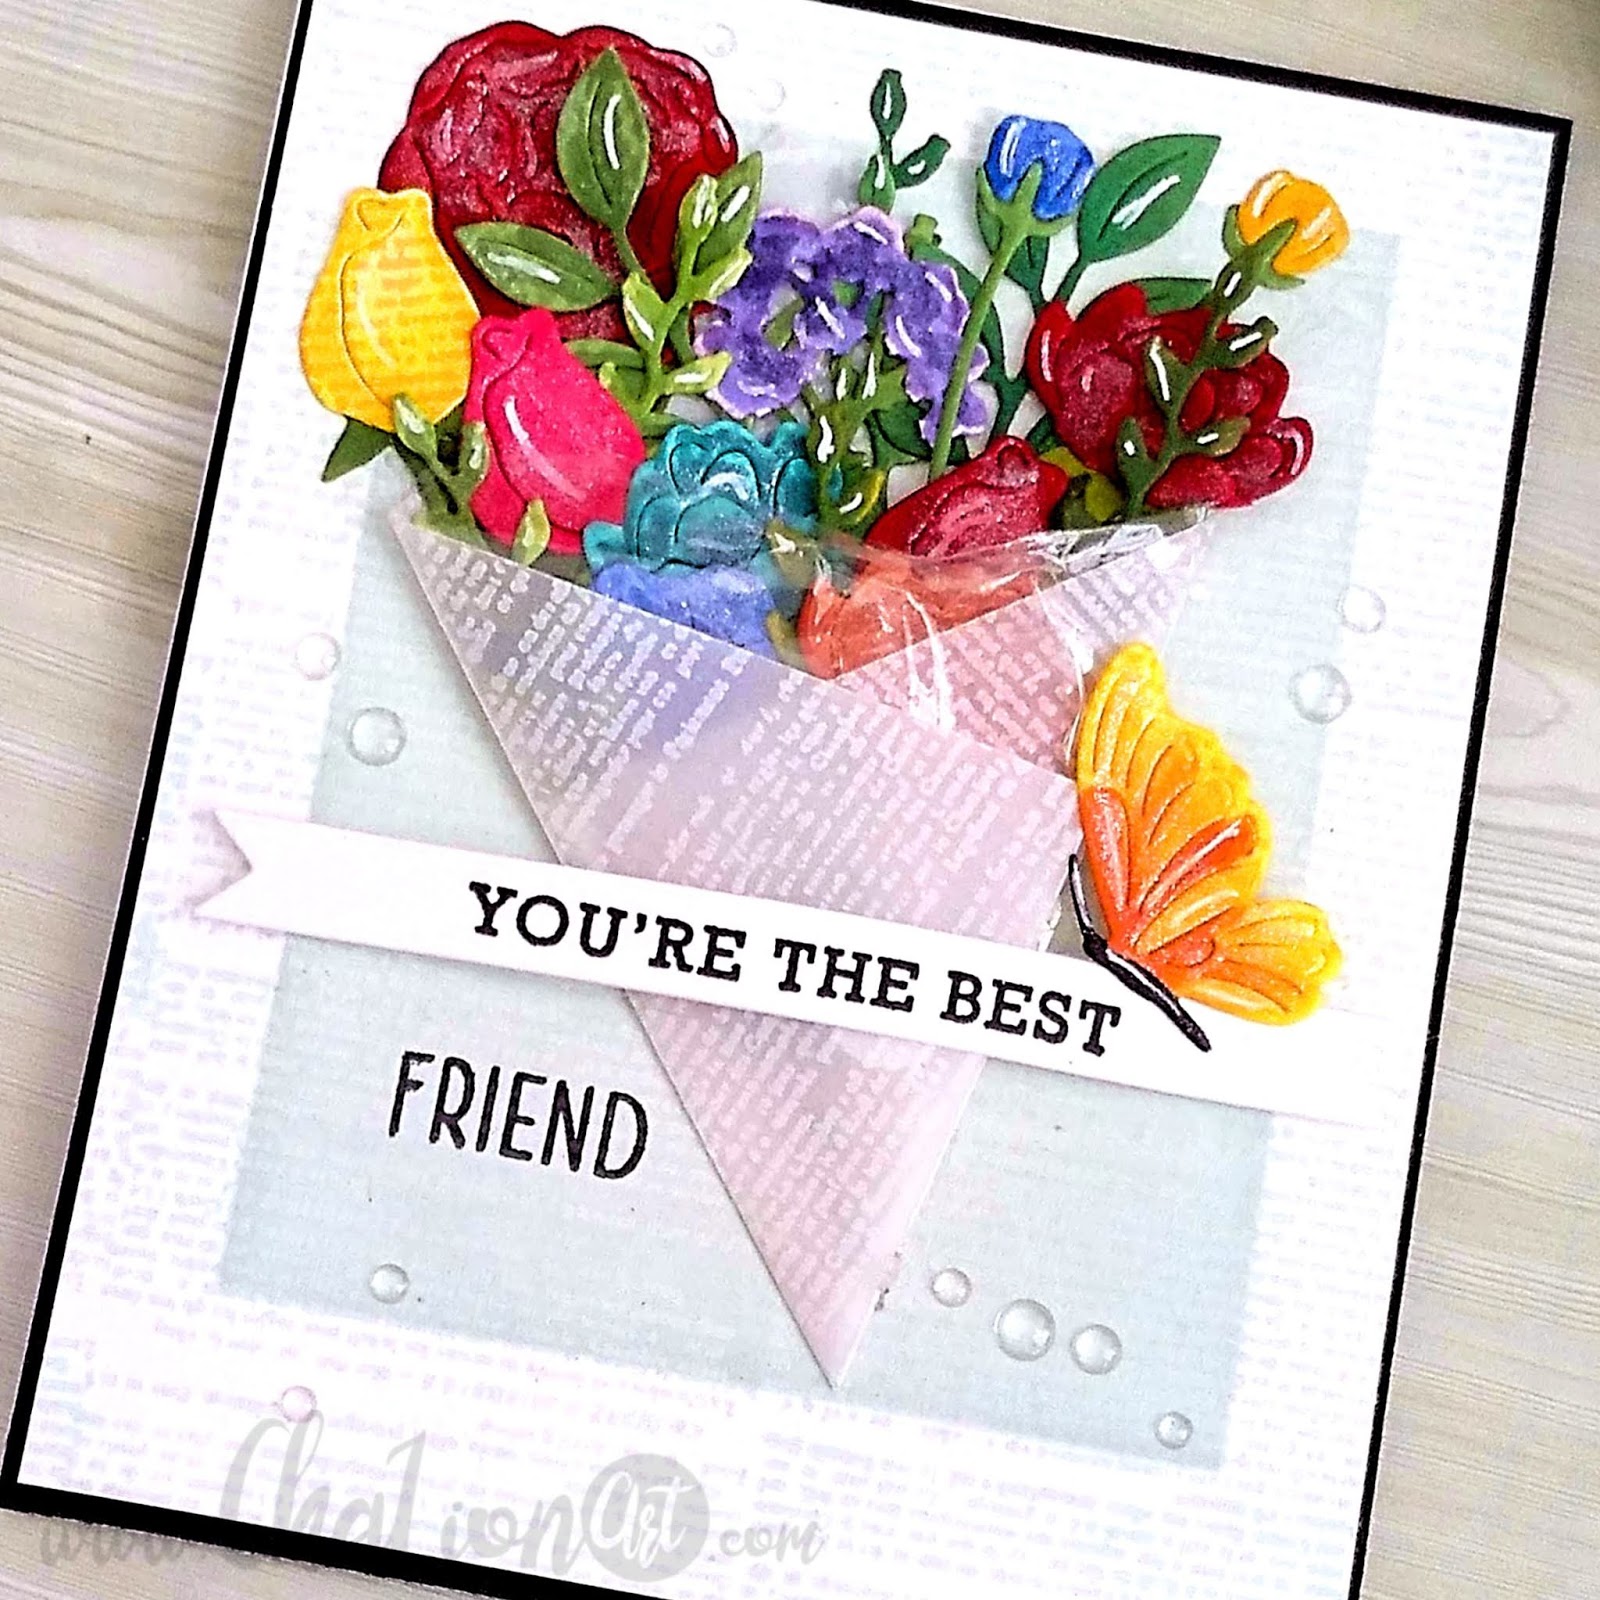
Hi there! It's me, Cha! Today I'm going to share a card with you that I made using the My Monthly Hero kit January 2020. Unfortunately, this kit is sold out already but you can make a similar card with other sets with flowers and even, stamping the images. I love this set too much! I wanted to create a bunch of flowers with all the dies that came with the kit, but also, I wanted to give texture to the flowers. Keep reading to read about the process of this card.
¡Hola a todos! Soy Cha. Hoy voy a compartir una tarjeta con ustedes que hice utilizando el kit de Hero Arts My Monthly Hero de Enero 2020. Lamentablemente este kit ya se encuentra agotado pero pueden realizar una tarjeta similar a esta con otros sets de troqueles con ramos de flores, o incluso estampando las imagenes. ¡Me encanta este set! Quise crear este ramo con todos los troqueles que vinieron con este kit, pero también, quise darles texturas a esas flores. ¡Continua leyendo sobre su proceso de creación!

First of all, I used different color cardstock to die cut the flowers. I die cut more pieces than I needed because I can keep the remaining pieces for another occasion. Then, I removed the petals from the stem so that I could combine different color cardstock. I decided to give some color to the flowers with Copic markers. I did not do any fancy here, just color a little bit every piece that I previously die cut. In order to give some texture to the flowers, I decided to stamp the letter from the main kit on every piece with ink that matched the color base in the cardstock and the marker. I used different Hero Arts inks - Fresh Peach, Pale Tomato, Bubble Gum, Soft Purple, Soft Pool, Green Hills, Dandelion. I left all the pieces aside to assemble them later.
Primero utilicé diferentes colores de cartulina para troquelar las flores. Troquelé más piezas de las que necesitaba porque puedo guardar las que no utilice para otras ocasiones. Luego quité los pétalos de las flores de los tallos para poder combinar los diferentes colores de cartulina. Decidí dar color a cada una de las flores utilizando los rotuladores Copic. No coloreé demasiado ya que solo dí toques de color a la cartulina ya coloreada. Para darle textura a las flores, decidí estampar la carta que viene en el kit en cada pieza con tinta que combinara con el color base de la cartulina y el rotulador. Utilicé diferentes tintas de Hero Arts - Fresh Peach, Pale Tomato, Bubble Gum, Soft Purple, Soft Pool, Green Hills, Dandelion. Dejé todas las piezas a un lado para continuar con el fondo.

I created the background by stamping the same letter on top of a piece of white cardstock with Tide Pool ink. Then, I masked the edges with masking tape and used a blending brush for blending the center to give a little bit of interest. I removed the masking tape and trimmed a little bit the edges of the panel.
Creé el fondo estampando la misma carta sobre una cartulina blanca con la tinta Tide Pool ink. Luego enmascaré los bordes con cinta de enmascarar y utilicé una brocha para mezclar tintas en el centro del fondo para dar un poco de interés. Quité la cinta de enmascarar y recorté un poco los bordes.

Before assembling the card, I die cut the paper for this bunch on vellum paper. I also stamped the letter on this paper with White Pigment Ink. I added this paper to the center of the card and, also added a piece of transparent paper. I started assembling the flowers and the stems combining them in colors. When I finished creating this bunch, I closed the paper with a foam circle piece.
Antes de pegar las pequeñas piezas, troquelé el papel para sujetar el ramo sobre papel vellum. También estampé la carta en este papel especial con Tinta de Pigmento Blanco. Pegué este papel en el centro de la tarjeta y también añadí un trozo de papel transparente. Comencé pegando las flores y los tallos combinandolos en colores. Cuando terminé de crear este ramo, cerré el papel vellum que sujeta este ramo con un adhesivo circular de espuma.

For the sentiment, I stamped the sentiment using the Mini MISTI Stamping Tool with Versafine Onyx Black ink. I die cut the sentiment in a strip. I added this strip on the bunch with foam tape and liquid adhesive. I also stamped the word "friend" on the background with Versafine Onyx Black ink.
Para la frase, estampé la frase utilizando la Herramienta de Estampación Mini MISTI con la tinta Versafine Onyx Black. Troquelé la frase en una tira y la pegué sobre el ramo con cinta adhesiva de espuma y adhesivo líquido. Estampé la palabra "friend" ("amigo") en el fondo con tinta Versafine Onyx Black ink.

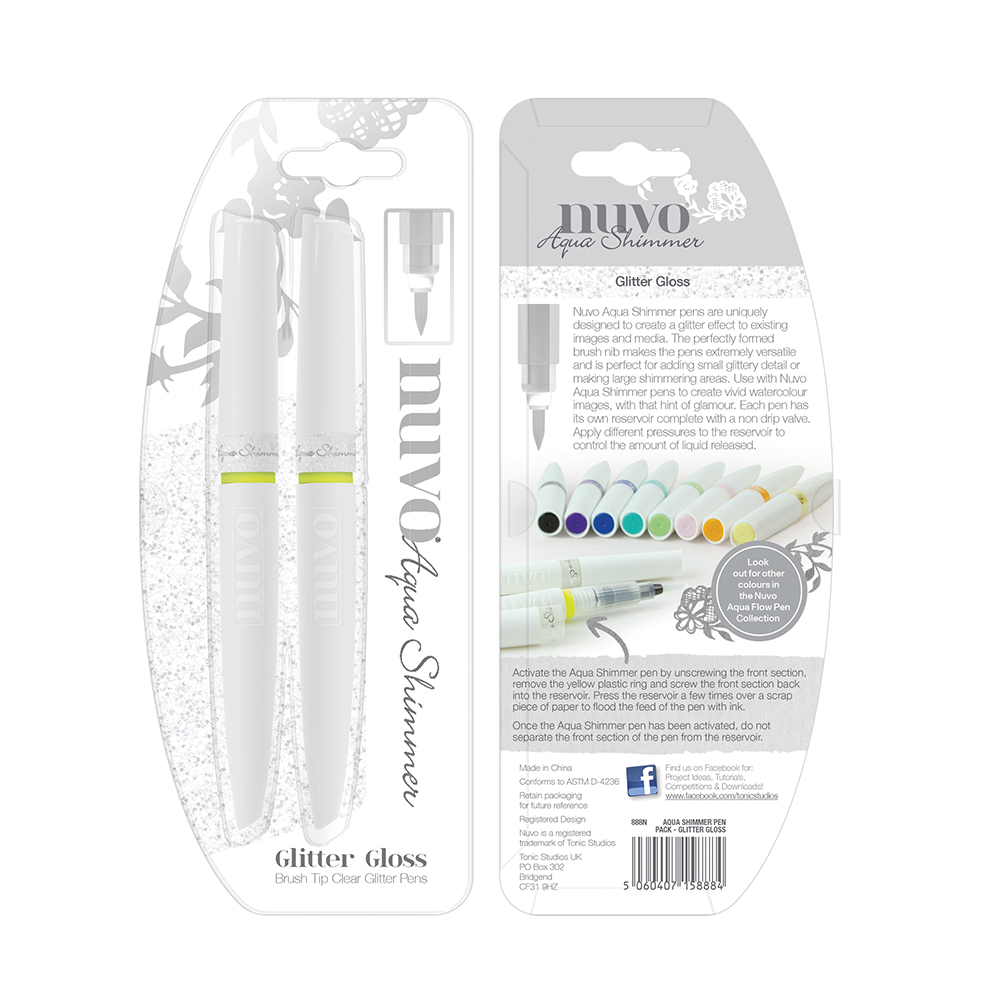
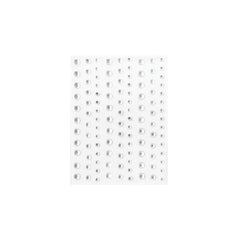
For embellishing this card, I added some shine to the flowers with the NUVO Aqua shimmer pen and some clear enamels on the background. Finally, I highlighted the flowers with a White Marker.
Para decorar esta tarjeta, añadí algo de brillo a las flores con el NUVO Aqua Shimmer pen y puntos transparentes decorativos en el fondo. Finalmente, resalté las flores con un Rotulador Blanco.
And this is the card for today! I hope you like this card and subscribe to my blog and channel to stay tuned! Thanks for stopping by.
¡Y esta es la tarjeta para hoy! Espero que les haya gustado esta tarjeta y subscríbanse a mi blog y mi canal para estar al tanto de todo! Gracias por pasarse por aquí.


|


.jpg)
.jpg)
.jpg)

0 Comments