


Hello there! It's me, Cha. This time, I would like to show you a type of decorative paper that I didn't know that it existed. Thanks to the May 2017 My Monthly Hero Arts kit, I saw this kind of bright decorative paper for the first time in my life. Maybe, I could have seen it before in some craft stores but if it was so, I don't remember. I'm talking about the embossed iridescent decorative paper that I found in a cheap local store in my country. I have to say that the fact that I found this decorative paper surprised me because I live on a small island and I always have to order my supplies.
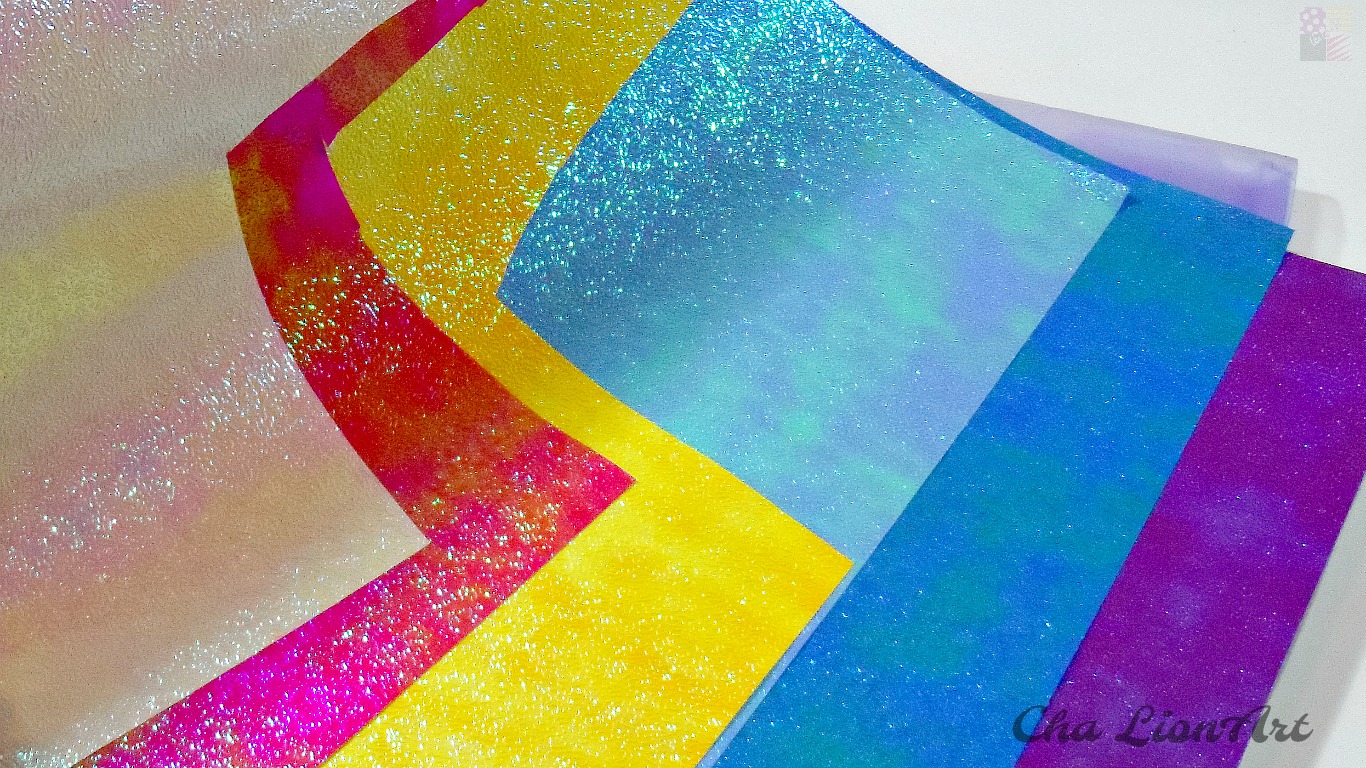
When I received My Monthly Hero Arts June 2017 kit, it came to my mind a beautiful sunset first, but then, I wanted that this decorative paper (you can find it here) took part of this beautiful scene with the dies cut from the kit. The result was really beautiful!

First of all, I cut all my dies in some cardstock using the animal dies that came with the main kit and the tree and grass add-ons die cuts. I used black watercolor paper and Hero Arts white snow. Then, I used the Sun Fancy Die Cuts (from MMH June 17) to cut the embossed iridescent decorative paper. The kit is sold out but you can use this decorative paper in many other projects (I think I'm going to use it a lot!)
Secondly, I worked on my panel directly. I chose the light cardstock from the paper set Earth mix layering papers and stamped the ethnical rubber stamp with serengeti sunset ombré ink. Once I finished, I glued my iridescent sun on a rounded piece of white cardstock and glued again in the middle of my card. Then, I started to glue the black animal silhouettes onto the background to create my scene. I started adding the animal figures but I left one piece of grass in order to give some dimension to my card, adhering with small pieces of foam squares. For my sentiment, I chose one that came with the kit and stamped on one corner of my card with Onyx black ink.
Finally, I adhered my panel onto a piece of black cardstock and then, I attached it to my basic white card base.

All of these cards that I created for today are quite similar. However, this last one I changed it a bit. Instead of using black cardstock for the animal silhouettes, I used white cardstock. Also, I stamped the sentiment in the front of the grass that gives to the card some dimension as I did in the previous card. For my sentiment, I used Versamark ink to add some black embossing powders. For the background, I used the same patterned rubber stamp but I stamped with Versamark ink again but this time, I embossed it with white Hero Arts embossing powder.
Finally, I attached the panel to my white card base.

YouTube Video
Hope you like these cards and thank you for stopping by.
See you soon!


.jpg)
.jpg)
.jpg)
