

Hello there! It's me, Cha. This time, I designed some bikinis and swimsuits with Silhouette Studio 4.0 to make some Summer Cards! I was inspired by Simons Says Stamp kit released in June 2017.
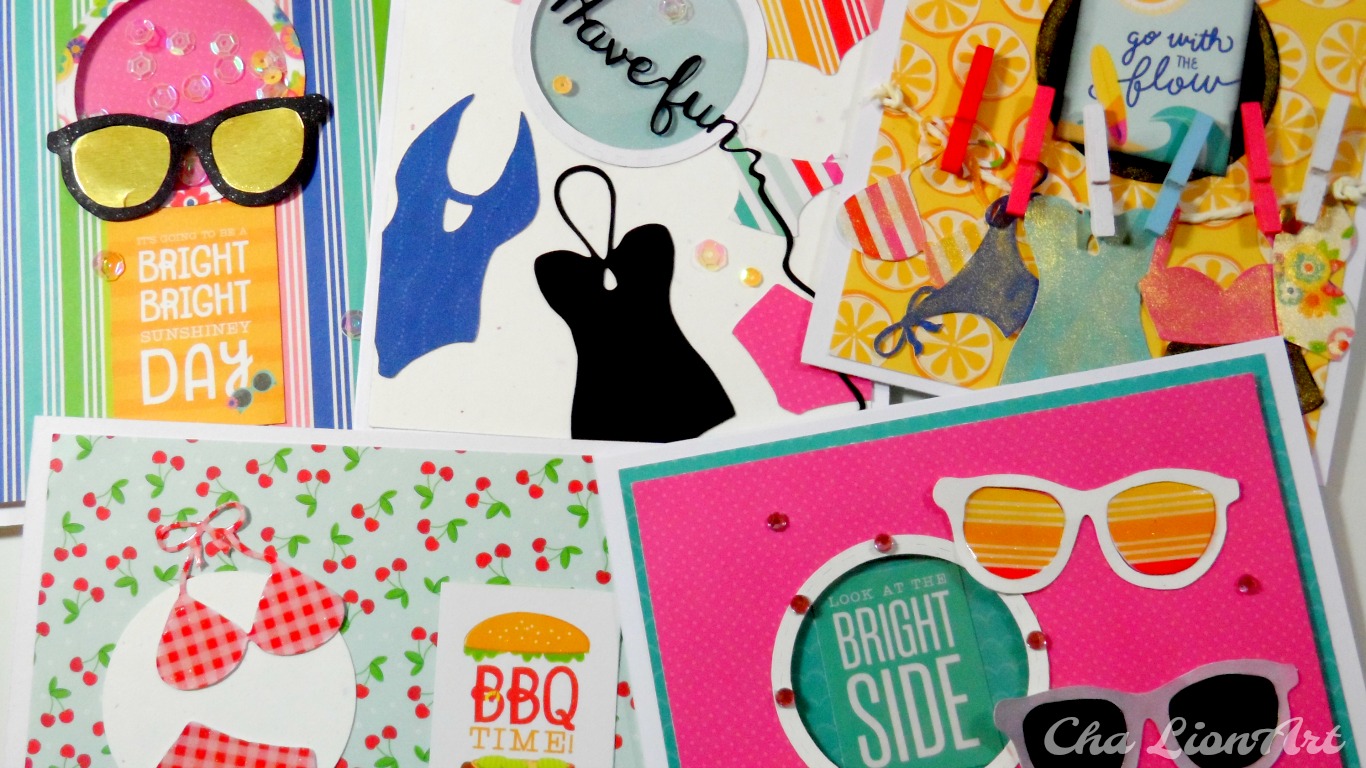
I had some much fun time creating these panels. So, I decided to share with you these designs so that you can create your own cards. Click on the link to download the Silhouette Summer kit that I've designed for the cards (Notice that I could add more items in the future): CLICK HERE
For all the cards, I've used the same cardstock collection by Pebbles, called 'Fun in the Sun' (6" x 6") and also Neenah cardstock from the Starter pack.
Card 1

For the first card, I decided to make a simple card using a sentiment from Pebbles collection, too. In this collection, it is included some pages with quotes, hence I used them as sentiments.
First, I glued the patterned paper onto the card base and then, I glued the die cuts one by one - the white circle, the bikini and finally, the sentiment. Also, I gave a glittering touch with Wink of Stella and some dimension with Glossy Accents.
Card 2

For the second card, I preferred to make a shaker card.
First of all, I cut my panel with a circle in the middle and some circle frames, using my cutting machine (Silhouette Curio), although you can use some circle dies. Then, I positioned the panel onto the card base and drew the circle in order to mark where the circle was going to be and left it aside. Later, I glued the circle frame on the front of my card and I attached a piece of acetate on the back of that circle.
Secondly, I started adding the images. So, I took the sunglasses die cut and on a piece of metallic cardstock, I drew the lens for these sunglasses and cut them using a pair of scissors. Before gluing the die cuts, I added the small sentiment panel to my card. Later, once I decided where I was going to glue the pair of glasses, I marked with a pencil the position of the lens. Then, I glued them and, finally, I adhered the pairs of sunglasses onto the card.
Thirdly, I glued a piece of rounded patterned cardstock on the mark that I drew at the beginning on the card base. There, I added some foam mounting tape, especially around the circle in which I was going to add some sequins. First, I used my anti-static powder tool to avoid the sequins gluing on the foam tape and then, I put the sequins inside the circle.
Finally, I attached my panel onto the card base and we can shake it!
Card 3

For my third card, I did the same thing that I made on my second card but, instead of adding sequins to create a shaker card, I created just a window with acetate and added inside the sentiment. What's more, I added some pink gemstones around the circle frame and some glossy accents to the sunglasses' lens.
Card 4

I think that this fourth card is one of my favorites because it is simple, but at the same time, it is colorful and fun. I realized that I love making window cards (without the shaking thing!) So, as my third card, I followed the same steps as the previous card, but this time, I added a sentiment that I had in my stuff and I just glued bikinis and swimsuit die cuts randomly and added some sequins.
Card 5

For the last card, this is the more complex and also the smaller one because it is a square card (4,5" x 4,5").
First of all, I attached my patterned cardstock onto the square card base. I inked the edges of the little card sentiment with Black soot Distress Ink and glued on a piece of rounded black cardstock that all adhered to the card base lately. I took a piece of string and I glued with Tombow Mono Aqua glue from one side of the panel to the another and put something heavy on it and let it dry.
Secondly, I started adding the bikinis and swimsuits as they were hanging from the string. I didn't get crazy, I just added all the pieces randomly again and also glued the colored clothespins embellishments.
Finally, I added some glitter with Heidi Swapp Color Shine (gold) to the images. And that's it!

YouTube Video
I hope you will get inspired with these cards and enjoy creating with my designs!.
See you the next time!
See you the next time!


.jpg)
.jpg)
.jpg)
