
Hello, crafters!
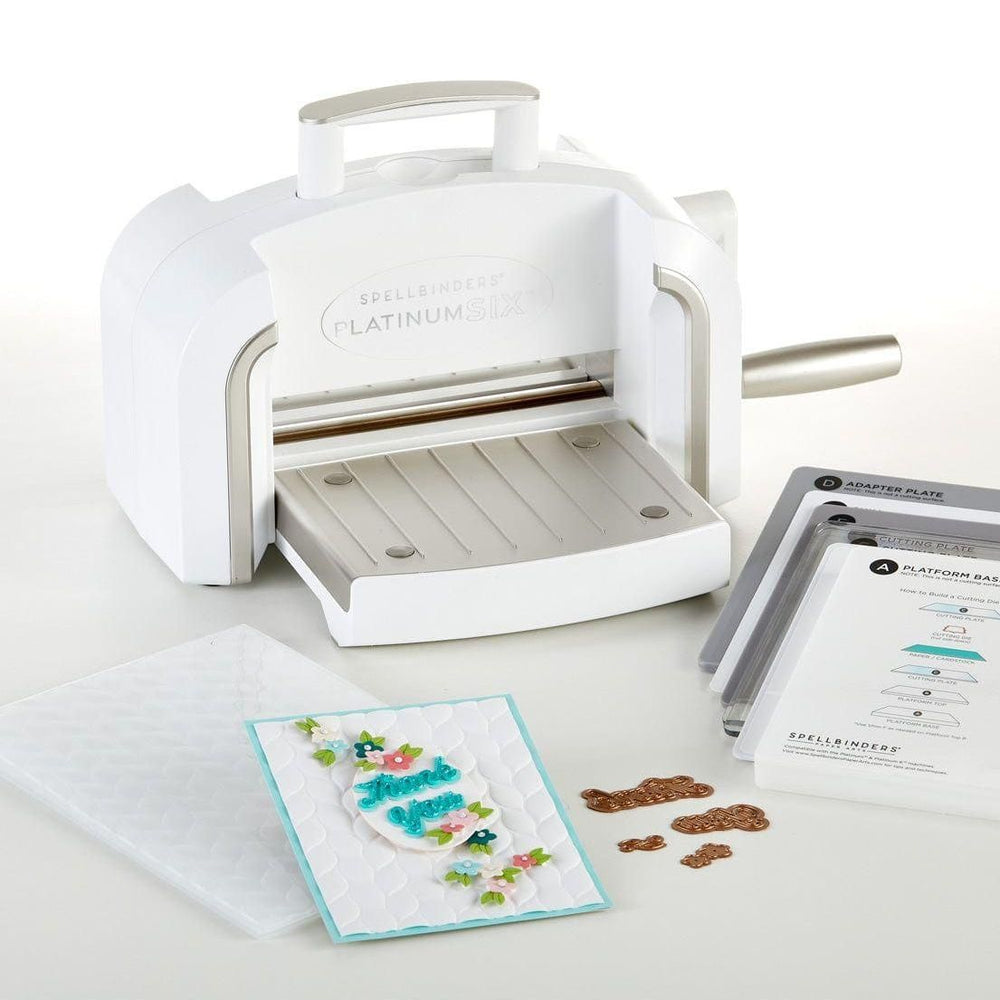
When creating cards, we tend to make the classic design that opens the standard way: from right to left to read the greeting inside. However, today we are showing you an option with partial die-cutting. To make it, you will need a manual die-cutting machine.
¡Hola, artistas!
Cuando creamos tarjetas, tendemos a hacer el diseño clásico que se abre de manera normal: de derecha a izquierda para leer la felicitación en su interior. No obstante, hoy te mostramos una opción con troquelado parcial. Para elaborarla, se necesita una máquina troqueladora manual.
.jpg)
.jpg)
.jpg)
The set I used for this card is a coordinating stamp and die set from the Spellbinders Stamp & Die Club; if you've been following my recent posts, you might have noticed that I'm using the 2025 club sets, so this project can serve as inspiration for your future creations. This is one of my favorite clubs because it usually includes images that are ideal for coloring, and this time the set contains 8 image stamps, 3 sentiment stamps, and 7 coordinating dies that cut out the 3 sentiments and the 3 larger images.
El set que utilicé para esta tarjeta es un juego de sellos y troqueles coordinados del Club de Sellos y Troqueles de Spellbinders; si han estado siguiendo mis últimas publicaciones, habrán notado que estoy usando los sets del club de 2025, por lo que este proyecto les puede servir de inspiración para futuras creaciones. Uno de mis clubes favoritos es este, ya que suele incluir imágenes ideales para colorear, y en esta ocasión el set contiene 8 sellos de imágenes, 3 sellos de frases y 7 troqueles coordinados que cortan las 3 frases y las 3 imágenes más grandes.
.jpg)
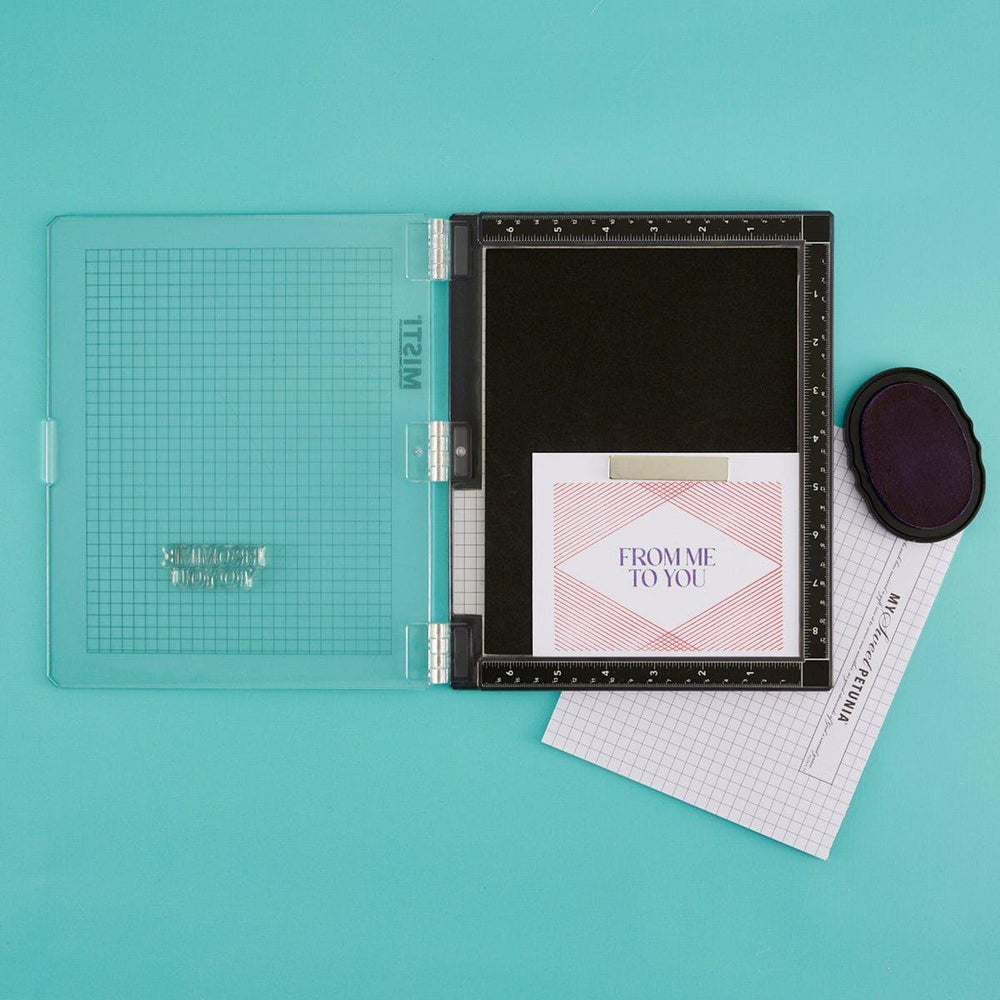
To start the card, we position a piece of white cardstock horizontally and stamp the three images of the chic girls using the Mini MISTI stamping precision tool, which allows us to stamp multiple times in case the first impression isn't crisp enough. Next, we place the dies over the images and secure them temporarily to run them through the manual die-cutting machine, but since we only want to cut the top part of the girls to keep their outline, we align the top acrylic plate right up to the edge of what we want to die-cut, ensuring that only what lies between the two acrylic plates is processed by the machine. Finally, once the images are partially die-cut, we trim off the excess with scissors, optionally marking it first with a pencil to avoid making mistakes while cutting.
Para comenzar la tarjeta, posicionamos un trozo de cartulina blanca de manera horizontal y estampamos las tres imágenes de las chicas chic utilizando la herramienta de precisión de estampado Mini MISTI, la cual nos permite estampar varias veces en caso de que a la primera no quede bien nítido. Posteriormente, colocamos los troqueles sobre las imágenes y los sujetamos temporalmente para pasarlos por la troqueladora manual, pero como solo queremos cortar la parte superior de las niñas para que conserve su contorno, ubicamos la placa acrílica superior justo hasta el borde de lo que deseamos troquelar, asegurando que solo lo que quede entre las dos placas acrílicas sea procesado por la máquina. Finalmente, una vez troqueladas las imágenes de forma parcial, recortamos el sobrante con unas tijeras, pudiendo marcar primero con un lápiz para evitar equivocarse al cortar.
.jpg)
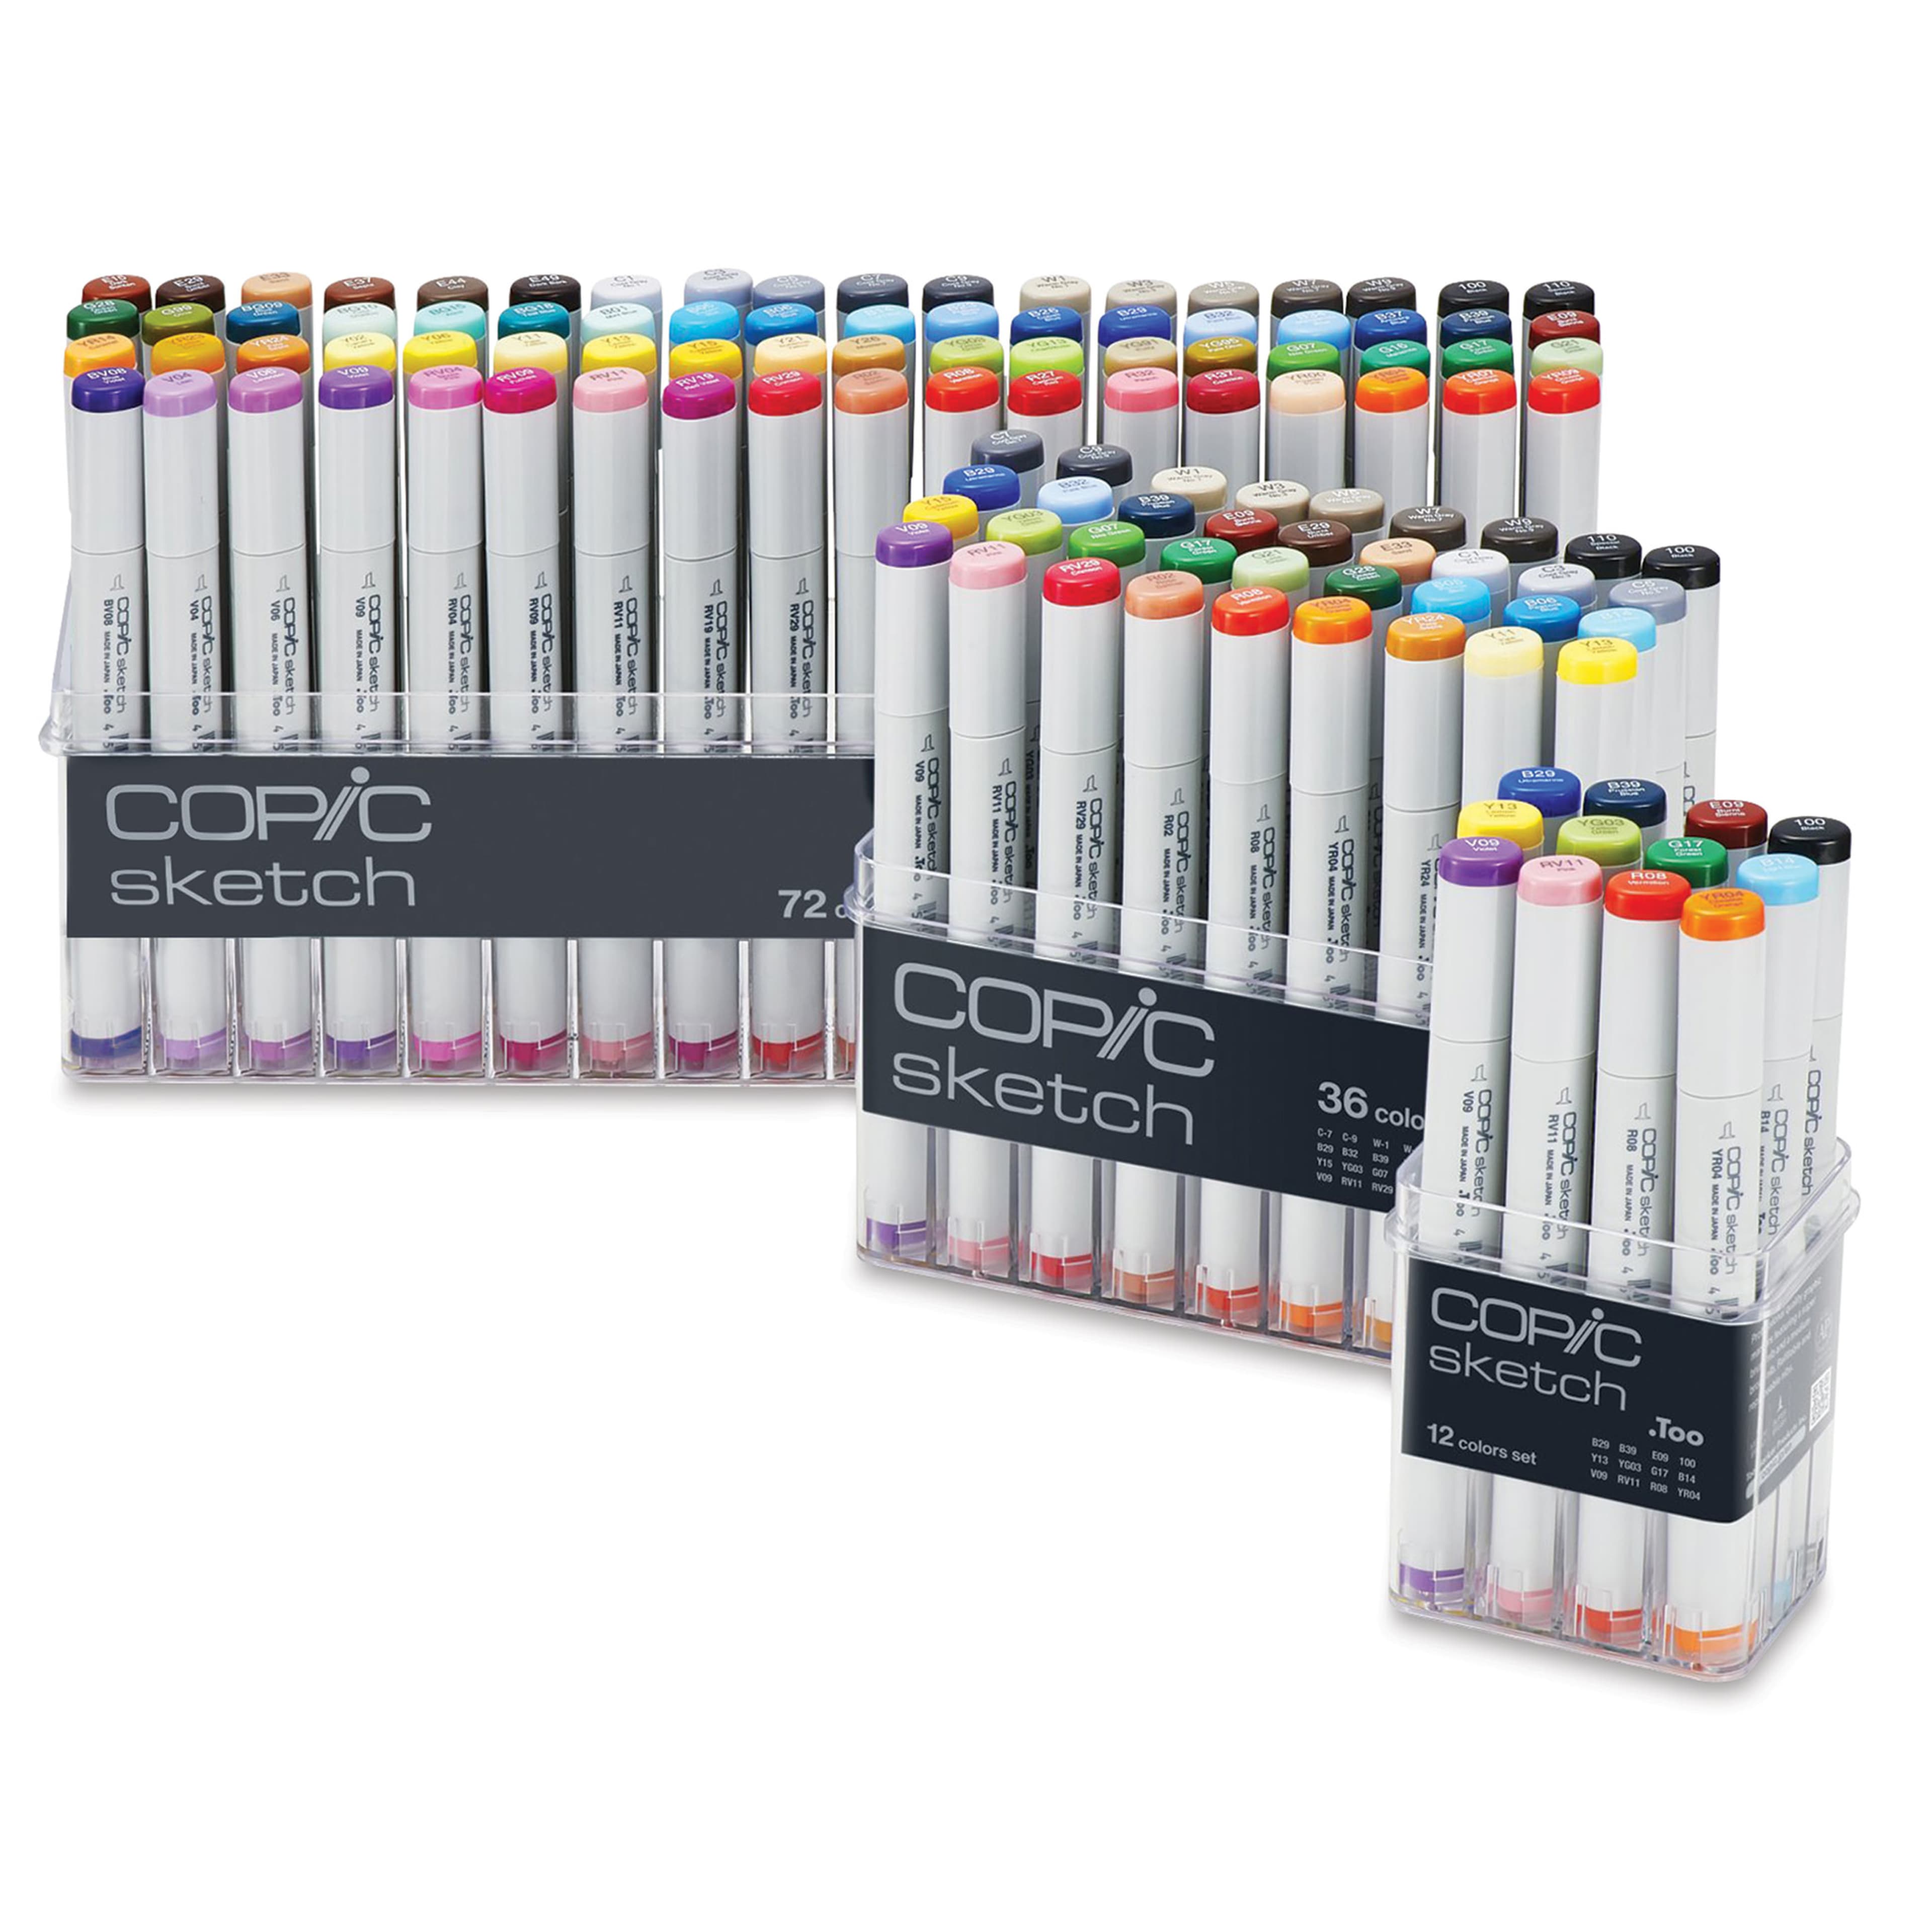
Then, we colored with our alcohol-based markers (in our case, we used Copics). We didn't apply any particular coloring technique; we simply chose a color palette we liked and colored the chic girls.
Luego, coloreamos con nuestros rotuladores a base de alcohol (en nuestro caso, usamos los Copic). No aplicamos ninguna técnica de coloración en particular; simplemente elegimos una paleta de colores que nos gustara y coloreamos a las chicas chic.
.jpg)
Since we wanted to create a card where the top part of the girls had a dimensional look, we cut away the front cover of a black card base. We attached the panel with the images—which has a white background—so that the silhouettes would pop against the top black background. However, when opening the card, the back of the white cardstock shaped like the girls was visible. To give it a more polished and professional finish, we die-cut the silhouettes out of black cardstock (without stamping, as it wasn't necessary) and glued them to the back, also adding a black strip at the bottom to hide the excess dimension. Finally, to be able to write the message inside, we adhered a white cardstock panel to the upper inside of the card, making sure it wasn't too wide so it wouldn't peek out when the card was closed and the three girls would remain the main focus.
Como queríamos crear una tarjeta en la que la parte superior de las niñas tuviera relieve, recortamos la portada de una base de tarjeta negra. Adherimos el panel con las imágenes —cuyo fondo es blanco— para que las siluetas sobresalieran sobre el fondo negro superior. Sin embargo, al abrir la tarjeta, la parte posterior de la cartulina blanca con la forma de las niñas quedaba a la vista. Para darle un acabado más pulido y profesional, troquelamos las siluetas en cartulina negra (sin estampar, ya que no era necesario) y las pegamos por el reverso, añadiendo además una franja negra en la parte inferior para disimular el relieve sobrante. Por último, para poder escribir el mensaje interior, pegamos un panel de cartulina blanca en la parte superior del interior de la tarjeta, cuidando que no fuera demasiado ancho para que no asomara cuando la tarjeta estuviera cerrada y las tres niñas siguieran siendo las protagonistas.
.jpg)
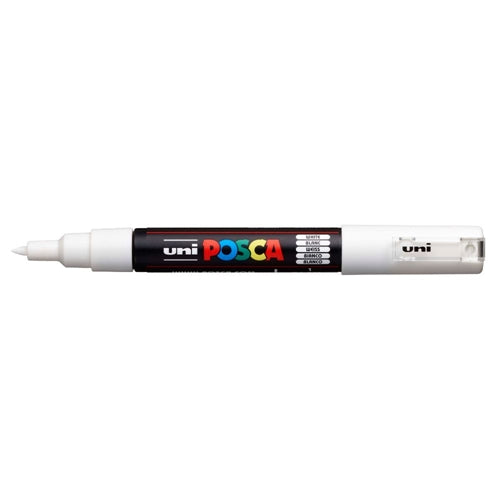
As this card is quite intricate to make, we added small details using a white acrylic marker. Because the transition between the outside and the inside of the card features a black strip, we drew white dots on it to make the change smoother and more eye-catching. Likewise, we added several highlights and reflections to the girls, their clothing, and the puppy.
Dado que esta tarjeta es bastante laboriosa de elaborar, añadimos pequeños detalles con un rotulador acrílico blanco. Como la transición entre el exterior y el interior de la tarjeta tiene una franja negra, le dibujamos puntos blancos para que el cambio sea más armonioso y vistoso. Asimismo, agregamos varios puntos de luz y reflejos en las niñas, en sus ropas y en el perrito.
I hope you really enjoyed this card. See you in the next post. Thank you so much!
Espero que les haya gustado mucho esta tarjeta. Nos vemos en la siguiente publicación. ¡Muchas gracias!

SUPPLIES | MATERIALES
Affiliate links are used | Son utilizados enlaces de afiliados
|
|


.png)


.png)

.jpg)
.jpg)
.jpg)
.jpg&description=Level Up Your Cards with Partial Die-Cutting! | ¡Eleva tus tarjetas con la técnica del troquelado parcial!)
.jpg&description=Level Up Your Cards with Partial Die-Cutting! | ¡Eleva tus tarjetas con la técnica del troquelado parcial!)
0 Comments