[Product links are listed below the page | Enlaces a productos se encuentran alistados al final de página]
Hello there! It's me, Cha! I was playing with cardmaking techniques these days and I figured out some different kinds of texture, using metal dies on cardstock. Dry embossing with dies is a well-known technique in cardmaking. You need to use a metal die, a die cutting machine and an embossing pad. However, I went further and played along with the position of the die on the die-cutting machine base to give different textures. Let's me explain!
¡Hola todos! Soy Cha. Estuve practicando con técnicas de tarjetería estos días y me dí cuenta de algunos tipos diferentes de textura, utilizando troqueles sobre cartulina. Dry embossing (Embossing en seco) con troqueles es una técnica conocida en tarjetería. Se necesita utilizar un troquel, una troqueladora y una almohadilla para embossing. Sin embargo, fui más allá y jugué con la posición del troquel en la base de la troqueladora para dar diferentes texturas. ¡Esperen que me explico!
I want to show you two ways of making textures to the background of a card according to the position of the "sandwich" that we made for embossing. For doing the Dry embossing technique, we need to position the platform tab 1 from our Big Shot machine, or if you use another die cutting machine, make sure to work on the embossing platform.
Quiero enseñarles dos maneras de realizar texturas en el fondo de una tarjeta de acuerdo con la posición del "sandwich" que hicimos para embossing. Para realizar la técnica de Dry embossing, necesitamos posicionar la plataforma 1 de la troqueladora Big Shot, o si usas otra troqueladora, asegúrense trabajar en la plataforma para embossing.
 |
| "Textura con relieve" y "Textura simple" |
As you can see, I called the first background "Dimensional texture" (on the left) because the dimension is more defined than in the second background, on the contrary, this is just the mark of the die without cutting. I called this last "Plain texture".
Como pueden ver, llamé al primer fondo "Dimensional texture" ("Textura con relieve" , en la izquierda) porque el relieve está más definido que en el segundo fondo, por el contrario, esta solo es una marca del troquel sin troquelar. A ésta la he llamado "Plain texture" ("Textura simple").
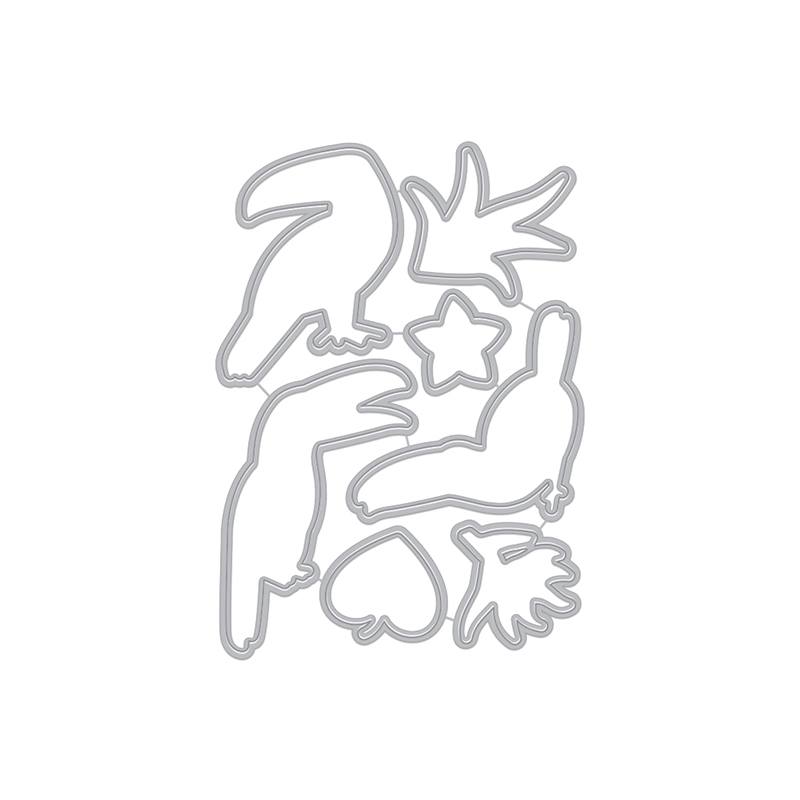
For creating the "Dimensional texture" (on the right), I temporarily taped the metal die which I used the Woodgrain Texture Fancy Die and a piece of white cardstock. I added the platform in tab 1 in the die-cutting machine, added a cutting pad, then one embossing pad, added the metal die with the piece of the cardstock and, finally, added the other cutting pad. Notice that the metal die has to be upwards in order to create this type of impression. If I wanted more dimension, the only thing that you would need to do is to pass the piece through the die cutting machine several times.
Para crear la "Dimensional texture" ("Textura con relieve", en la derecha), temporalmente pegué el troquel el cual utilicé el troquel decorativo Woodgrain Texture Fancy die y un trozo de cartulina blanca. Añadí la plataforma 1 en la troqueladora, añadí la base de corte, luego una almohadilla para embossing, añadí el troquel con el trozo de cartulina y, finalmente, añadí la otra base de corte. Tengan en cuenta que el troquel metalizado tiene que estar hacia arriba para crear este tipo de impresión. Si quieran más relieve, la única cosa que se necesitaría hacer es pasar la pieza a través de la troqueladora varias veces.
In order to create the "Plain texture", I did the same process than the previous one but, instead of placing the metal die upwards along with the piece of white cardstock, I placed the metal die upside down.
Para crear la "Plain texture" ("Textura simple"), realicé el mismo procedimiento previo, pero en vez de posicionar el troquel metalizado hacia arriba, junto el trozo de cartulina, lo posicioné con el troquel de metal hacia abajo.
I created two cards with these backgrounds. For making the cards, I used the Hello Toucan stamp set from Hero Arts. I stamped the toucans and some decorations, as the leaf and the flower, using Intense Black Ink and the Mini MISTI stamping tool. I colored the images with alcohol markers (ProMarkers). I cut each piece with scissors although there are coordinating dies available for this set.
Creé dos tarjetas con estos fondos. Para crear estar tarjetas, utilicé el set de sellos Hello Toucan de Hero Arts. Estampé los tucanes y algunas decoraciones, como la hoja y la flor, usando la tinta Intense Black Ink y la herramienta para estampar sellos Mini MISTI. Coloreé las imágenes con los rotuladores de alcohol (ProMarkers). Recorté cada pieza con unas tijeras aunque hay troqueles coordinados disponibles para este set.
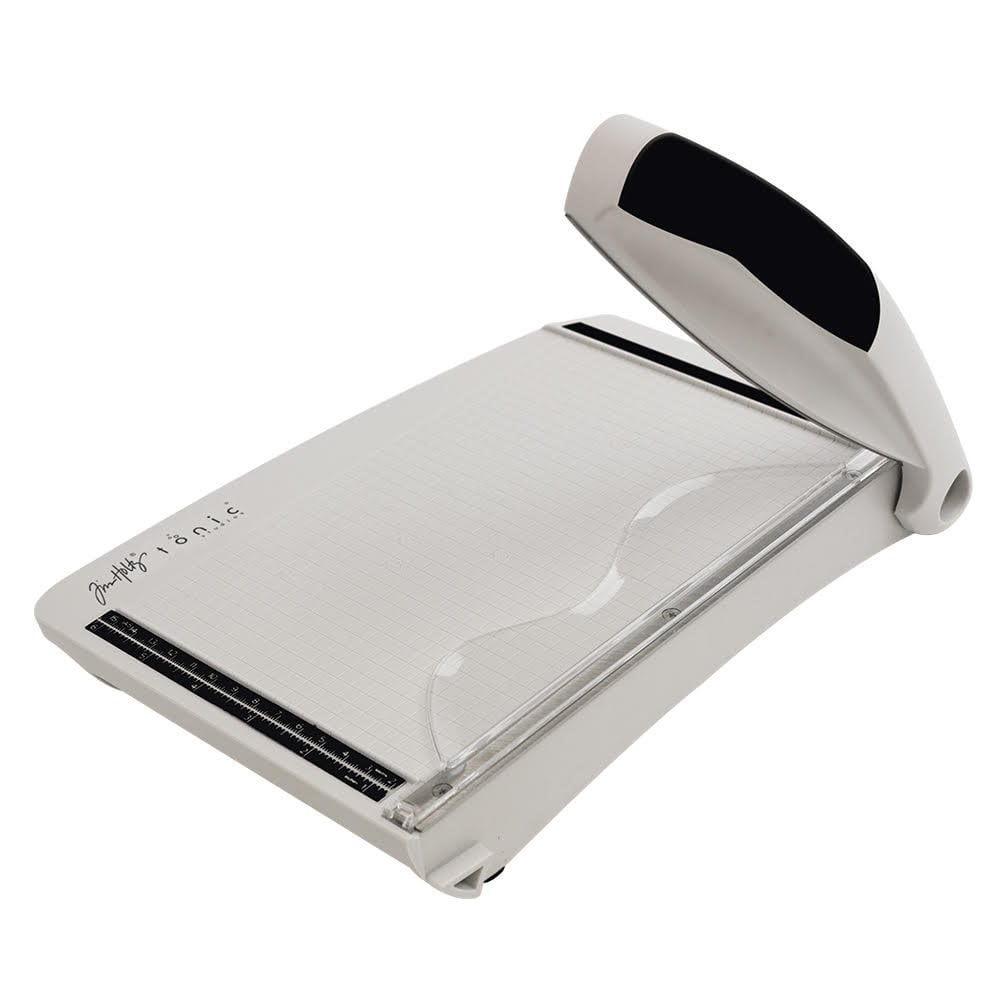
I also heat embossed the sentiment that I picked from the same stamp set on a piece of black cardstock. I stamped the sentiment with Versamark ink and added White Detail Embossing Powder. Before stamping the sentiment, I used an antistatic powder tool to avoid the powder adhere in other areas that I don't want to. I used a heat tool to dry the powder. Then, I cut the sentiment in strips, using a guillotine.
También realicé embossing caliente para crear la frase que escogí del mismo set de sellos y sobre un trozo de cartulina negra. Estampé el sentimiento con la tinta Versamark y añadí los polvos de embossing White Detail. Antes de estampar la frase, utilicé la herramienta de polvo anti-estática para evitar que el polvo se adhiera a otras áreas que no quisiera. Utilicé el secador de calor o embossing para secar el polvo. Luego, corté la frase en tiras, utilizando una guillotina.
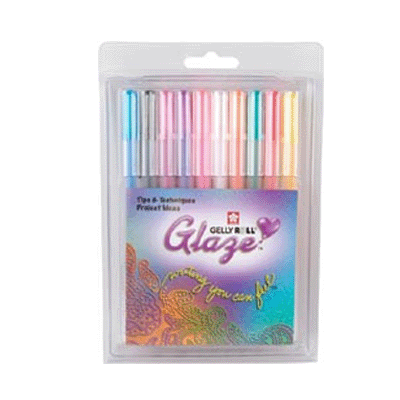
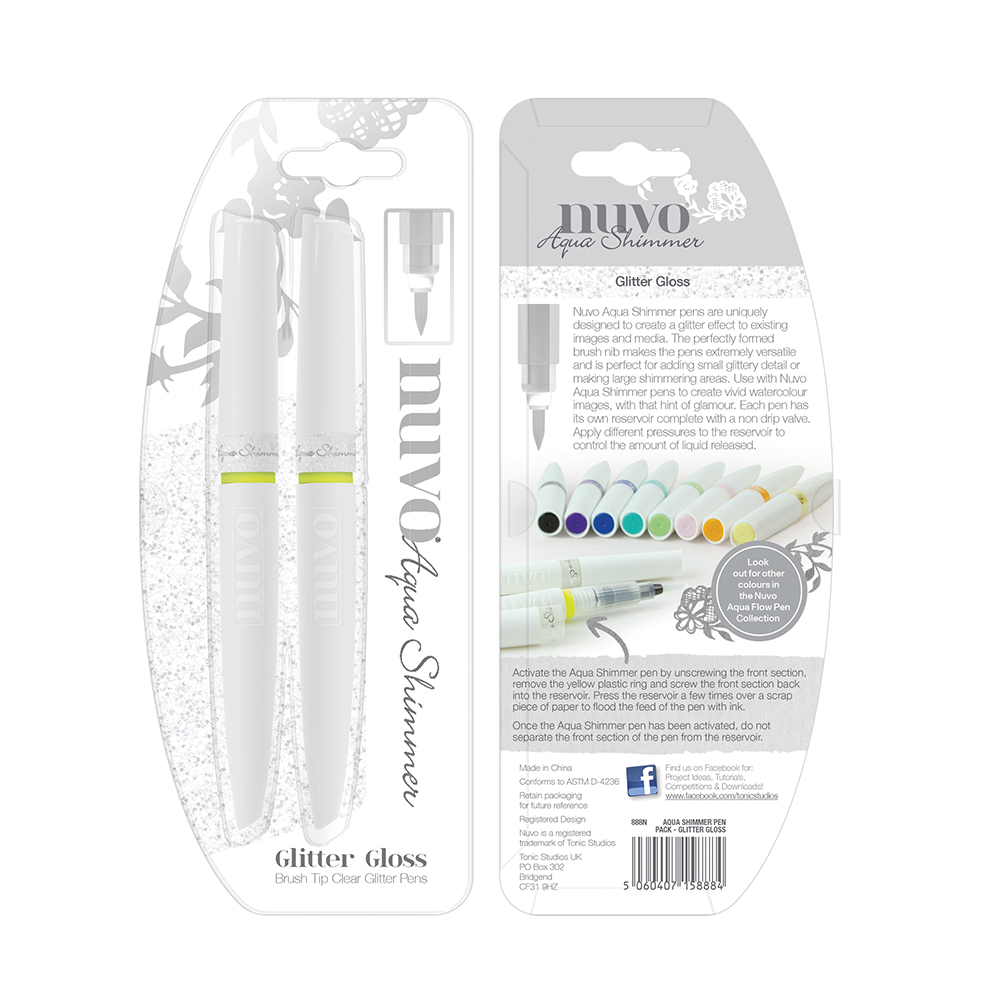
I created the cards in a very similar way. I cut each side of the textured background that we created earlier about 0,5 inches. I added a piece of black cardstock on top of a card base. I glued the textured background on top of the black piece with the card base. Then, I continued gluing the sentiment strip using a ruler for making it straight. Also, I added the colored toucan with some element (the leaf or the flower) at the top of the sentiment strip, using adhesive foam squares. Then, added some adornments, some hearts or flowers sequins. I added some shine to the elements and the toucan, using a shimmer pen. I also gave some dimension to the toucan with the Lacquer Pen.
Creé las tarjetas de una manera muy similar. Recorté por cada lado del fondo con textura que creamos previamente alrededor de media pulgada (0,5 inches). Añadí un trozo de cartulina negra sobre la base de la tarjeta. Pegué el fondo con textura sobre esta pieza negra con la base de la tarjeta. Luego, continué pegando con la tira con la frase ayudándome con una regla para que quede recto. También añadí el tucán coloreado con algún elemento (la hoja o la flor) por arriba de la tira con la frase y, utilizando cuadritos adhesivos de espuma. Entonces, añadí los adornos, las lentejuelas de corazones o las flores. Añadí algo de brillo a los elementos y al tucán utilizando un rotulador de purpurina. También, dí algo de relieve a las imágenes con el Lacquer Pen.
And that's all! These are the two cards that I created with these textured backgrounds and I hope you like them! I would like to know... what texture do you prefer?
¡Y eso es todo! Estas son las dos tarjetas que creé con estos fondos con textura y ¡espero que les haya gustado! Me gustaría saber... ¿qué textura prefieres?
Thank you and see you soon!
¡Gracias y hasta pronto!
Como pueden ver, llamé al primer fondo "Dimensional texture" ("Textura con relieve" , en la izquierda) porque el relieve está más definido que en el segundo fondo, por el contrario, esta solo es una marca del troquel sin troquelar. A ésta la he llamado "Plain texture" ("Textura simple").
For creating the "Dimensional texture" (on the right), I temporarily taped the metal die which I used the Woodgrain Texture Fancy Die and a piece of white cardstock. I added the platform in tab 1 in the die-cutting machine, added a cutting pad, then one embossing pad, added the metal die with the piece of the cardstock and, finally, added the other cutting pad. Notice that the metal die has to be upwards in order to create this type of impression. If I wanted more dimension, the only thing that you would need to do is to pass the piece through the die cutting machine several times.
Para crear la "Dimensional texture" ("Textura con relieve", en la derecha), temporalmente pegué el troquel el cual utilicé el troquel decorativo Woodgrain Texture Fancy die y un trozo de cartulina blanca. Añadí la plataforma 1 en la troqueladora, añadí la base de corte, luego una almohadilla para embossing, añadí el troquel con el trozo de cartulina y, finalmente, añadí la otra base de corte. Tengan en cuenta que el troquel metalizado tiene que estar hacia arriba para crear este tipo de impresión. Si quieran más relieve, la única cosa que se necesitaría hacer es pasar la pieza a través de la troqueladora varias veces.
 |
| "Textura con relieve": Troquel de metal hacia arriba |
In order to create the "Plain texture", I did the same process than the previous one but, instead of placing the metal die upwards along with the piece of white cardstock, I placed the metal die upside down.
Para crear la "Plain texture" ("Textura simple"), realicé el mismo procedimiento previo, pero en vez de posicionar el troquel metalizado hacia arriba, junto el trozo de cartulina, lo posicioné con el troquel de metal hacia abajo.
 |
| "Textura simple": Troquel de metal hacia abajo |
I created two cards with these backgrounds. For making the cards, I used the Hello Toucan stamp set from Hero Arts. I stamped the toucans and some decorations, as the leaf and the flower, using Intense Black Ink and the Mini MISTI stamping tool. I colored the images with alcohol markers (ProMarkers). I cut each piece with scissors although there are coordinating dies available for this set.
Creé dos tarjetas con estos fondos. Para crear estar tarjetas, utilicé el set de sellos Hello Toucan de Hero Arts. Estampé los tucanes y algunas decoraciones, como la hoja y la flor, usando la tinta Intense Black Ink y la herramienta para estampar sellos Mini MISTI. Coloreé las imágenes con los rotuladores de alcohol (ProMarkers). Recorté cada pieza con unas tijeras aunque hay troqueles coordinados disponibles para este set.
I also heat embossed the sentiment that I picked from the same stamp set on a piece of black cardstock. I stamped the sentiment with Versamark ink and added White Detail Embossing Powder. Before stamping the sentiment, I used an antistatic powder tool to avoid the powder adhere in other areas that I don't want to. I used a heat tool to dry the powder. Then, I cut the sentiment in strips, using a guillotine.
También realicé embossing caliente para crear la frase que escogí del mismo set de sellos y sobre un trozo de cartulina negra. Estampé el sentimiento con la tinta Versamark y añadí los polvos de embossing White Detail. Antes de estampar la frase, utilicé la herramienta de polvo anti-estática para evitar que el polvo se adhiera a otras áreas que no quisiera. Utilicé el secador de calor o embossing para secar el polvo. Luego, corté la frase en tiras, utilizando una guillotina.
I created the cards in a very similar way. I cut each side of the textured background that we created earlier about 0,5 inches. I added a piece of black cardstock on top of a card base. I glued the textured background on top of the black piece with the card base. Then, I continued gluing the sentiment strip using a ruler for making it straight. Also, I added the colored toucan with some element (the leaf or the flower) at the top of the sentiment strip, using adhesive foam squares. Then, added some adornments, some hearts or flowers sequins. I added some shine to the elements and the toucan, using a shimmer pen. I also gave some dimension to the toucan with the Lacquer Pen.
Creé las tarjetas de una manera muy similar. Recorté por cada lado del fondo con textura que creamos previamente alrededor de media pulgada (0,5 inches). Añadí un trozo de cartulina negra sobre la base de la tarjeta. Pegué el fondo con textura sobre esta pieza negra con la base de la tarjeta. Luego, continué pegando con la tira con la frase ayudándome con una regla para que quede recto. También añadí el tucán coloreado con algún elemento (la hoja o la flor) por arriba de la tira con la frase y, utilizando cuadritos adhesivos de espuma. Entonces, añadí los adornos, las lentejuelas de corazones o las flores. Añadí algo de brillo a los elementos y al tucán utilizando un rotulador de purpurina. También, dí algo de relieve a las imágenes con el Lacquer Pen.
And that's all! These are the two cards that I created with these textured backgrounds and I hope you like them! I would like to know... what texture do you prefer?
¡Y eso es todo! Estas son las dos tarjetas que creé con estos fondos con textura y ¡espero que les haya gustado! Me gustaría saber... ¿qué textura prefieres?
Thank you and see you soon!
¡Gracias y hasta pronto!
[Not all the products are part of affiliate programs | No todos los productos son parte del Programa de Afiliados]
|


















.jpg)

0 Comments