

[Thumbnail imges links are listed down below | Enlaces de productos en imágenes se encuentran alistados al final]
Hello there! It's me, Cha! A few days ago I received the Hero Arts kit - August 2018 and, from this kit, I used the fancy die. This kit is not available anymore but every month they launch a new one every month so, the good thing about it is that you can subscribe and receive the kit at your door every month!
¡Hola a todos! ¡Soy Cha! Hace algunos días recibí el kit de Hero Arts - agosto 2018 y, de este kit, utilicé el troquel complejo. Este kit ya no está disponible más pero cada mes lanzan un nuevo kit y lo bueno de ello es que puedes subscribirte y...¡recibir el kit cada mes!

As I said before, I picked the fancy die from this kit (MMH - August 2018) but I do not make a simple card, I call this type of cards as a small piece of art due to the hard work that I put in them and also, the many attempts that I made to achieve my purpose that I'm going to show you at the end. I hope you like it!
Como dije antes, escogí el troquel complejo de este kit (MMH kit - agosto 2018) pero no hice una tarjeta simple. Llamo a este tipo de tarjetas como pequeñas piezas de arte por el gran esfuerzo que hago a crearlas y, también, los intentos que hice previamente para conseguir mi objetivo y que les enseño al final del post. ¡Espero que les guste!

First of all, I die cut some pieces of cardstock with the fancy die from the kit - white and black cardstock, white marker paper, a piece of woodgrain cardstock. I glued the white and black piece together once I die cut them and let them aside for a while. For cutting all these pieces, I used the Big Shot machine.
Primero, troquelé algunas cartulinas con el troquel decorativo que venía con el kit - cartulina blanca y negra, papel especial para rotulador (marker paper), papel texturizada veta (woodgrain cardstock). Pegué las piezas juntas - la cartulina blanca y negra una vez que las troquelé y las dejé en un lado para después. Para troquelar todas las piezas, utilicé la máquina Big Shot.

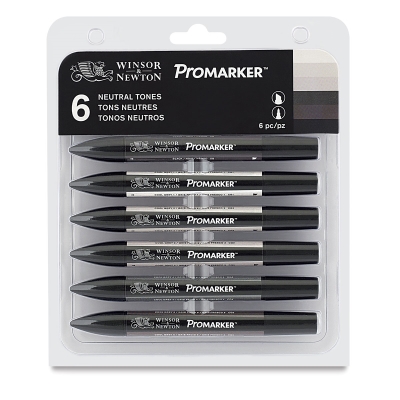
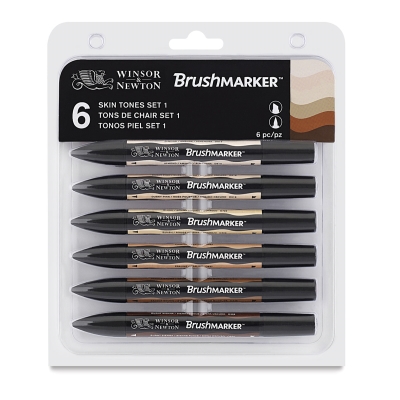
I colored the marker cardstock with my alcohol markers - ProMarkers and BrushMarkers from Winsor&Newton. As this die is a cafeteria, I just added blue, gray and brown tones. I added some green tones to the plants that are in some pots also.
Coloreé la cartulina especial para rotuladores con mis rotuladores de alcohol - ProMarkers y Brushmarkers de Winsor&Newton. Como este troquel es una cafetería, simplemente añadí algunos tonos de azul, grises y marrones. También añadí algunos tnos verdes a algunas plantas que están en unas macetas.

For my sentiments, I added two phrases from the main kit. I added the "thank you" on the sign that is on the left of the die and the phrase "life begins after coffee" at the bottom of the panel. For adding these two sentiments, I applied my anti-static powder tool. I stamped both phrases with Versamark Ink and added some white embossing powder. I heat set the sentiments until dried. I attached this piece on top of the other pieces that I'd glued earlier.
Para mis mensajes de esta tarjeta, añadí dos frases del kit principal. Añadí "thank you" (="gracias") en el cartel que está al lado izquierdo y la frase "life begins after coffee" (= "la vida comienza después del café") en la parte inferior del panel. Para añadir estos dos mensajes, apliqué la herramienta de polvo antiestática. Estampé las dos frases con la tinta Versamark y añadí polvos de embossing blancos. Sequé las dos frases con mi pistola de calor o embossing. Adherí esta pieza sobre las otras piezas que pegué anteriormente.

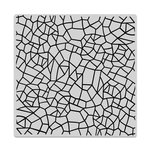
I wanted to create a stained glass window on the back of the tables and the chairs in this café. So, I picked up a piece of acetate. I applied to it the anti-static powder tool. As I was going to do multiple stamping, I decided to use the Travel Stamp Platform by Tim Holtz. For creating this stained glass window, I used a background stamp from Hero Arts - Irregular Grid Bold Print because it has some grids that are perfect for this technique. I stamped this background stamp on the piece of acetate several times using Versamark ink. Then I added some white embossing powders. I heat the piece with my heat gun but little by little. I first heat for two seconds a part of the piece and removed quickly, then I heat another part of the piece for a few seconds and removed again and so on. It took me 10 minutes approximately to do this but if I hadn't followed this process, I would have messed up the piece because the heat could crumple and the acetate would have been useless. When I finished heat embossing this piece, I started coloring on the back of the acetate piece (not the part with the embossed area). For coloring the acetate, I used my alcohol markers - ProMarkers and BrushMarkers from Winsor&Newton. As this background has many irregular grids, I colored each irregular square with a different color.
Quise crear una vidriera detrás de las mesas y las sillas en esta cafetería. Así que escogí un trozo de acetato. Le apliqué la herramienta de polvo antiestática. Como iba a estampar varias veces, decidí utilizar la Plataforma de Estampación de Viaje de Tim Holtz. Para crear esta vidriera, utilicé un sello para fondo de Hero Arts - Irregular Grid Bold Print porque tiene cuadrículas que son perfectas para la técnica que quiero realizar. Estampé este sello de fondo en la pieza de acetato varias veces utilizando la tinta Versamark. Luego añadí polvos de embossing blancos. Utilicé mi pistola de calor o embossing para secar los polvos poquito a poco. Primero le dí calor por dos minutos a una parte de este trozo de acetato y luego la quité rápidamente, luego le dí calor a otra zona de la misma pieza, también por unos minutitos y quité rápidamente otra vez y así hasta acabar secando la pieza completa. Me tomó unos 10 minutos aproximadamente para realizarla pero si yo no lo hubiese seguido este proceso, hubiera arruinado la pieza porque el calor arruga el acetato rápidamente y una vez arrugado, la pieza ya no se podría utilizar. Cuando terminé de realizar el embossing en caliente, comencé a colorear la parte trasera del acetato (no la parte que está con el embossing). Para colorear el acetato, utilicé mis rotuladores de alcohol - ProMarkers y BrushMarkers de Winsor&Newton. Como este fondo tiene muchas cuadrículas irregulares, coloreé cada cuadrito con un color diferente.

I glued this acetate piece on a 5" 1/2 x 4" 1/4 white cardstock as a base for mounting all the pieces. As this fancy die has another window on top, I used another piece of colored acetate that I previously made before. I glued this piece above the white cardstock.
Pegué esta pieza de acetato en una cartulina blanca (de tamaño 5 1/2 por 4 1/4 pulgadas) como base para colocar todas las piezas. Como este troquel complejo tiene otra ventana en la parte superior, utilicé otra pieza de acetato coloreado que hice anteriormente. Pegué este acetato en la parte superior de esta base.
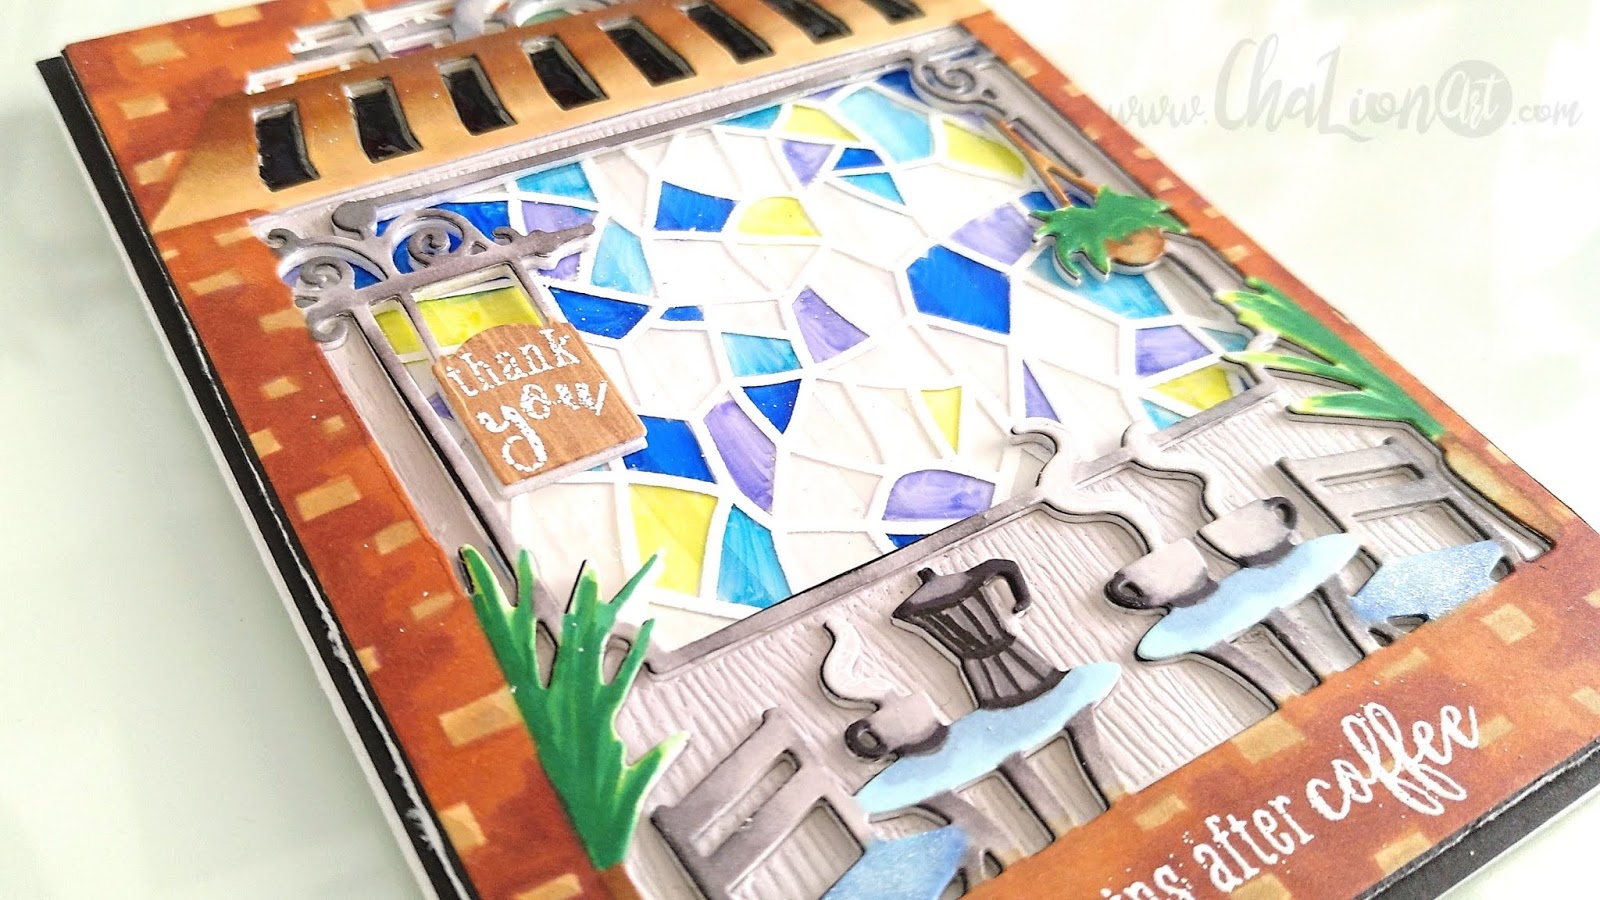
After that, I glued the piece of the café on top of the stained glass window. I wanted my elements to stand out from the colored window, so I decided to color a piece of woodgrain cardstock in gray tones. Then I die cut this piece with the same fancy die from the main kit. So, on the panel, I filled the gaps around the window with the small pieces of woodgrain cardstock. I pulled the pieces with the retractable craft pick to make all the pieces be flat. For gluing all the pieces, I used the clear liquid glue.
Después, pegué la pieza de la cafetería sobre la vidriera. Quise que mis elementos resaltaran sobre esa ventana coloreada, así que decidí colorear un trozo de cartulina texturizada veta (woodgrain cardstock) en colores grises. Entonces la troquelé con el mismo troquel decorativo del kit. Luego, en el panel principal, iba rellenando los huecos alrededor de la ventana con los trozos de esta cartulina texturizada. Presioné cada pieza utilizando el punzón retráctil para hacer que las piezas quedaran planas. Para pegar las piezas utilicé pegamento líquido.

I also filled some areas from the awning with some black pieces and added some dimension to them with the clear liquid glue.
También rellené algunas áreas del toldo con algunas piezas de color negro y, a continuación, le dí relieve rellenando los huecos con el pegamento líquido transparente.

For final touches, I added some shimmer to the chairs with my NUVO aqua shimmer pen and I added some gelly roll metallic pen to the decorative iron frames.
Para los toquesfinales, añadí brillo a las sillas con el NUVO aqua shimmer pen y toques metálicos con el gelly roll metallic pen a los marcos decorativos de hierro.
Now I would like to show you the previous attempts that I made for this card. Could I make it better? yes, of course! but I'm so perfectionist and I think this result is acceptable.
Ahora me gustaría enseñarles algunos intentos que realicé para realizar esta tarjeta. ¿Podría haberla hecho mejor? ¡Por supuesto! pero soy tan perfeccionista que preferí dejarla así porque pienso que este resultado es aceptable.
 |
| Attempts 1 and 2 | Intentos 1 y 2 |

And that's all! I hope you like this little piece of art and give some attempts to your card design to get your aims.
¡Y con esto es todo! Espero que les haya gustado esta pequeña pieza de arte y le den mas intentos a sus diseños en tarjetería para obtener sus objetivos.
Thank you!
¡Gracias!


For Americans, I highly recommend the Wagner heat tool from Hero Arts. I cannot use this tool because I live outside of the States and this tool cannot be used internationally due to the electrician requirements that are not the same for all the continents. No possible for use with outlet adapters.
I use Artemio heat gun (available in Europe only).
Para los americanos, recomiendo la pistola de embossing de Hero Arts - Wagner. No puedo utilizar esta herramienta porque vivo fuera de los EEUU y es incompatible debido a los requisitos eléctricos que no son iguales para todos los continentes. Tampoco es posible utilizarse con un adaptador.
Utilizo la pistola de calor de Artemio (disponible solo para Europa)
[Not all the thumbnail image links take part of Affiliate Programs | No todos los enlaces en imágenes forman parte del Programa de Afiliados]


.jpg)
.jpg)
.jpg)

0 Comments