

Hello again! It's me, Cha! Many people liked my cloudy sky in the previous card, so I made another card with the same cloud stencil, but this time I used different Distress Oxide Inks for it. Also, I used images from My Monthly Hero July 2017 kit.

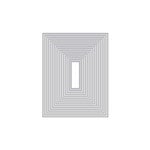
As I said in my previous post, you can make your own cloud stencil on a piece of acetate. I usually create my stencils with my Silhouette Curio Machine, but if you don't have it, just draw a cloud on an acetate sheet and cut it with a pair of scissors. There are many well-known brand companies that sell this kind of stencils so you can purchase it if you prefer (such as, My Favorite Things).
Background
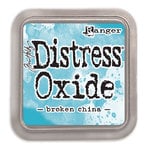
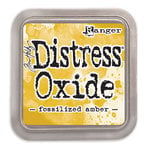
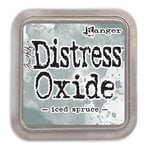
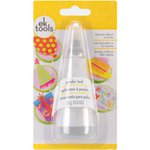
I created this card on a piece of 160 grams paper that is good for alcohol markers. First, I decided the Distress Oxide colors that I was going to use: Fossilized Amber, Spiced Marmalade, Worn Lipstick, Iced Spruce. In other cards, I also used Broken China between the Worn Lipstick and Iced Spruce. I started coloring with the stencil using Ink blending tools for each color and coloring with circular moves slightly. I started from the bottom and continued to the top. I was not following a pattern, just I added the cloud here and there.
Images
As I was going to stamp the images on the background, I stamped some of the images on post-it notes and cut each one with my scissors so that I could make some masking on the panel. Then, I stamped the first image on my cloudy background and I put one of the post-it note that I made before on it, and started to stamp another image and masked this one again with another post-it note... and continued like this until I finished stamping all the images. Finally, I colored the flowers with alcohol markers. I used ProMarkers but you can use Spectrum Noir markers or Copics. I started with medium tones and then, changed to darker tones.
Sentiment
I stamped my sentiment in the middle of my panel using Versamark ink and adding some black embossing powders and heat it with my craft heat gun tool.
Embellishments
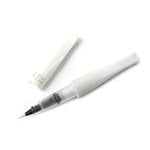
First, I added some clear glitter to the images (with Wink of Stella) and I stamped a butterfly next to the sentiment (I also colored it with alcohol markers) and added on it some Glossy Accents. For the final touch, I added some clear and pink gemstones to the card.
Card Mounting
I glued my card on a heavy weight black cardstock and I adhered all to the white card base.

YouTube Video
Creating this colored cloudy background, I decided to make another card but coloring the flowers in shadows (in black) so that the background highlights over the flowers.


And that's it!
I hope you create your own cloud stencils and practice these colorful backgrounds!


.jpg)
.jpg)
.jpg)
