

Hello crafters! It's me, Cha! Today I want to show you some cards that I made using the My Monthly Hero kit April 2021 from Hero Arts. This kit is still available!! (see HERE to know more about these kits). I had so much fun using these images and the layering stencils that came with the kit. Besides, I learned about it a little bit and I wanted to share it with you.
¡Hola artistas! Soy Cha. Hoy quiero mostrarles algunas tarjetas que hice utilizando el kit de My Monthly Hero de Abril 2021 de Hero Arts. ¡Este kit todavía está disponible! (mira AQUÍ para saber más de estos kits). Me divertí mucho utilizando estas imágenes y las máscaras o esténcils en capa que vinieron con el kit. Además, aprendí un poquito más sobre las máscaras en capas que quisiera compartir con ustedes.

• My Monthly Hero Kit April 2021 - Hero Arts
 ——— https://ldli.co/e/x7e5ld
First of all, I decided to create some backgrounds with the stencils that came with the kit. I decided to emboss the backgrounds created with these stencils but I also wanted to make the same card without embossing. So, we are going to see the differences between the colors and the shiny when you emboss images. See the next photo (embossed background on the left and inked background on the right).
Primero, decidí crear algunos fondos con las máscaras o esténcils que vinieron en el kit. Decidí embosar (hacer embossing) los fondos creados con estos esténcils pero, también, quería hacer la misma tarjeta sin utilizar embossing. Así que, vamos a ver las diferencias entre los colores y el brillo cuando las imágenes, o en este caso, los esténciles son embossados. Mira la siguiente foto (fondo con embossing en la izquierda y fondo con tintas a la derecha).

Como vamos a utilizar esténcils en capas, es importante el orden de cómo utilizar los esténcils. Mira la siguiente foto para ver las diferencias cuando usas primero un esténcil en vez del otro.

La diferencia entre ellos es muy útil saber. Cuando embosas o realizas embossing en un fondo con diferentes capas, debes embosar primero las imágenes u objetos que están en primer plano, luego en el medio y, finalmente, en el fondo. Sin embargo, cuando quieres tintar el fondo con esténcils en capas (sin embossing), el orden de los esténcils serán en el orden contrario, es decir, primero el fondo, luego el medio y el primer plano.

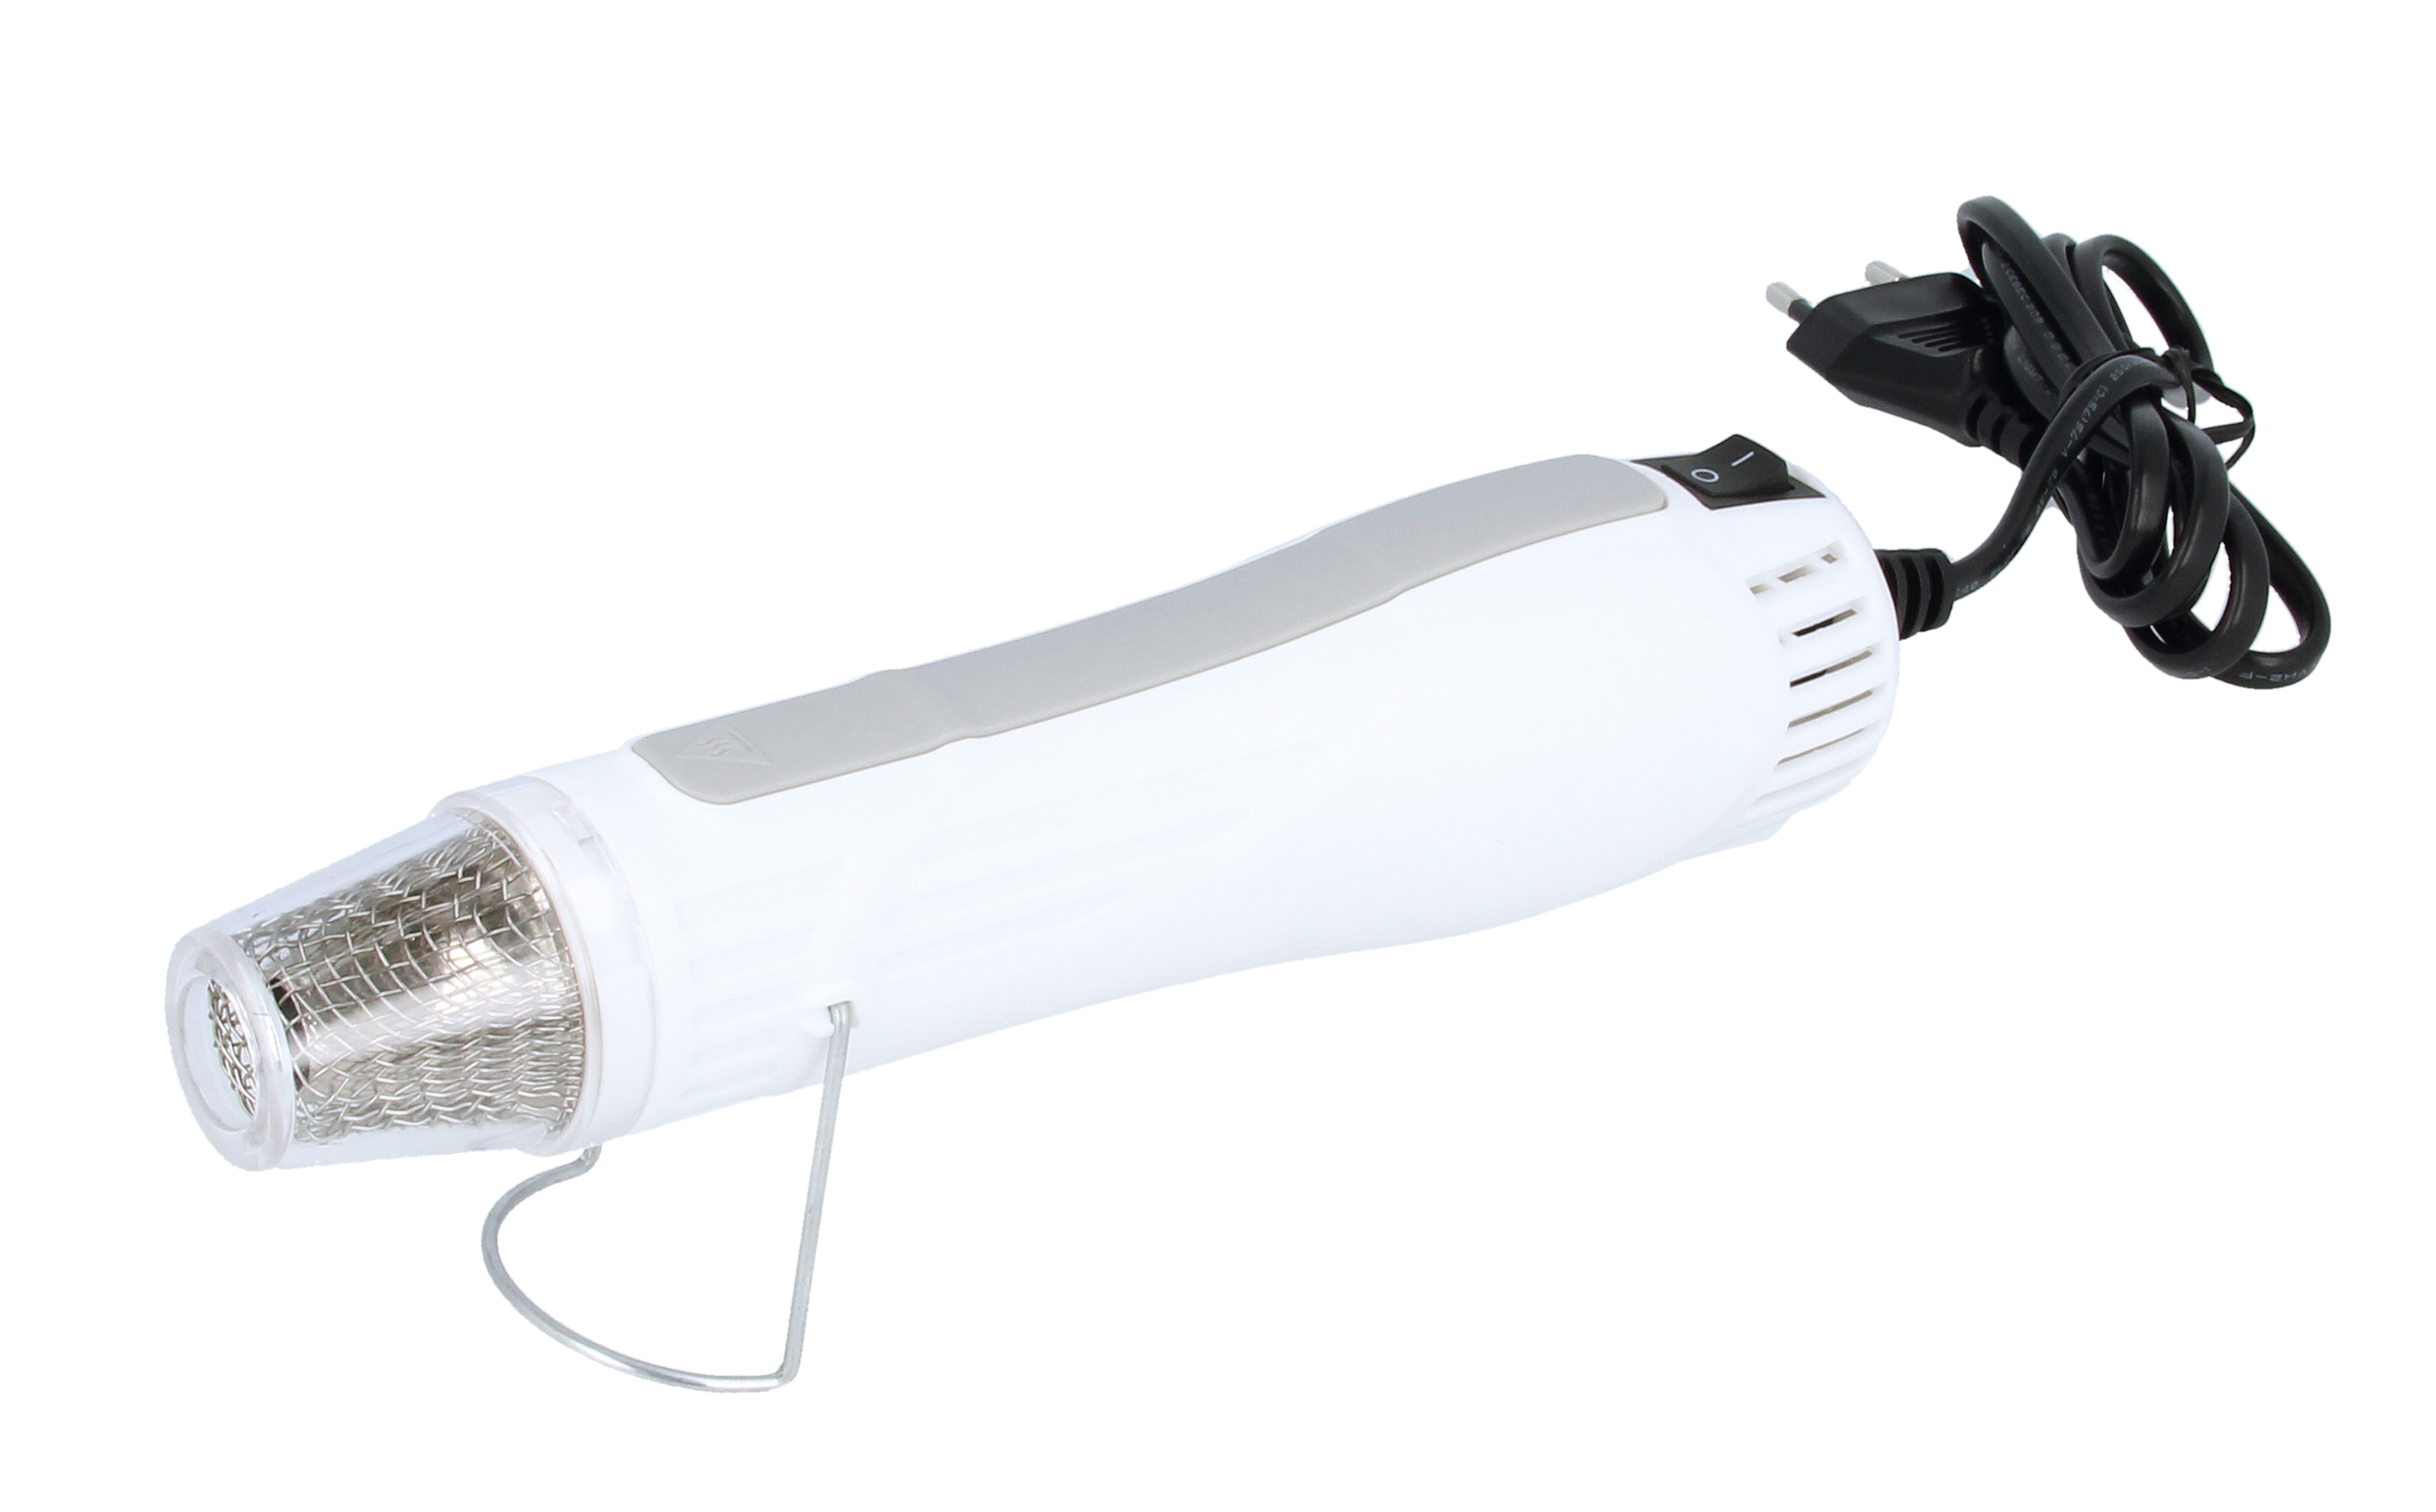
Let's create the embossed background, first I always used an anti-static powder tool. I placed the first stencil on top of a white standard cardstock piece (Neenah Solar White 80lb). I colored the first stencil (the foreground one) with HA Strawberry Bold ink using a blending brush. I cleaned a little the stencil and placed the same stencil again on top of the piece of cardstock but, this time, I used Versamark ink on top - I have a blending brush just for using the Versamark ink. Then, I added the HA Ultra Fine Embossing Powder and heat embossed this piece. Then, I moved on to the second stencil (the middle one). Remember to use an anti-static powder tool every time you change the stencil. I used HA Orchid Bold ink and heat-embossed it again with HA Ultra Fine Embossing Powder. Finally, I used the last stencil layer that was the one that goes to the background, I inked it with HA Lime Green Shadow ink, and heat embossed it with HA Ultra Fine Embossing Powder.
Vamos a crear fondo embosado, primero siempre utilicé la Herramienta de Polvo Antiestática. Puse primero el esténcil sobre un trozo de cartulina blanca tamaño estándar (Neenah Solar White 80lb). Coloreé el primer esténcil (en primer plano) con la tinta HA Strawberry Bold ink (color rojo) utilizando un Cepillo para Tintas. Limpié un poco el esténcil o máscara, y puse el mismo esténcil otra vez sobre la cartulina, pero esta vez, utilicé la tinta Versamark ink - tengo un Cepillo para Tintas que utilizo especialmente para la tinta Versamark ink. Luego, añadí los Polvos de Embossing Ultra Finos de Hero Arts y embosé esta pieza. Después cambié al segundo esténcil (el del medio). Recuerden utilizar una Herramienta Antiestática para Polvo cada vez que cambias la máscara. Utilicé la tinta de color violeta, HA Orchid Bold ink y embosé nuevamente con los Polvos de Embossing Ultra Finos de Hero Arts. Finalmente, utilicé la última capa de esténcil que es la que va en el fondo, tinté con la tinta verde, HA Lime Green Shadow ink y embosé con los Polvos de Embossing Ultra Finos.

Then, I created the other background without embossing. I used the same inks and the order of the stencils was the background, then the middle, and finally, the foreground.
Luego creé otro fondo sin utilizar la técnica de embossing. Utilicé las mismas tintas y el orden de los esténcils o máscaras fueron: fondo, el medio y, el primer plano.


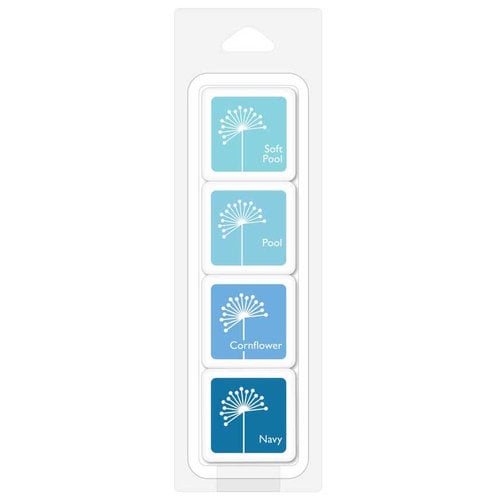
Once I'd created the backgrounds, I started to assemble the cards. I embossed the images and the sentiment that would fit with the embossed background. I used HA Cornflower Shadow ink and HA Tangerine Bold ink for inking the images. Then, I used the anti-static powder tool to heat emboss them with HA Ultra Fine Embossing Powder. I added these images to the embossed background. However, as they were so shiny, I had to add a piece of vellum paper to the embossed background to make a contrast between the images and the background. I also added a white strip between the vellum paper and the embossed background as an embellishment to the background. This panel was mounted on a 4,25 by 5,5-inch folded card.
Una vez que había creado los fondos, comencé a montar las tarjetas. Embosé las imágenes que pegarían con el fondo embosado. Utilicé las tintas azul, HA Cornflower Shadow ink, y naranja, HA Tangerine Bold ink para tintar las imágenes. Luego, utilicé la Herramienta de Polvo Antiestática para embosarlas con el Polvo de Embossing Ultra Fino de Hero Arts. Añadí estas imágenes al fondo con embossing. Sin embargo, como eran tan brillantes, tuve que añadir un trozo de papel Vellum al fondo embossado para dar contraste entre las imágenes y el fondo. También añadí una tira blanca entre el papel Vellum y el fondo embosado como un adorno del fondo. Esta pieza fue montada en una base de tarjeta de 4,25 por 5,5 pulgadas.


To the background that is not embossed, I stamped other images and the sentiment with Versafine Onyx Black ink and die-cut them. I added these to the background with inks with foam tape. I mounted this card also on a white folded card.
Luego, estampé otras imágenes con la tinta Versafine Onyx Black ink y las troquelé. Las añadí al fondo que había creado utilizando tintas con cinta adhesiva de espuma. Monté esta tarjeta en una base blanca para tarjetas.

And these are the two cards! I hope you understand the explanation! If you have any doubt, leave a comment below! Don't forget to subscribe if you like these cards!
¡Y estas son las dos tarjetas! Espero que hayan entendiedo la explicación. Si tienen dudas, ¡ dejen un comentario abajo! ¡No olviden subscribirse si les han gustado estas tarjetas!
Thank you so much for stopping by!
¡Muchas gracias por pasarte por aquí!


|


.jpg)
.jpg)
.jpg)

1 Comments
Hola, Cha! Great choice of colors! Te salieron super bonitas! Abrazos, Mari
ReplyDelete