

[Product links are listed at the end of the page | Enlaces a productos se encuentran alistados a final de página]
Hello there! It's me, Cha! Today I'm showing you two cards that I made just with few colors of the same ink tones. These kinds of cards with the same colors are called "Monochromatic Cards". For these cards, I used the Hero Arts Tulip Field Heroscape Stamp set which is part of a new collection that Hero Arts launched at the beginning of this year (2020). These stamps are layering stamps that are composed of different layers in which you have to line each layer of the stamps up to get a realistic and beautiful scene. You can create colorful scenes as I used this same stamp set to create a beautiful and dreamy card (see HERE) or the technique that I wanted to show you today. You can also watch my video on my YouTube channel. So, let's started!
¡Hola a todos! Soy Cha. Hoy les enseñaré dos tarjetas que hice solamente utilizando algunos colores del mismo tono de color. Estos tipos de tarjetas con los mismos colores se llaman "Tarjetas Monocromáticas". Para estas tarjetas, utilicé el set de sellos Tulip Field Heroscape de Hero Arts que es parte de su nueva colección que Hero Arts lanzó a comienzos de este año (2020). Estos sellos son sellos en capas que están compuestos por diferentes capas que vas alineando una tras otra para conseguir una escena realista y bonita. Puedes crear escenas coloridas como utilicé este mismo set de sellos para crear una bonita y escena de ensueño para una tarjeta (mira AQUÍ) o la técnica que quise realizar hoy y que te enseñaré. Puedes también ver el vídeo en mi canal de YouTube. ¡Comencemos!

First of all, I picked a 4,25 by 5,5-inch Dove Premium Cardstock from Hero Arts. I placed the cardstock inside my Mini MISTI Stamping Tool. This tool is really useful for stamping the images and lining up the stamps correctly. I picked the first layer of the stamp set which is the first layer of the grass part and placed on top of the cardstock piece, then I closed the lid of my Mini MISTI to pick the stamp. I inked this stamp with HA Bubble Gum Shadow Ink and pressed it down on top of the cardstock. I stamped the image several times to get a more defined image. Then, I changed the stamp to the second layer of the grass, and I stamped this with HA Raspberry Jam Shadow Ink. Later, I moved on the third layer which is part of the flowers, the first layer for the flowers I stamped with HA Soft Pink Shadow Ink and I stamped the last one with HA Mulled Wine Bold Ink. The result is gorgeous even with the same shades of colors!
Primero, escogí un trozo de cartulina blanca de 4,25 por 5,5 pulgadas de la cartulina de Hero Arts, especial para tarjetería llamada Dove Premium Cardstock. Puse la cartulina dentro de la Herramienta de Estampación Mini MISTI. Esta herramienta es muy útil para estampar imágenes y alinear los sellos de la manera correcta. Tomé la primera capa del set de sellos que es la primera capa de la parte del césped y la puse sobre el trozo de cartulina, luego cerré la tapa de la Mini MISTI para coger el sello. Tinté este sello con la tinta de Hero Arts Bubble Gum Shadow Ink y presioné la tapa sobre la cartulina para estampar el sello. Estampé la imagen varias veces para conseguir una imagen más definida. Luego, cambié el sello a la segunda capa del sello de la parte del césped, y estampé este sello con la tinta HA Raspberry Jam Shadow Ink. Más tarde, continué con la tarcera capa que continúa con la parte de las flores, la primera capa de las flores estampé con la tinta Hero Arts Soft Pink Shadow Ink y estampé la última capa con la tinta Hero Arts Mulled Wine Bold Ink. ¡El resultado es precioso incluso con las mismos tonos de un solo color!

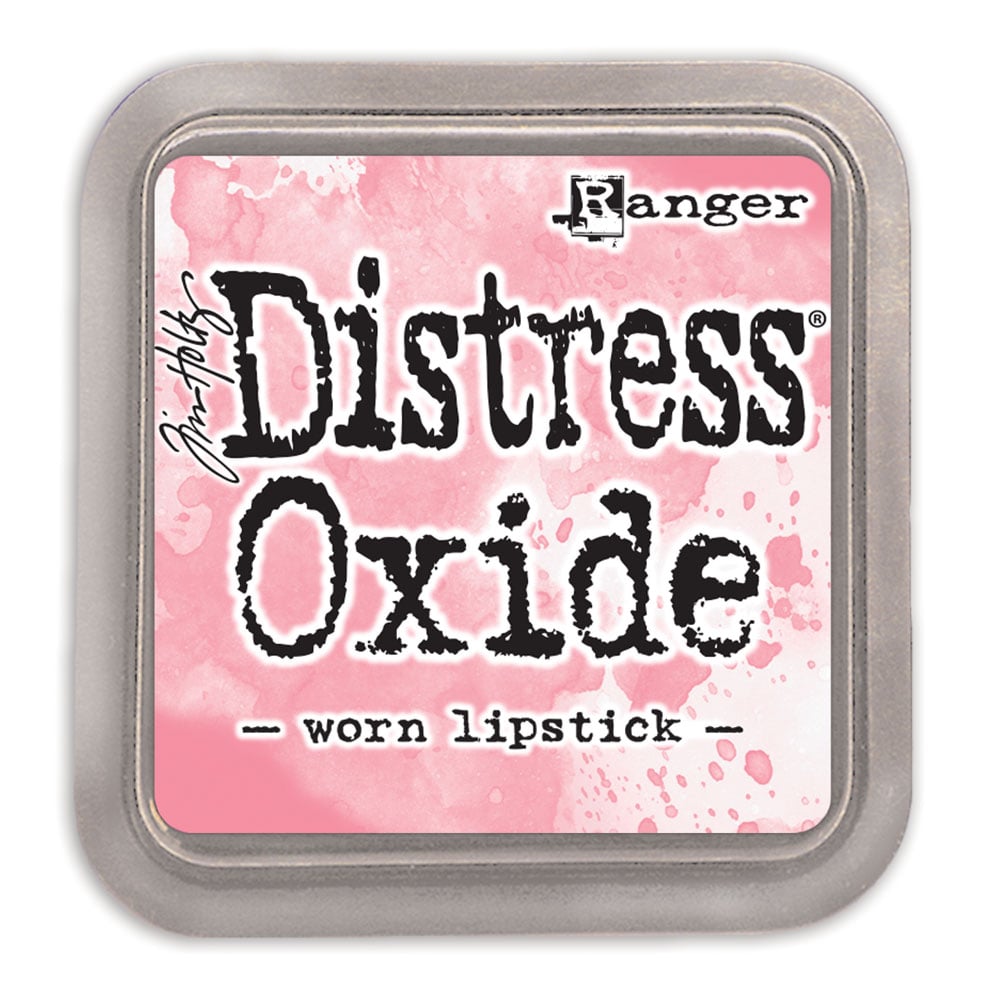
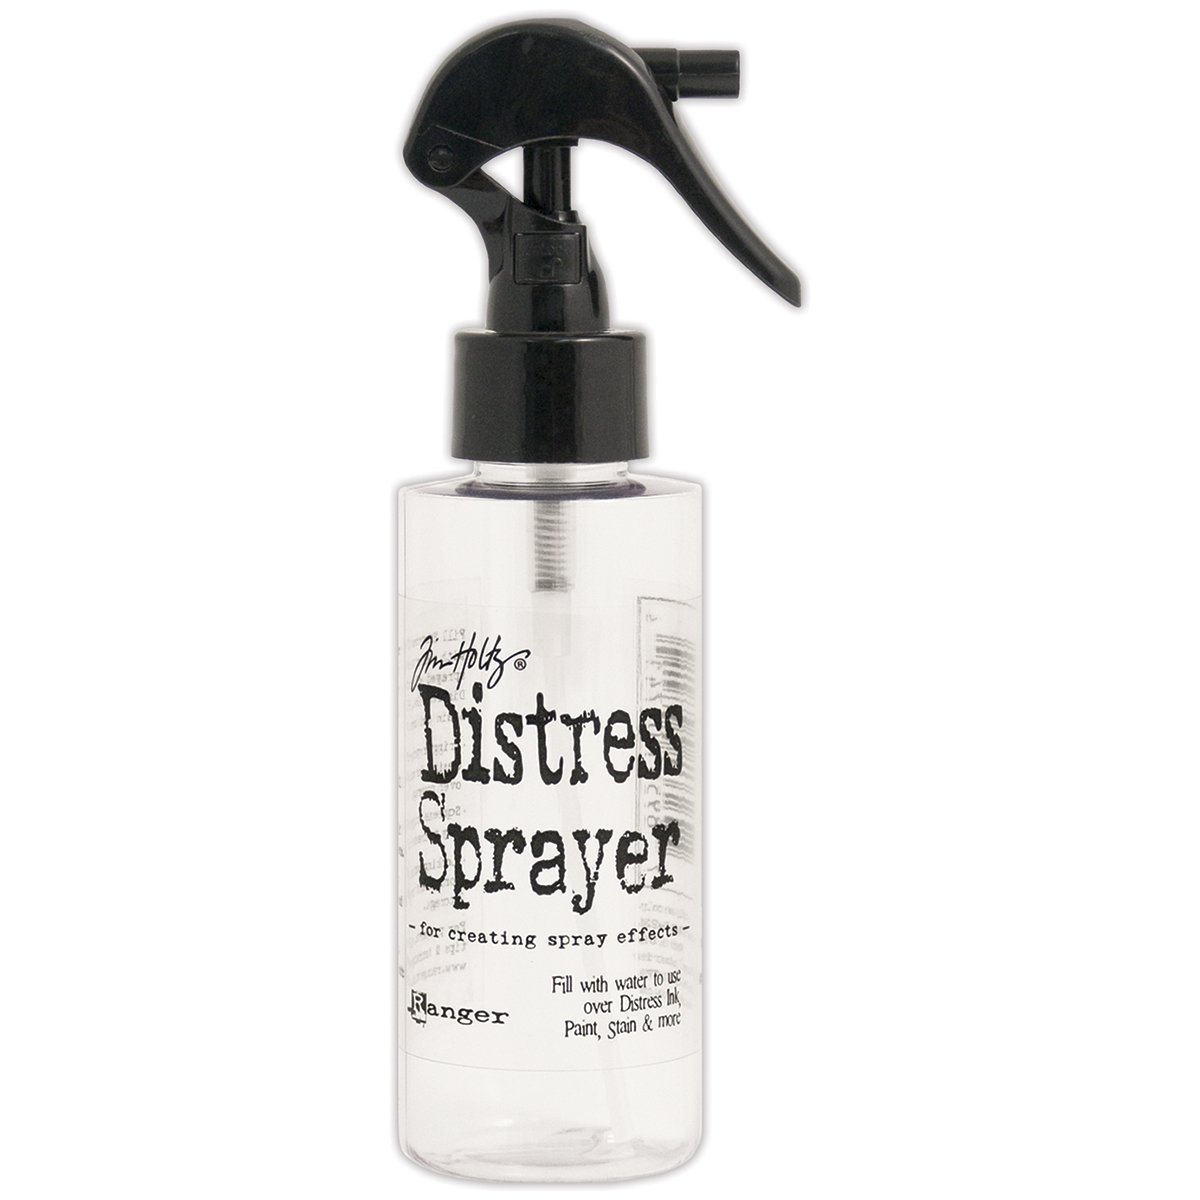
One of my favorite techniques in cardmaking is Masking. It is sometimes tedious since you have to cut the pieces in a fussy way but when you use those pieces of masking and see the result of your card, then you see that it is worth it. I created several masks for my scene, I stamped the first layer of the grass on Masking Paper and die cut a medium-small circle from HA Infinity Circle Die on Masking Paper so that I could create the sun and color the sky. I put the circle on the card and placed the masking piece on top of the grassy area. Then, I used some Ink Blending Tools to apply several Distress Oxide Inks colors - Picked Raspberry, Worn Lipstick, and Spun Sugar. I removed the masking pieces and colored inside the sun with some Distress Oxide Spun Sugar Ink. I also sprayed some water at the top of the card to give it a more interesting look.
Una de mis técnicas favoritas en tarjetería es el Enmascarado. A veces es algo tedioso porque tienes que cortar las piezas de una manera meticulosa pero cuando tu usas el papel de enmascarar y ves el resultado de la tarjeta, puedes ver que merece la pena. Cree varias máscaras para la escena, estampe la primera capa del césped en Papel de Enmascarar y troquelé un círculo de tamaño mediano que viene con el set de troqueles de Hero Arts Infinity Circle Die sobre Papel de Enmascarar para poder crear el sol y colorear el cielo. Puse el círculo en la tarjeta y puse el papel de enmascarar sobre la parte del césped. Entonces, utilicé Aplicadores de Tintas para colorear el cielo con diferentes tintas Distress Oxide Inks - Picked Raspberry, Worn Lipstick, y Spun Sugar. Quité las piezas de enmascarado y coloreé dentro del sol con la tinta Distress Oxide Spun Sugar Ink. También rocié con agua en la parte superior de la tarjeta para darle un poco de interés al cielo.

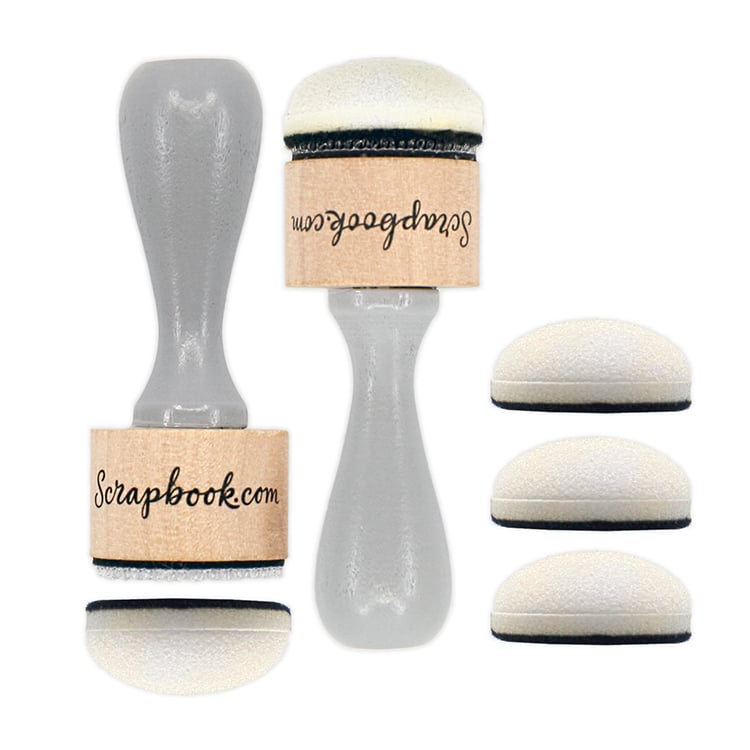
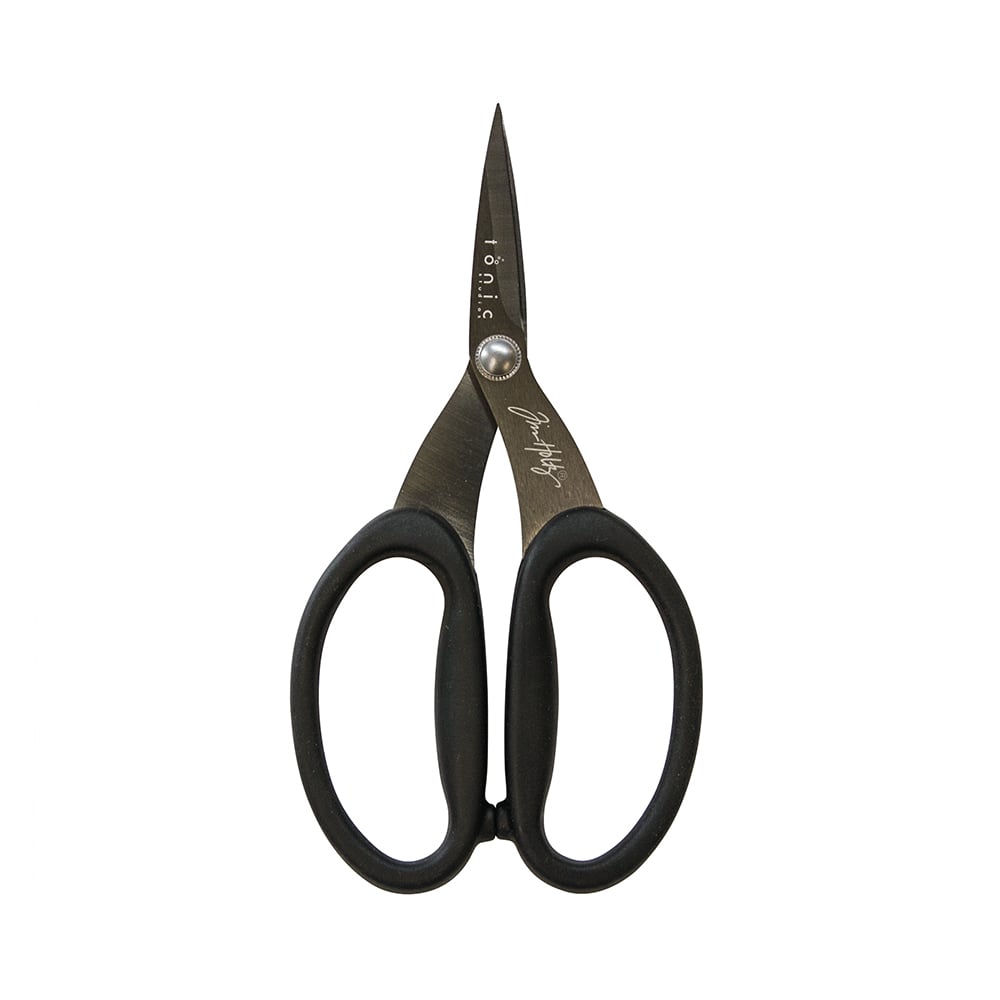
I returned to my Mini MISTI Stamping Tool to stamp several images, a tree, a hot-air balloon, and a windmill. I stamped these images with HA Soft Pink Shadow Ink, then I applied a little bit of HA Raspberry Jam Shadow Ink with a Sponge Dauber to give a little contrast to the images. I learned this from Yana Smakula but she usually uses Hero Arts Ombré inks but I prefer using the inks that I've already purchased, and the sponge dauber. Then, I cut around each image with a pair of scissors because I ordered the coordinating dies but they have not arrived yet (because of the Coronavirus). I also decided to add some clouds that I picked from HA Color Layering Sea and Sky Stamps but I only stamped the first layer of the clouds which is the most solid image.
Volví a la Herramienta de Estampación Mini MISTI para estampar algunas imágenes, un árbol, un globo aereoestático y un molino de viento. Estampé estas imágenes con la tinta de Hero Arts Soft Pink Shadow Ink, luego apliqué un poco de la tinta de Hero Arts Raspberry Jam Shadow Ink con un tapón para tinta (Sponge Dauber) para darle un poco más de contraste a las imágenes. Aprendí esta técnica de Yana Smakula pero ella usualmente utiliza las tintas Hero Arts Ombré inks pero yo prefiero utilizar las tintas que ya he comprado, y los tapones aplicadores de tintas. Luego, recorté alrededor de las imagenes con unas tijeras porque pedí los troqueles coordinados para este set pero no han llegado todavía (por el Coronavirus). También decidí añadir algunas nubes que escogí del set de sellos de Hero Arts Color Layering Sea and Sky pero solo estampé la primera capa de las nubes que es la imagen más sólida del set.

Before gluing all the images to the card, I added the panel that I trimmed down first to a piece of HA Peony Premium Cardstock (a light pink cardstock) and added to a white folded card. Later, I designed the card without adhering to the images, just to see where I was going to stamp the sentiment for this card. So, I stamped the sentiment with HA Raspberry Jam Shadow Ink. When I finished stamping the sentiment, I could add all the images as I'd planned early using some Foam Circles and Strips.
Antes de pegar todas las imágenes a la tarjeta, corté los laterales del fondo y la pegué sobre una cartulina rosa, Hero Arts Peony Premium Cardstock y la añadí a una base de tarjeta blanca. Luego diseñe la tarjeta sin pegar las imágenes, solo para ver donde quería que fueran los elementos y la frase para esta tarjeta. Así que estampé la frase con la tinta Hero Arts Raspberry Jam Shadow Ink. Cuando terminé de estampar la frase, pude añadir todas las imágenes como había planificado antes y utilizando los círculos y tiras adhesivas de espuma.
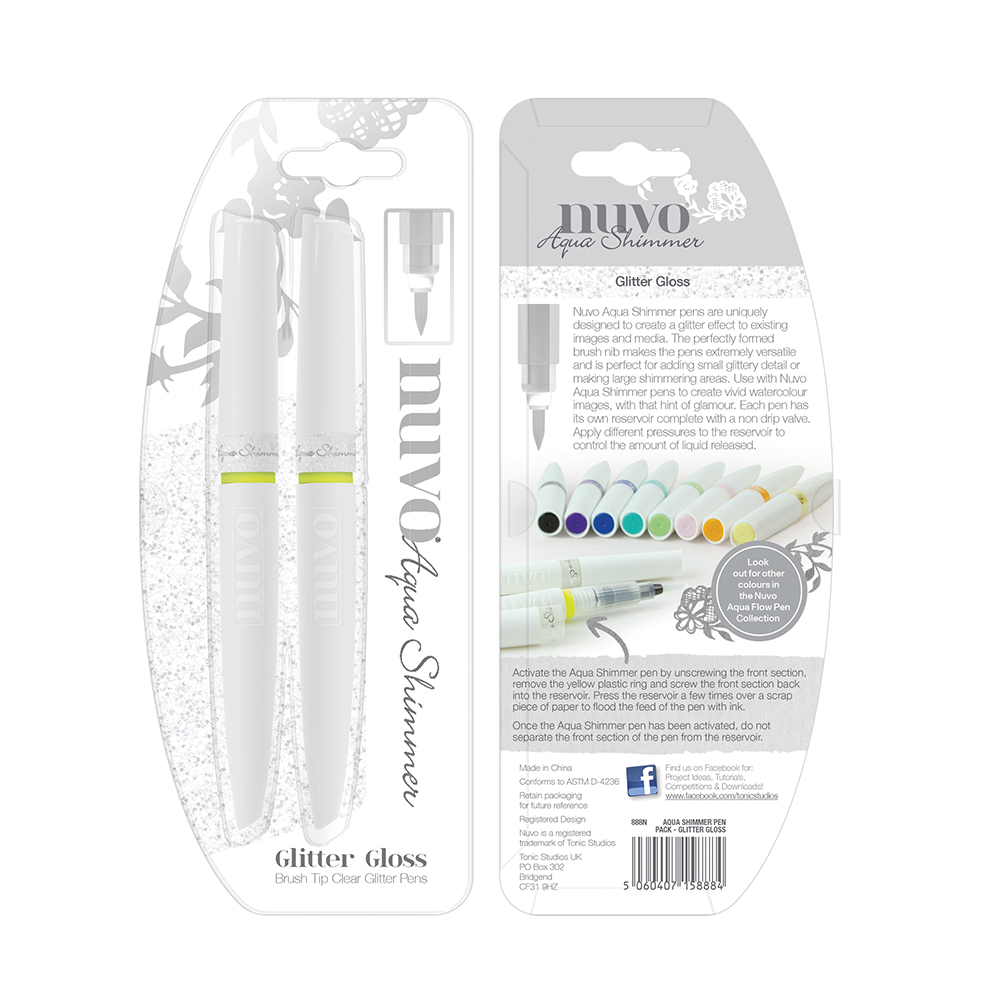
To finish this card, I added some shimmer to the images with the NUVO Aqua Shimmer Pen.
Para terminar esta tarjeta, añadí brillo a las imágenes con el NUVO Aqua Shimmer Pen.


I also created another card in different shades of teal and blue. The colors that are used were:
También creé otra tarjeta en diferentes tonalidades de turquesa y azul. Los colores que utilicé fueron:
- Flowers | Flores: HA Soft Pool Shadow Ink and a reactive ink that came with one of the Hero Arts kits but it is similar to Blue Raspberry Reactive Ink.
- Sky | Cielo: Tumbled Glass Distress Oxide ink and Broken China Distress Oxide Ink. The sun was colored with a little of Tumbled Glass Distress Oxide ink.
- Sentiment | Frase: HA Emerald Green Shadow ink.


These are the two cards that I made for today and I hope you like how these two cards turned out! For me, they are gorgeous! In fact, the monochromatic technique is one of my favorite techniques in cardmaking especially when you are in trouble with the color choice on your cards. And you? Do you like Monochromatic cards?
Estas son las dos tarjetas que hice para hoy y espero que les guste como han quedado. Para mí, ¡son preciosoas! En realidad, la técnica monocromatica es una de mis técnicas favoritas en tarjetería sin dudarlo, especialmente cuando tienes problemas con la decisión de colores en las tarjetas. ¿Y a ti? ¿Les gustan las tarjetas monocromáticas?
Thank you so much for stopping by!
¡Muchas gracias por visitar mi blog!


|


.jpg)
.jpg)
.jpg)

0 Comments