[Product links are linked at the end of the page | Enlaces a productos se encuentran alistados a final de página]
Hi there! It's me, Cha. Hero Arts has released new layering stamps for creating a landscape card scene. These layering stamps are gorgeous and they are easy to line up when creating the card. I also inked the stamps with a different variety of colors so that the images could have different colored shades.
¡Hola a todos! Soy Cha. Hero Arts ha lanzado nuevos sellos en capas para crear una escena con un paisaje. Estos sellos en capas son precioso y son fáciles para alinear cuando creas la tarjeta. También, tinté los sellos con una variedad diferente de colores para que las imágenes pudieran tener differentes matices de colores.
I used the Tulip Field Heroscape Stamp Set for creating this card. First, I stamped the grass part at the bottom of the card. I used a piece of Hero Arts Dove Cardstock that I previously cut in a piece for a standard card (4,25" by 5'5"). As I wanted my scene to have different tones, I needed the Mini MISTI Stamping tool in order not to mess up the scene at some point in creation. I started by creating the grass part at the bottom of the card with the first layer of the layering stamp set. I inked the stamp with Hero Arts Fresh Lawn ink (mid-tone green) and pressed down firmly on the cardstock, then I just inked the bottom part of the stamp with Hero Arts Forest ink (a dark mid-tone green) that came with one of the My Monthly Hero kits. In order to create a transition of color between the dark and light shade, I used a Sponge Dauber to mix both colors a bit and I pressed down on the cardstock.
Utilicé el Set de Sellos Tulip Field Heroscape para crear esta tarjeta. Primero estampé la parte del césped en la parte inferior de la tarjeta. Utilicé un trozo de Cartulina Dove de Hero Arts (cartulina blanca) que previamente corté para una tarjeta estándar americana (4,25 pulgadas por 5,5 pulgadas). Como quería que esta escena tuviera diferentes tonalidades de colores, necesité la Herramienta para Estampar Sellos Mini MISTI para no estropear la escena en algún momento de realizarla. Comencé creando la parte del césped en la parte inferior de la tarjeta con la primera capa del sello de este set de sellos por capas. Tinté el sello con la tinta de Hero Arts Fresh Lawn (un tono medio de verde) y presioné firmemente en la cartulina, luego impregné solo la parte más inferior del sello con la tinta Forest ink (un tono medio verde oscuro) que vino con uno de los Kits "My Monthly Hero". Para crear una transición de color entre el color oscuro y claro, utilicé un tampón para aplicar tinta (se llama Sponge Dauber) para mezclar ambos colores un poco y una vez que tinté el sello, presioné sobre la cartulina muy bien.
I changed the stamp to the second layer of this grass part. I inked the stamp with Hero Arts Pine ink (a dark mid-tone green). Then, I used Hero Arts Lime Green ink (light mid-tone green) to ink some parts of the stamp that I hadn't colored. Later, I inked just the bottom part of the stamp with Hero Arts Forever Green (dark mid-tone green) that I stamped on top of another layer that I had stamped before.
Cambié el sello de la capa segunda de esta parte del césped. Tinté el sello con la tinta de Hero Arts Pine (un tono medio de verde oscuro). Luego utilicé la tinta de Hero Arts Lime Green (un tono medio verde claro) para tintar algunas partes del sello que no había coloreado. Más tarde, tinté solo la parte más inferior del sello con la tinta Hero Arts Forever Green (un tono medio verde oscuro) que estampé sobre la otra capa que había estampado antes.
I moved on to place the first layer of the flowers on the lid of the Mini MISTI. As I wanted different colored flowers, I started adding some different Hero Arts soft inks mainly, applying them with a Sponge Dauber. For this first layer, I used the following inks: Soft Pink Ink, Pale Tomato Ink, Rose Madder ink, Soft Yellow Ink, Mint Julep Ink, Soft Pool Ink. Later, I used the last layer of the flowers to get a more realistic scene and give contrast by using vibrant colors. For this layer, I colored this stamp with the same colors to the previous layer but with vibrant or dark colors and using the Sponge Dauber to apply the color, too. You can use the inks that you've already have and use in the previous layer, just double stamping in this second layer to create a dark color. For this layer, I used the following inks: Emerald Green Ink, Dandelion Ink, Cornflower Ink, Red Royal Ink, Raspberry Jam Ink, Rose Madder Ink.
Luego, continué con la primera capa para estampar las flores que puse en la tapa de la Mini MISTI. Como quería que las flores fuesen de diferente color, comencé añadiendo diferentes tintas de colores claros de Hero Arts principalmente aplicándolas con un tapón de tinta (Sponge Dauber). Para esta primera capa, utilicé las siguientes tintas: Soft Pink Ink, Pale Tomato Ink, Rose Madder ink, Soft Yellow Ink, Mint Julep Ink, Soft Pool Ink. Más tade utilicé la última capa de sello de las flores para que pareciera una escena más realista y darle contraste utilizando colores más brillantes. Para esta capa, coloré este sello con los mismos colores que en la capa anterior pero con colores más brillantes u oscuros y utilizándo los tampones de tinta para aplicarlos. En realidad, puedes utilizar las tintas que ya tengas y utilizar las mismas que utilizaste en la capa anterior, solo que para lograr un color más intenso hay que estampar dos veces o incluso tres en la misma posición. Para esta capa, utilicé las siguientes tintas: Emerald Green Ink, Dandelion Ink, Cornflower Ink, Red Royal Ink, Raspberry Jam Ink, Rose Madder Ink.
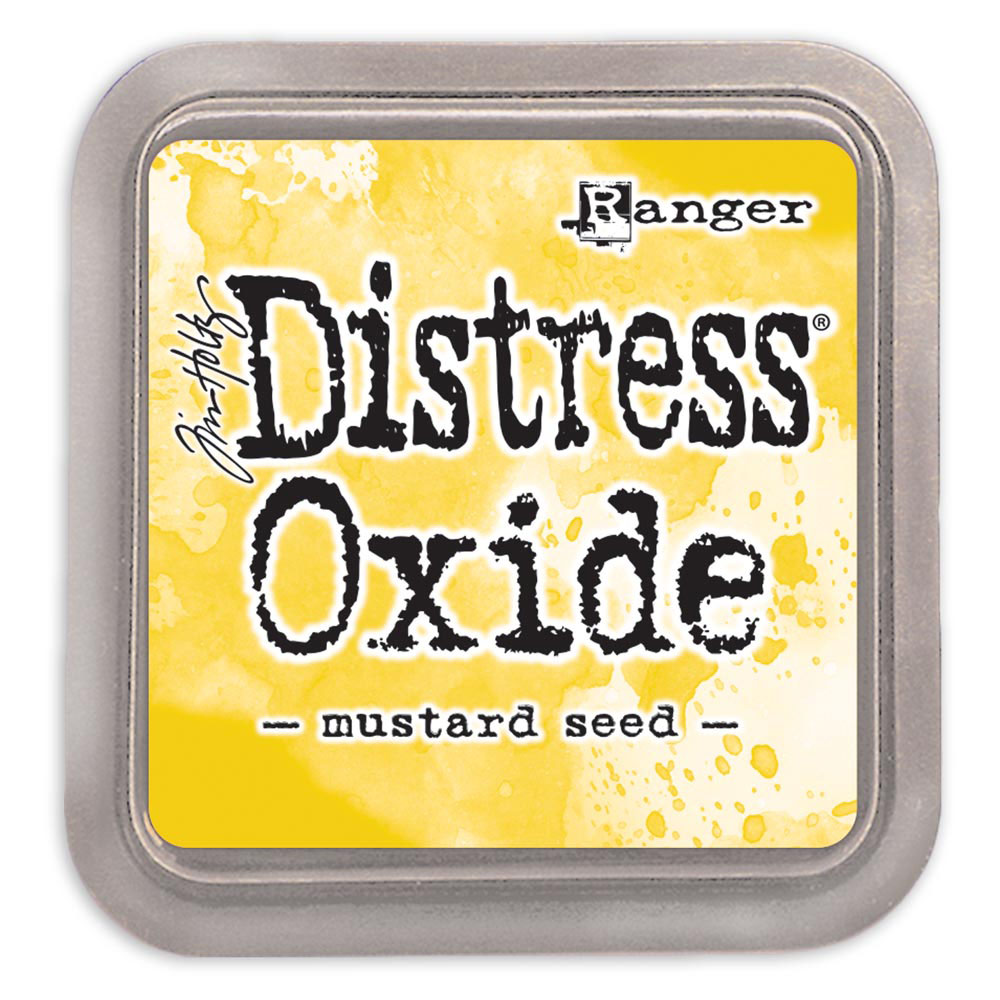
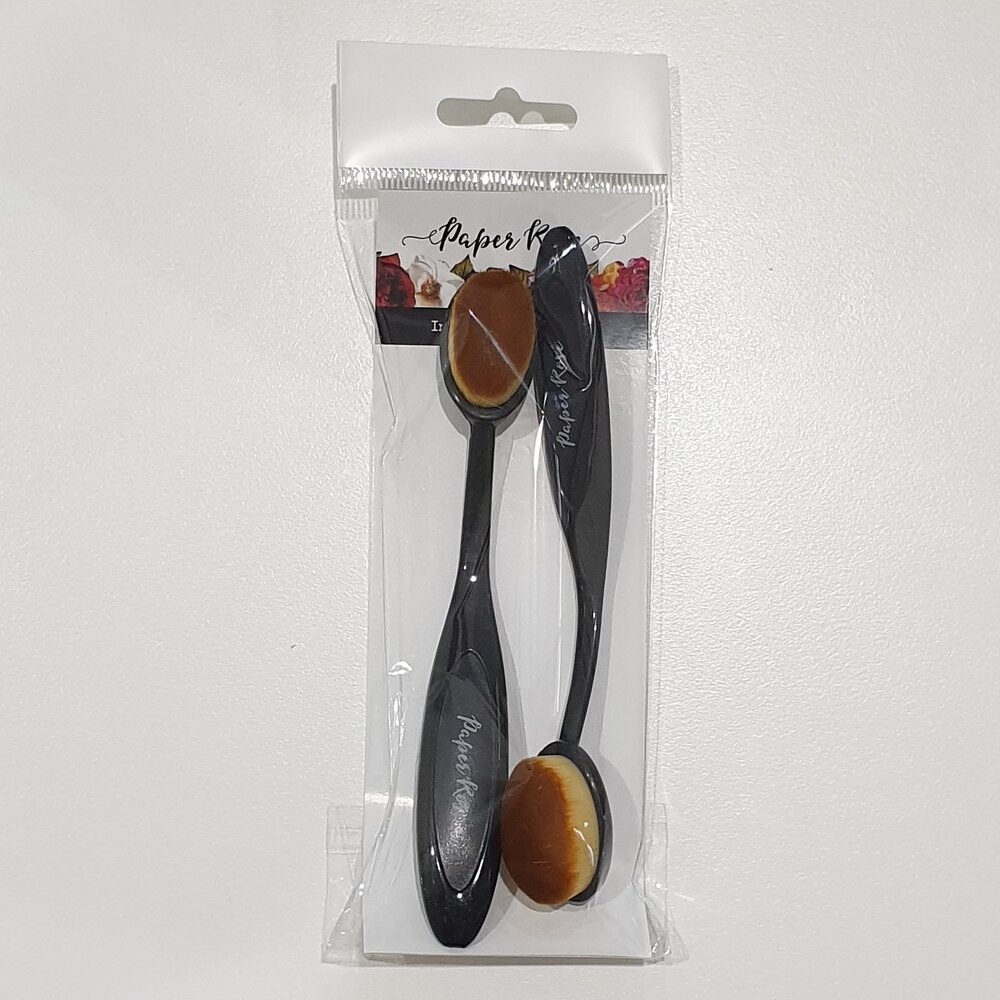
I created a mask for the grass area so that I could color the sky. I used masking paper and stamped the two layers, the first layer of the grass and the flowers. I just fussy cut the top part that is where the flowers are. I added the mask paper on top of the grass area and I also stamped the mill and the tree that came with the stamp set with Soft Brown Ink. I also masked these images. I wanted to create the sun, so I die cut one circle from the set Hero Arts Circle Infinity Die set on Masking Paper and added this circle on my panel. For coloring the sky, I used a blending brush to apply Distress Oxide inks. Next to the sun, I applied Mustard Seed, then Squeezed Lemonade, and on the furthest area, I used Tumbled Glass and Broken China. I removed the masking piece from the sun, I added Squeezed Lemonade and some highlights with Mustard Seed, using a smaller blending brush. As there were some white areas because of the masking, I decided to add Squeeze Lemonade Oxide Ink in order to give some balance to the colors. What's more, I added the sentiment on the card with Soft Brown ink.
Creé una máscara para el área del césped para poder colorear el cielo. Utilicé Papel de Enmascarado y estampé dos capas, la primera capa del césped y de las flores. Recorté solo la parte superior donde están las flores. Añadí el papel de enmascarado sobre la parte del césped y estampé el molino y el árbol que venían con el set de sellos con la tinta de Hero Arts Soft Brown ink. También enmascaré estas imágenes. Quise crear el sol, así que troquelé uno de los círculos que venían en el Set de Troqueles de Hero Arts Circle Infinity Die sobre papel de enmascarado y añadí este círculo en el panel. Para colorear el cielo, utilicé un aplicador de tinta tipo cepillo para aplicar las tintas Distress Oxide. Al lado del sol, apliqué las tintas Mustard Seed y squeezed Lemonade, y en las partes más alejadas utilicé las tintas Tumbled Glass y Broken China. Quité la pieza de enmascarado del sol, y añadí la tinta Squeezed Lemonade y dí algunos toques con la tinta Mustard Seed utilizando un cepillo de tinta más pequeño. Como habían algunas áreas de color blanco por el enmascarado, decidí añadir la tinta Distress Oxide Squeezed Lemonade para dar equilibro en los colores. Además añadí la frase en la tarjeta con la tinta de Hero Arts Soft Brown.
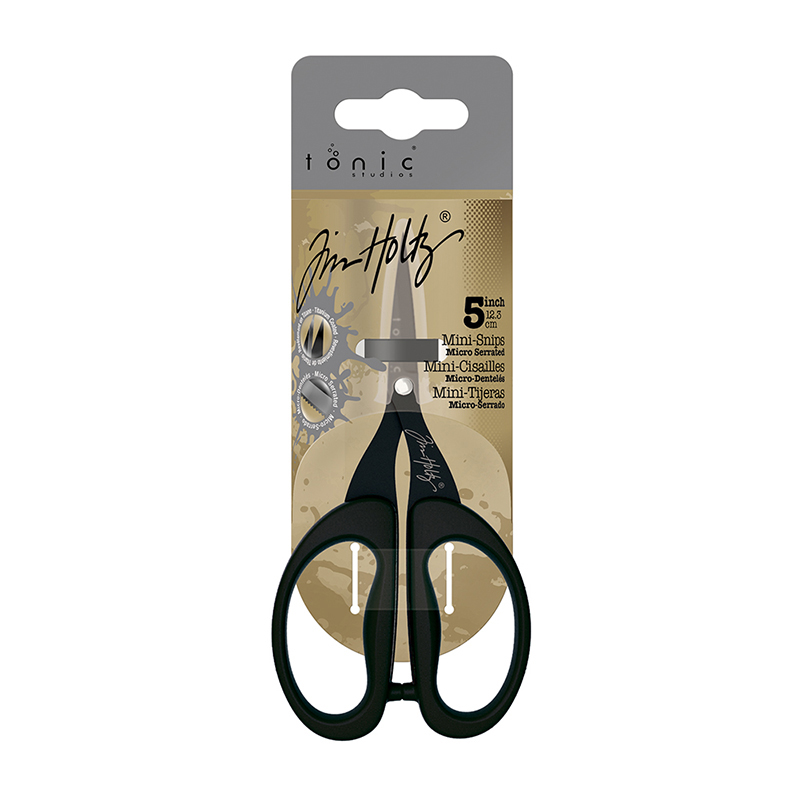
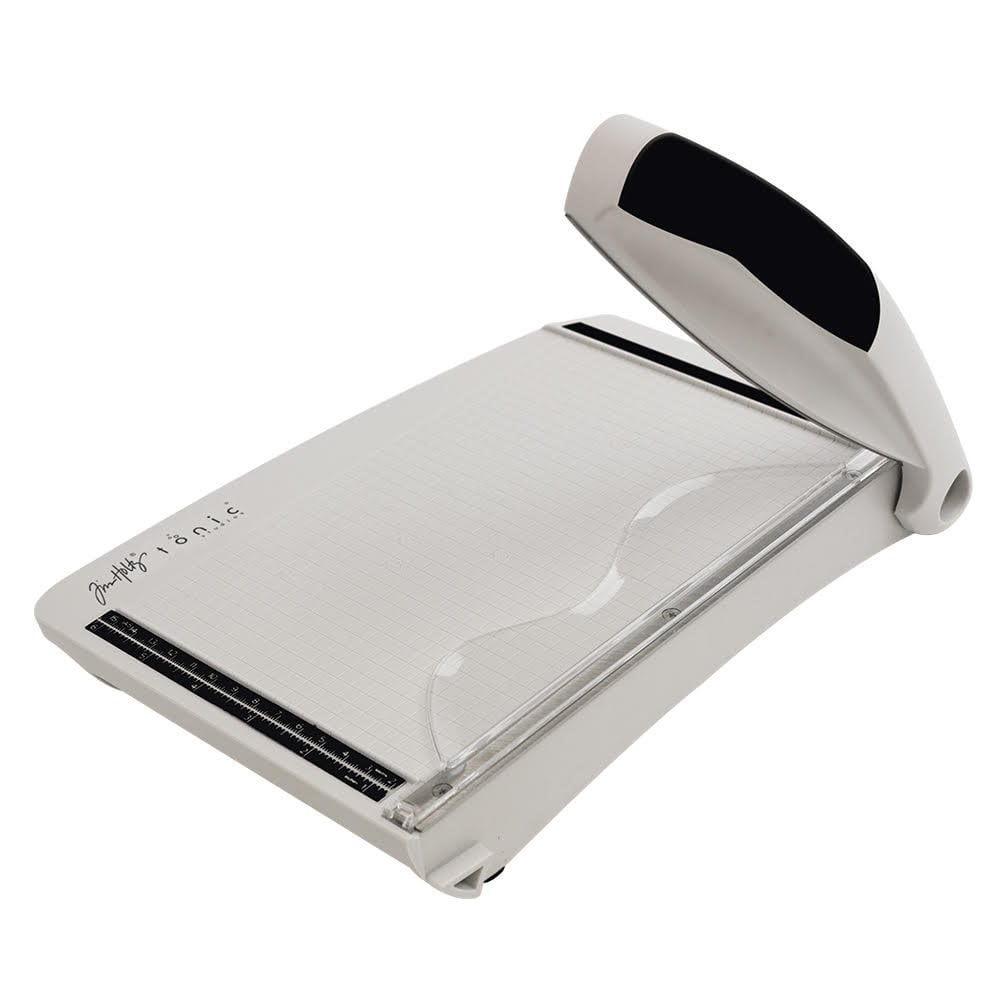
For mounting the card on the card base, I picked a piece of Hero Arts kraft paper and added on top of a White Folded Card with some Adhesive Tape. Then, I trimmed the sides of the panel a little bit using the Tim Holtz Comfort Trimmer and glued on top of the card base. This is the completed card, I didn't add any sequins or shimmer, I wanted this scene to be as natural as possible.
Para montar esta tarjeta en la base, puse un trozo de Papel Kraft sobre la Base de la Tarjeta de color blanco con Cinta Adhesiva. Luego, recorté los lados del panel un poco utilizando la Guillotina Pequeña de Tim Holtz y lo pegué sobre la tarjeta base. Esta sería la tarjeta ya completa, no quise añadir ningunas lentejuelas ni brillo, solo quería que esta escena fuese lo más natural posible.
I hope you like this card and I hope I can see you soon and stay safe in this difficult time.
Espero que les haya gustado esta tarjeta y espero que poder verlos prontito y cuídense para que todo esto pase rápido.
[Not all the product links are part of Affiliate Programs | No todos los programas de afiliados son parte de Programa de Afiliados]
|










.jpg)

0 Comments