

[Product links are listed at the end of the page | Enlaces a productos se encuentran a final de página]
Hello there! It's me, Cha! Today I'm so excited because I made some cards using the My Monthly Hero kit June 2020 that I loved so much! It's one of my favorites! Unfortunately, this kit is sold out but you can vote for it at the end of this year because Hero Arts usually launches one of their past kits at the beginning of the next year! I created one card but then I also made some different cards but placing the elements in different positions. I hope you like this card as much as I do! I've always wanted to visit Iceland and see the aurora borealis! A friend of mine visited this place and he told me that it was wonderful although it was so cold it was worth it to visit it.
¡Hola a todos! Soy Cha. Estoy emocionada porque hice algunas tarjetas utilizando el kit de Hero Arts Junio 2020 que me encanta un montón! ¡Sin dudar es uno de mis kits favoritos! Desafortunadamente este kit ya está agotado pero pueden votar por el a finales de año porque Hero Arts usualmente lanza uno de sus kits pasados al comienzo del año siguiente! Creé una tarjeta pero no pude resistirme y creé muchas más cambiando los elementos de lugar. Espero que les guste esta tarjeta tanto como a mí. Siempre he querido visitar Islandia y ver la Aurora Boreal! Un amigo mío visitó este país y me comentó que fue maravilloso aunque había mucho frío pero que merecía la pena visitarlo.

First of all, I die cut the images for this card. For this, I picked the Tonic Studios Holo Waves Mirror Cardstock, Hero Arts Dove Premium Cardstock, and Hero Arts Layering Vellum and die cut the elements from the My Monthly Hero kit June 2020 on these different kinds of cardstock. Also, I decided to die cut some clouds from the Color Layering Sea & Sky-Frame Cuts. I kept some left pieces to create other cards that I show you at the end of the page.
Primero, troquelé las diferentes imágenes para esta tarjeta. Para ello, elegí una cartulina especial de Tonic Studios llamada Holo Waves Mirror Cardstock que es tipo holográfica, es decir que cambia de color según mueves la cartulina, utilicé cartulina blanca de Hero Arts (Dove Premium Cardstock) y el papel Vellum que es translúcido que se parece al papel vegetal para calcar pero tiene más gramaje. Troquelé los elementos que vienen con el kit de Hero Arts (llamado My Monthly Hero kit) del mes de Junio 2020 en estas cartulinas. También decidí troquelar algunas nubes del set de troqueles llamado Color Layering Sea & Sky Frame Cuts. Guardé algunas piezas que sobraron para crear otras tarjetas que les muestro al final.

Later, I created the background. I used the Original MISTI Stamping tool to stamp the rubber stamp that came with the kit. I picked a standard panel (4,25 by 5,5 inches) on the Holo Waves Mirror Cardstock and placed it in the MISTI. Then, I placed the rubber stamp and closed the lid of the MISTI to hold the stamp. I inked the stamp with Versamark Ink after I applied an Anti-Static Powder Tool to avoid the powder to adhere to other areas that I did not want to. Once I inked the stamp, I pressed down the lid on the cardstock several times. Then, I picked the piece carefully and added White Embossing Powder and heat it with my Heat Tool to dry the powder. I waited some seconds to let it dry and cleaned it with a cloth to remove the powder that stayed on the surface.
Más tarde creé el fondo para esta tarjeta. Utilicé la Herramienta para Estampar Sellos llamada Original MISTI Stamping Tool para estampar el sello de caucho que vino con el kit. Elegí una cartulina estándard para la tarjeta (de 4,25 por 5,5 pulgadas) en la cartulina especial de Tonic Studios, Holo Waves Mirror Cardstock y la posicioné dentro de la MISTI. Luego puse el sello de caucho sobre la cartulina y cerré la tapa de la MISTI para que la tapa agarre el sello. Impregné el sello de la tinta Versamark después de haber aplicado una herramienta antiestática para evitar que el polvo se adhiera a otras zonas del panel que no quisiera. Una vez que impregné el sello con la tinta Versamark, presioné la tapa sobre la cartulina varias veces. Luego, recogí la cartulina cuidadosamente y le añadí los Polvos de Embossing Blancos que los sequé utilizando una Pistola de Calor o Embossing. Esperé unos segundos para dejarlos secar y lo limpié con un trapo para eliminar los polvos que se quedaron en la superficie.

Also, I heat embossed the sentiment with White Embossing Powder using the Tonic Studios Holo Waves Mirror Cardstock.
También repujé (embossing) la frase para la tarjeta con Polvos de Embossing Blancos y utilizando la cartulina de Tonic Studios Holo Waves Mirror Cardstock.

I assembled this card using strong liquid glue. First, I glued the vellum mountains on the background. Then, I added a white piece of the lighthouse in the middle. Later, I combined different clouds from vellum and white cardstock that I glued at the top of the card. Finally, I added some stars and the moon that I die cut on the holographic cardstock by Tonic Studios and glued the sentiment at the bottom right corner of the card.
Adherí los elementos en la tarjeta utilizando un pegamento líquido fuerte. Primero pegue las montañas de papel vellum en el fondo. Luego añadí el faro en cartulina blanca en el medio de la tarjeta. Más tarde, combiné diferentes nubes de papel vellum y de cartulina blanca que pegué en la parte superior de la tarjeta. Finalmente, añadí algunas estrellas y la luna que troquelé en la cartulina holográfica de Tonic Studios y pegué la frase en la esquina inferior derecha de la tarjeta.

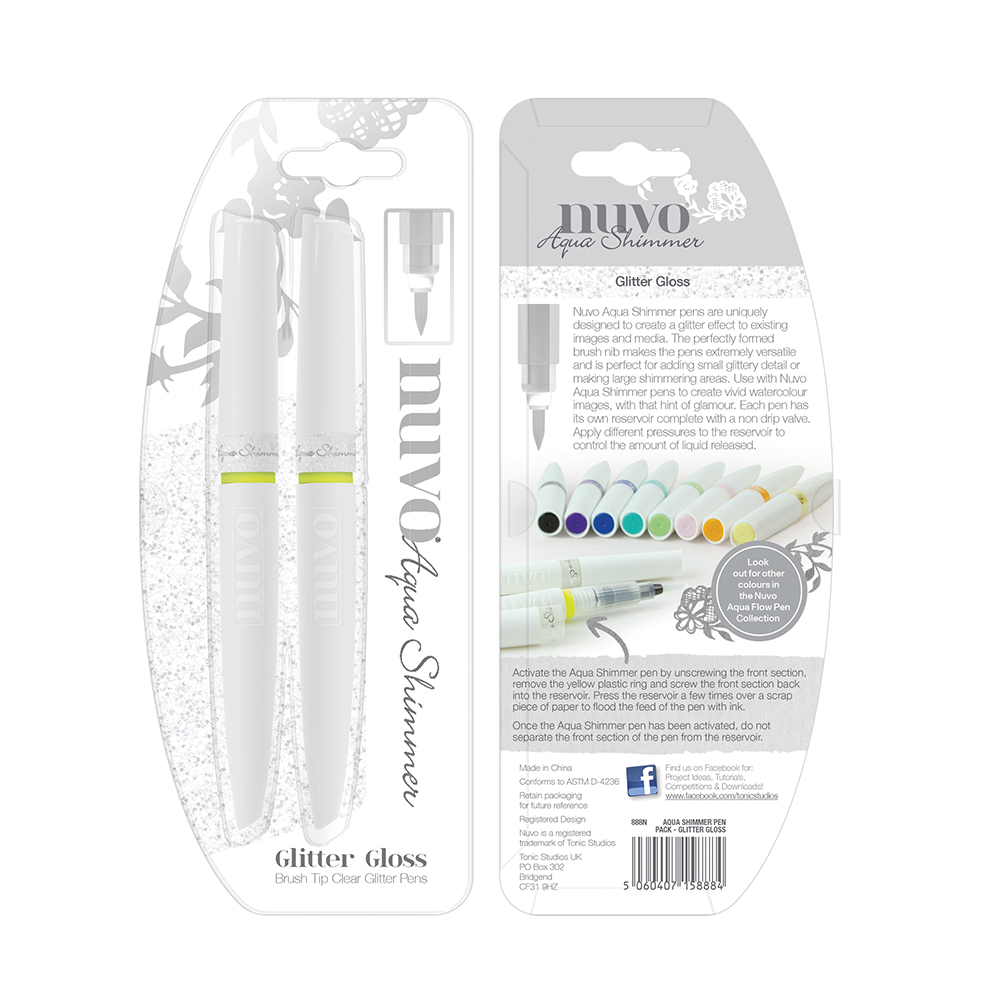
To finish this card, I added some shimmer to the lighthouse and the clouds using the NUVO Aqua Shimmer Pen.
Para terminar esta tarjeta, añadí brillo al faro y a las nubes con el NUVO Aqua Shimmer Pen.

What's more, I created different cards using this kit. Here you have these cards. They are similar but using different colored cardstock although I also used the Tonic Studios Holo Waves Mirror Cardstock that I'm totally in love with it!!
Además creé diferentes tarjetas utilizando este kit. Aquí pueden ver algunas de estas tarjetas. Estas tarjetas son muy similares entre ellas ya que utilicé diferentes colores de cartulinas aunque utilicé la cartulina holografica en todas ellas y que me encanta!


Do you like these cards? I hope so! if you do, what's your favorite? Thank you so much!
¿Les han gustado estas tarjetas? ¡Eso espero! Si les gustan, ¿Cuál ha sido su favorita? ¡Muchas gracias!


|


.jpg)
.jpg)
.jpg)

1 Comments
Marisela Delgado said: Hola, Cha! Que hermosas tus tarjetas! Ojala que te encuentres bien. Tengo una pregunta para ti. Que quiere decir la palabra "bagatela"? Vi un blog que se llama "Bagatelas de Papel." Te mando un abrazo....Mari
ReplyDelete