

[Product links are listed down below the page | Enlaces de productos se encuentran alistados a final de página]
Hi there! It's me, Cha! Today I wanted you to show some cards that I made with different ways to add a die-cutting sentiment. For creating these cards, I used the My Monthly Hero kit - September 2019 which is still available! I hope you like them!
¡Hola a todos! Soy Cha. Hoy les quiero enseñar algunas tarjetas que hice con diferentes formas para añadir una frase troquelada. Para crear estas tarjetas, he utilizado el kit de Hero Arts de septiembre 2019 (My Monthly Hero Kits) el cual todavía está disponible. ¡Espero que les guste!

For creating the sentiments, I used the word die from the main kit "Happy Halloween" - I really love this die!
Para crear las frases, utilicé el troquel que viene con el kit con la frase "Happy Halloween" - ¡Me encanta esta frase!
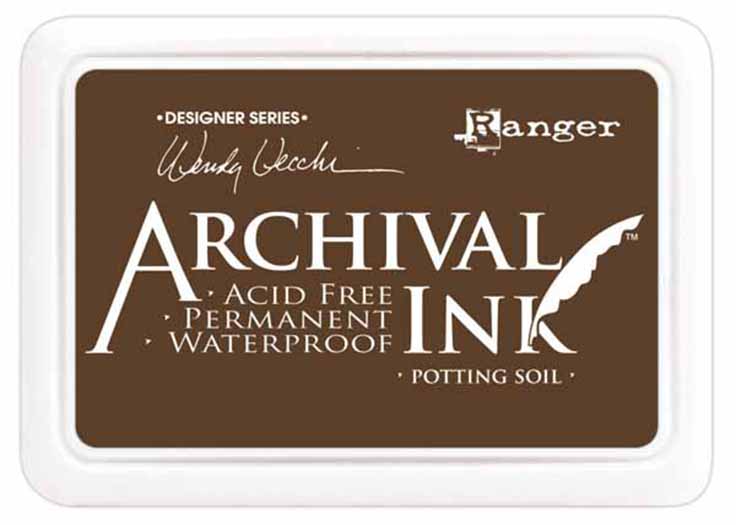
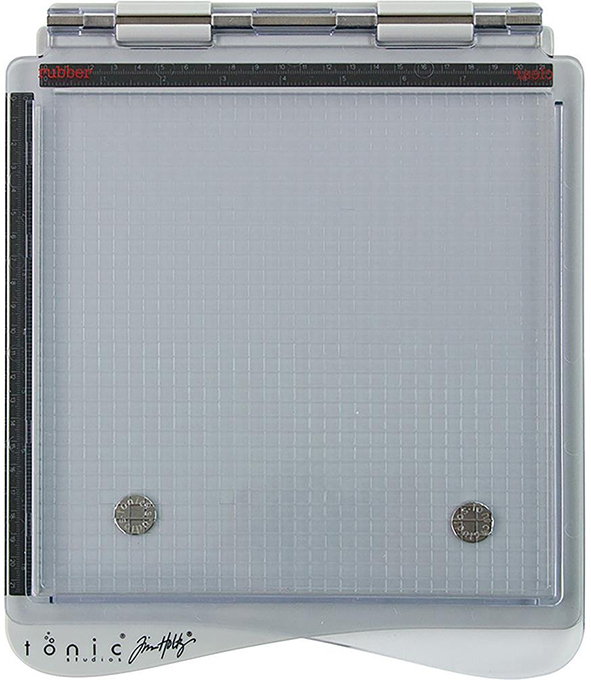
However, I created the card backgrounds, first. I made several cards at once so, I decided to stamp the frame from the main kit on different colored cardstock, using the Tim Holtz Stamp Platform. First, I stamped the frame with Hero Arts Soft Pool Ink on Hero Arts Mist Cardstock (light blue cardstock), with Ranger Potting Soil Ink on Hero Arts Cherry Cardstock (red cardstock) and Papaya Cardstock (orange cardstock). I did the same when I stamped the images in every small square in this frame. I wanted just to stamp the images slightly so that I could color without a line. I used the mini MISTIstamping tool to stamp these small images. I positioned one of the cards in the mini MISTI and added an image in each square. These small images are also part of the kit! Then, I stamped on each piece of cardstock with the same ink that I'd previously stamped.
Sin embargo, creé los fondos para las tarjetas primero. Hice varias tarjetas a la vez para ahorrar algo de tiempo, y que por ello, decidí estampar el marco del kit principal en diferentes cartulinas de colores, utilizando la Plataforma de Estampación de Tim Holtz. Primero estampé el marco con la tinta de Soft Pool de Hero Arts sobre cartulina azulada (Mist Cardstock), con la tinta Potting Soil de Ranger sobre cartulina roja (Cherry Cardstock) y sobre cartulina naranja (Papaya Cardstock). Hice lo mismo cuando estampé las imágenes en cada cajita de este marco. Solamente quería estampar las imágenes de manera ligera para poder colorear sin línea. Utilicé la herramienta de estampar mini MISTI para estampar estas imágenes pequeñas. Posicioné una de las tarjetas en la mini MISTI y añadí una imagen en cada cuadradito. ¡Estas imágenes pequeñas también son parte del kit! Entonces estampé en cada cartulina coloreada con la tinta con la que previamente había estampado.


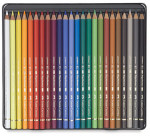
Later, I colored the three cards with Faber Castell Polychromos colored pencils. I do not have many colors because I'm happy with these that I have. You can see the colors that I've used at the end of the page. I decided to color the red and orange cardstock in the same way - coloring just the images. However, I colored the light blue cardstock in a different way because I also colored the background for every little square. I must say that I loved it!
Más tarde coloreé las tres tarjetas con los lápices de colores Polychromos de Faber Castell. No tengo muchos colores porque estoy feliz con los que ya tengo. Puedes ver los colores que he utilizado al final de página. Decidí colorear las tarjetas en cartulina roja y naranja de la misma forma - coloreando solo las imágenes. Sin embargo, coloreé la de la cartulina azul de una manera diferente porque coloreé el fondo de cada pequeño recuadradito. ¡Me encantó el resultado!
When I finished coloring all the panels, I decided to create the sentiment for all the cards. I die cut the word "Happy Halloween" on each card with my die cutting machine and in the same position for each one. I also die cut some craft foam sheets with the same die - orange and black craft foam pieces.
Cuando finalicé de colorear los paneles, decidí crear la frase para todas las tarjetas. Troquelé la palabra "Happy Halloween" para cada tarjeta con una máquina manual de troquelado y en la misma posición para cada una de ellas. También troquelé con el mismo troquel algunas hojas de goma eva o foamy de color negro y naranja.


The first card that I made was the one with the light blue background. I made this very simple. I just adhered the panel to a white card base. Then, I added liquid adhesive to the opening which I die cut before for the sentiment. I added a piece of orange craft foam on top of that opening and I glued on top of this piece of craft foam the remaining cardstock with the word from the same panel and also on the others on the cardstock. The result is beautiful and spectral! As you can see, the sentiment is hidden on the panel and thanks to the orange craft foam, we can see a little bit more clearly that sentiment.
La primera tarjeta que hice fue la de cartulina azul claro. La hice muy simple. Solamente adherí el panel a una base de tarjeta blanca. Luego, añadí adhesivo líquido en la abertura que había troquelado antes para la frase. Más tarde, añadí la pieza naranja de goma eva (o foamy), y por último pegué todos los trozos de la misma cartulina que había troquelado sobre la goma eva y los huecos de la frase sobre la tarjeta. ¡El resultado es bonito y fantasmal! Como puedes observar, la frase está escondida en el panel y gracias a la goma eva o foamy naranja, puedes ver un poquito más claro la frase.
To embellish this card, I added some Hero Arts Crystal Clear Lacquer Pen to some images and added some dots to the corners of each little square with a Gold Gel Pen.
Para adornar esta tarjeta, añadí algo de relieve a algunas imágenes con el Crystal Clear Lacquer Pen de Hero Arts y añadí algunos puntos a las esquinas de cada recuadro con el Rotulador de Gel Dorado.
In order to create the other two cards, I decided to create something different and gave both sentiments something similar to a ghost look! I wanted to change the colors of these two cards, too.
Para crear las otras dos tarjetas, decidí crear algo diferente y le dí a ambas frases algo similar a ¡la apariencia de un fantasma! Quise cambiar los colores de estas dos tarjetas también.
First, I opened one of the windows from each panel with scissors although you can use a cutter, too. On one of the cards, I made a small shaker window card and on the other, I just heat embossed an image with Gold Embossing Powder. I 'm not going to explain how I did this because I want to explain how I made the sentiments and it would be a long post.
Primero abrí una de las ventanas en cada panel con unas tijeras aunque pueden utilizar un cúter también. En una de las tarjetas, hice una pequeña ventana para una tarjeta shaker (tarjeta cocktelera) y en la otra, simplemente repujé (embossing) una imagen con Polvos de Embossing Dorados. No voy a explicar cómo hice esto ya que quiero explicar cómo hice las frases y sería una publicación muy densa.

Later, I added the cards on a card base and I added some liquid adhesive in the opening that I'd die cut. I added the piece of black craft foam and on top, I added the word previously die cut but the one from the other card, I mean that I alternated the colors of both cards. What's more, I added those pieces which were not part of the word but between. This made the sentiment to stand out more and it seems a more ghostly look.
Luego añadí las tarjetas a una base de tarjeta y añadí adhesivo líquido en la abertura que había troquelado anteriormente. Añadí la pieza de goma eva o foamy de color negro y sobre éste, añadí la palabra troquelada en cartulina pero la de la otra tarjeta, es decir, que alterné los colores. Además, añadí aquellos trozos que no eran parte de la palabra sino que estaban en medio. Esto hizo que la frase resaltara aún más y pareciera un look más fantasmal.

To embellish all the cards, I added some Hero Arts Crystal Clear Lacquer Pen to some images. Besides, I added some dots to the corners of each little square with a Gold Gel Pen and some highlights to the images with a White Gel Pen. Later, I gave some shine to the sentiment with some NUVO Midas Touch shimmer pen and added some small gold embellishments that came with the kit.
Para adornar todas las tarjetas, añadí algo de relieve a las imágenes con el Crystal Clear Lacquer Pen de Hero Arts. Además, añadí algunos puntos a las esquinas de cada recuadrito con el Rotulador de Gel Dorado y algunos retoques a las imágenes con el Rotulador de Gel Blanco. Más tarde, Dí brillo a la frase con el NUVO Midas Touch y añadí algunos adornos dorados que vinieron en el kit.

I hope you like these cards and if you do...don't forget to leave me a comment! Thanks a lot!
Espero que les haya gustado estas tarjetas y si lo hicieron... ¡No olviden dejar un comentario! Muchas gracias!


[Not all the products links are part of Affiliate Programs | No todos los enlaces a los productos son parte del Programa de Afiliados]
|


.jpg)
.jpg)
.jpg)

0 Comments