

[Product links are listed down below the page | Enlaces a productos se encuentran alistados a final de página]
Hi there! It's me, Cha! Halloween is closer and I would like to share you some cards that I've made for Halloween. The first card that I would like to show you is a shaker one. It is a really well-thought-out card. For this card, I used several stamp sets and dies. Get started!
¡Hola a todos! Soy Cha. Halloween está cerca y quisiera compartir con ustedes algunas tarjetas que he hecho para Halloween. La primera tarjeta que quiero enseñarles es una tarjeta cocketelera o shaker. Es una tarjeta bastante laborada. Para esta tarjeta, utilicé algunos set de sellos y troqueles. ¡Comencemos!
¡Hola a todos! Soy Cha. Halloween está cerca y quisiera compartir con ustedes algunas tarjetas que he hecho para Halloween. La primera tarjeta que quiero enseñarles es una tarjeta cocketelera o shaker. Es una tarjeta bastante laborada. Para esta tarjeta, utilicé algunos set de sellos y troqueles. ¡Comencemos!

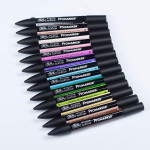
First of all, I created some sugar skulls from the Hero Arts stamp set Sugar Skulls. I created a man and woman skulls. For the man, I made some masking when stamping the hat and the mustache. I used the Mini MISTI Stamping Tool. I positioned the hat and the mustache first, stamped these images with Hero Arts Intense Black ink, then I masked the images and stamped the skull. Later, I stamped the woman skull and some flowers and leaves. I colored all the images with alcohol markers - ProMarkers, although you can color them with other alcohol markers, such as Copics. Finally, I cut these images around but there are also some coordinating dies available for this set. TIP: If you made some mistakes in coloring, you can use a white gel pen to cover those colored lines that you did not want on your piece.
Primero de todo, creé algunas calaveras del set de sellos de Hero Arts Sugar Skulls. Creé calaveras de hombre y mujer. Para el hombre, enmascaré las imágenes cuando estampaba el sombrero y el bigote. Utilicé la herramienta de estampación Mini MISTI. Posicioné el sombrero y el bigote primero, estampé estas imágenes con la tinta de Hero Arts Intense Black Ink, entonces, enmascaré las imágenes y estampé la calavera. Más tarde, estampé la calavera de la mujer y algunas flores y hojas. Coloreé todas las imágenes con rotuladores de alcohol - ProMarkers, aunque puedes colorearlas con cualquier otros rotuladores, como los Copics. Finalmente, recorté estas imágenes alrededor de los bordes pero están disponibles los troqueles coordinados para este set. TIP: si has cometido algunos fallos mientras coloreabas, puedes utilizar un rotulador de gel blanco para cubrir esas líneas de color que no querías.

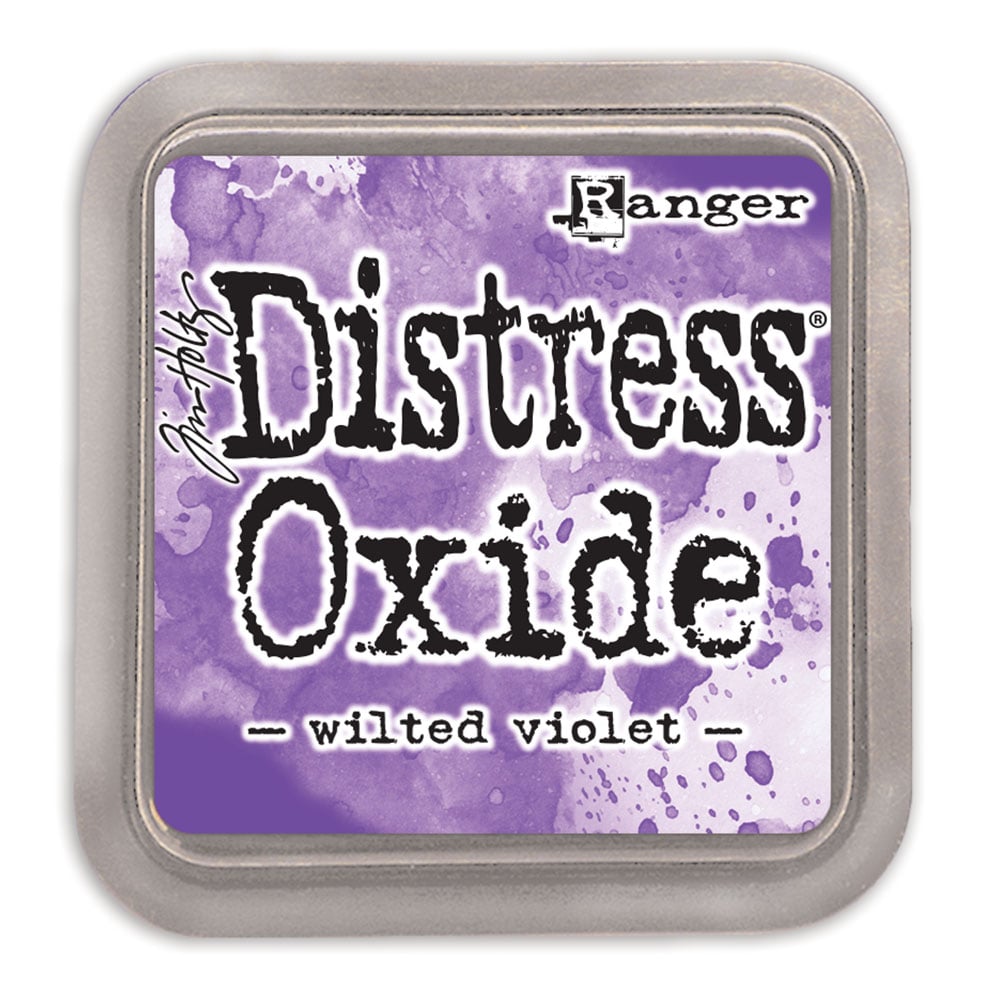
For the background, I used the Blanket Pattern Bold Prints. I rubbed some Distress Oxide inks from the top to the bottom of this stamp - Picked Raspberry, Squeeze Lemonade, Twisted Citron, Wilted Violet. Then, I picked a 4,25 by a 5,5-inch white panel and put over the stamp and pressed down firmly. I removed the panel carefully, the result was gorgeous! I trimmed the edges off a little bit.
Para el fondo, utilicé el sello de caucho Blanket Pattern Bold Prints. Froté las tintas Distress Oxide Inks desde la parte superior del sello hasta la parte inferior - Picked Raspberry, Squeeze Lemonade, Twisted Citron, Wilted Violet. Luego escogí un trozo de cartulina blanca de 4,25 por 5,5 pulgadas y lo posicioné sobre el sello de caucho y presioné firmemente. Quité la cartulina cuidadosamente y ¡el resultado fue precioso! Recorté los bordes un poco con una guillotina.

To create the window, I decided to use the Scallop Circles Sizzix Framelits. I placed one of the dies on the center of the colored panel that I'd created before and die cut with a die-cutting machine (mine is the Big Shot machine). Then, I picked two of the dies and I lined them up so that I could die cut together on a piece of black cardstock to create a frame. I also kept the black centerpiece. I picked the colored panel and I placed over a white notecard in order to trace the scallop circle from the colored panel to the front of the white notecard to help me to die cut the front panel.
Creé la ventana, decidí utilizar los troqueles Scallop Circles de Sizzix. Posicioné uno de los troqueles en el centro del panel coloreada que había creado antes y troquelé con una troqueladora manual (la mía es la troqueladora Big Shot). Más tarde, escogí dos de los troqueles y los alineé para poder troquelarlos juntos en un trozo de cartulina negra para crear un marco. Reservé la pieza central. Escogí el panel coloreado y lo puse sobre una base de tarjeta blanca para trazar el círculo central desde el panel coloreado a la parte frontal de la base para ayudarme a troquelar el panel.
I glued a black panel that I'd die-cut previously on top of the white notecard. Then, I glued a piece of acetate and added a piece of black craft foam. I applied a little of anti-static powder tool and added some sequins from Hero Arts Pink - Pop Flowers Mix. Later, I added another piece of acetate and, finally, I added the colored piece on top. I took into account the hole in the center of every piece in order to line up all the pieces.
Pegué el panel negro que había troquelado previamente sobre la parte frontal de la tarjeta base. Luego, añadí un trozo de acetato y añadí una pieza de goma eva o foamy de color negro. Apliqué la herramienta antiestática de polvo y añadí algunas lentejuelas de Hero Arts Pink - Pop Flowers Mix. Luego, añadí otra pieza de acetato y, finalmente, añadí la pieza coloreada encima. Tuve muy en cuenta el huevo en el centro de cada pieza para alinear todas las piezas.
Later, I glued the sugar skulls around that window. I glued one on the top-right corner and another one on the bottom-left corner. Also, I added some flowers. I stamped the sentiment on the bottom-right corner with Versafine Onyx Black Ink.
Más tarde, pegué las calaveras de azúcar o mexicanas alrededor de la ventana. Pegué una en la esquina superior derecha y, la otra la pegué en la esquina inferior izquierda. Además, añadí algunas flores. Estampé la frase en la esquina inferior derecha con la tinta Versafine Onyx Black Ink.
Más tarde, pegué las calaveras de azúcar o mexicanas alrededor de la ventana. Pegué una en la esquina superior derecha y, la otra la pegué en la esquina inferior izquierda. Además, añadí algunas flores. Estampé la frase en la esquina inferior derecha con la tinta Versafine Onyx Black Ink.

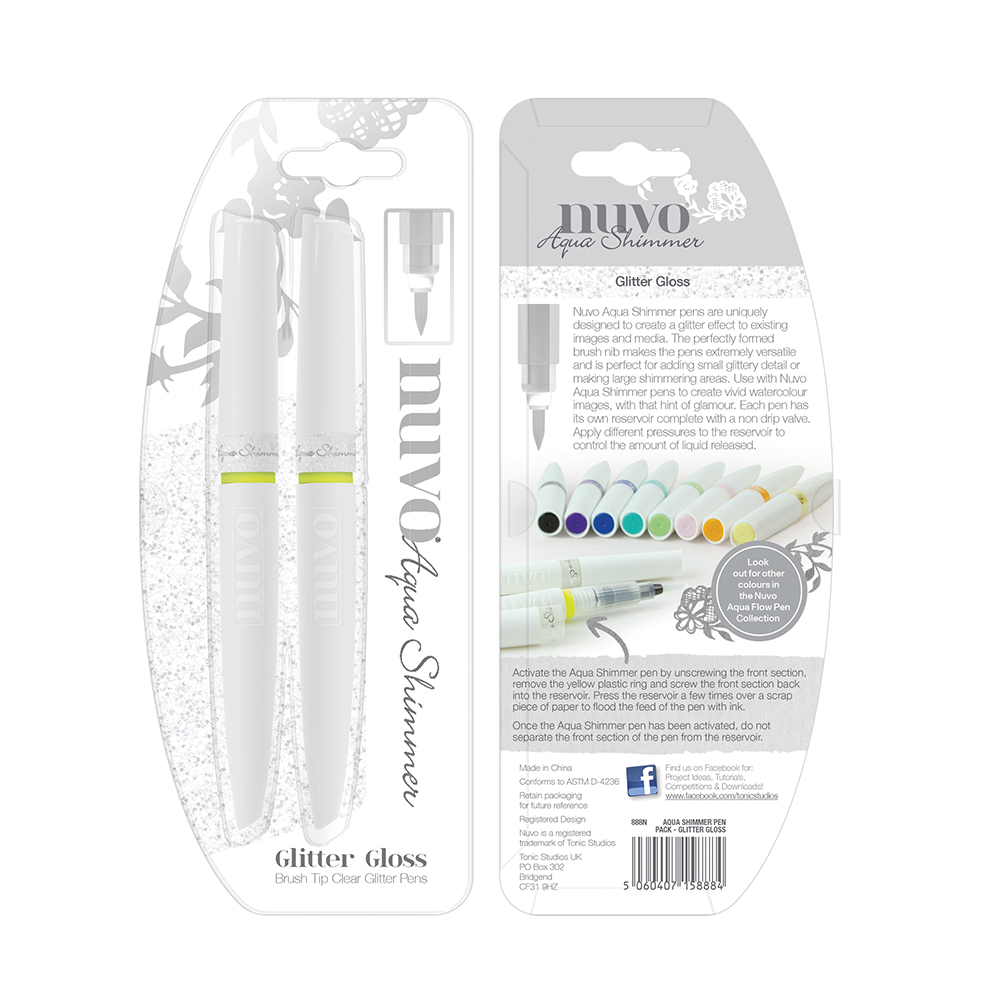
For finishing this card, I added some shimmer to the eyes and roses with the NUVO Shimmer Pen and some black dots around the window frame. I used black enamel dots from Ranger but, you can also use the NUVO Black Ebony.
Para finalizar esta tarjeta, añadí algo de brillo a los ojos y a las rosas con un rotulador para dar brillo (el NUVO Shimmer Pen) y algunos puntos negros alrededor del marco de la ventana. Utilicé el Ranger Enamel Accents pero podrían utilizar el NUVO Black Ebony.
I decided to color the border of the images with a black marker in order to highlight them from the colored background.
Decidí colorear el bordes de las imágenes con un rotulador negro para resaltarlas del fondo coloreado.

I hope you like this card and inspire you to create a beautiful card like this! If you do, tag me on your card on Instagram so that I can see it (@Chadelel). Thank you so much!
Espero que les haya gustado esta tarjeta y que les inspire para crear una bonita tarjeta como esta. Si te has sentido inspirado o inspirada, puedes etiquetarme en Instagram para poder verla (@Chadelel). ¡Muchas gracias!


Decidí colorear el bordes de las imágenes con un rotulador negro para resaltarlas del fondo coloreado.
I hope you like this card and inspire you to create a beautiful card like this! If you do, tag me on your card on Instagram so that I can see it (@Chadelel). Thank you so much!
Espero que les haya gustado esta tarjeta y que les inspire para crear una bonita tarjeta como esta. Si te has sentido inspirado o inspirada, puedes etiquetarme en Instagram para poder verla (@Chadelel). ¡Muchas gracias!

|


.jpg)
.jpg)
.jpg)

0 Comments