

[Thumbnail image links are listed below this post | Los enlaces en imágenes de los productos se encuentran publicados al final de esta publicación]
Hi there! It's me, Cha! Today I wanted to share with you a card that I made using layering stamps.
The layering stamp set comes with layers to create a realistic image when stamping over each layer with different inks - from the clearest ink to darkest ink. The layer one is solid, then the layered medium and, the last layer is detailed. If the image is simple you can use an acrylic block in order to position the stamp on it, then ink it and stamp onto the cardstock. Later, change the layer to the second layer and before stamping, line up the stamp with the previous image that we stamped before. If the image is intricate, you probably need a stamping tool that makes easy stamping. I made this card using the stamping tool (the mini MISTI) so that I could double stamp the layers to create a perfect image.
¡Hola a todos! Soy Cha. Para hoy quise compartir con ustedes una tarjeta que hice utilizando sellos en capas. Estos sets de sellos vienen en capas para crear una imagen realista cuando se estampa cada capa una sobre la otra y utilizando diferentes tonalidades de tintas - de la tinta más clara a la más oscura. La primera capa siempre es la más sólida, luego la capa media y, la última capa que lleva los detalles. Si la imagen es simple, puedes utilizar un bloque de metacrilato para posicionar el sello en él (en el bloque), luego lo tintamos y estampamos sobre una cartulina firmemente. Más tarde, cmabiamos la capa que teníamos por la siguiente, y antes de estampar, alineamos la imagen con la otra que ya habíamos estampado antes, tintamos nuevamente y estampamos. Si la imagen es detallada, probablemente necesitamos una herramienta de estampar que hace más fácil la estampación. Esta tarjeta la realicé utilizando una herramienta de estampar (la mini MISTI) para poder estampar las imágenes dos veces y crear una imagen perfecta.

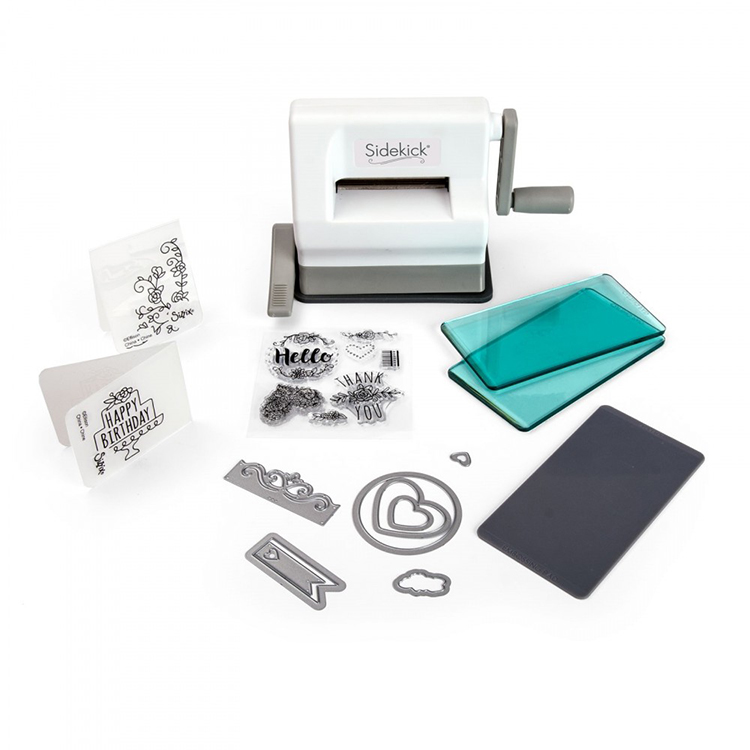
For creating this card, I picked the color layering brave lion stamp set from Hero Arts. I placed the first layer of this stamp set on the lid of my stamping tool and inked the stamp with pumpkin pie dye ink. I closed the lid in order to stamp the first layer onto a piece of white cardstock. Then, I changed the first layer to the second layer that is the medium image and I did the same but, first, I placed the stamp on the image upside down in order to line it up with the previously stamped image, then I closed the lid to take the stamp and inked with cup o' joe dye ink. I pressed down the lid to stamp the image. Finally, I placed the last layer of this set and I did the same process but inked the stamp with black intense ink. I also stamped the crown and the ribbon that came with the same stamp set with tangerine, butter bar, and red royal dye inks. I die cut the images with the coordinating dies using my mini die cutting machine (Sidekick). I left aside for a while in order to create the background.
Para crear esta tarjeta escogí el set de sellos en capas de color layering brave lion de Hero Arts. Posicioné la primera capa del set de sellos en la tapa de la herramienta para estampar y tinté el sello con la tinta pumpkin pie. Cerré la tapa de esta herramienta para estampar este sello en una cartulina blanca. Luego, cambié el sello por la segunda capa que es la capa media y hice lo mismo que antes, pero, primero posicioné el sello sobre la imagen y hacia abajo para alinearla con la imagen ya estampada. Enconces cerramos la tapa para que quede en ella y así podamos tintarla con la tinta cup o'joe y presionamos la tapa para estampar este sello. Finalmente, posicionamos la última capa del set de sello y realizamos el mismo proceso pero lo tinté con la tinta black intense. También estampé dos imágenes más (el lazo y la corona) que vienen en el mismo set de sellos con las tintas tangerine, butter bar y red royal. Troquelé las imágenes con los troqueles coordinados utilizando mi mini troqueñadora (Sidekick). Dejé las piezas a un lado para crear el fondo para esta tarjeta.

For the background, I chose the mud cloth bold prints. I inked this rubber stamp with the Serengeti sunset ombré ink from the left to the right side. I put the white cardstock on the rubber stamp and I pressed down firmly. In this background, I stamped the sentiment with intense black ink at the bottom of the panel.
Para el fondo de la tarjeta, escogí el sello de caucho mud cloth bold prints. Tinté este sello con la tinta degradada (ombré ink), Serengeti sunset y, de izquierda a derecha. Pocisioné la cartulina blanca sobre este sello y presioné firmemente para que la cartulina absobiera bien la tinta. En este fondo, estampé la frase con la tinta intense black en la parte inferior del panel.

I mounted this panel on a piece of black cardstock in order to leave a tiny frame around. I assembled the pieces, first I added the lion in the center with some foam tape, then the crown and the ribbon.
Monté este fondo sobre una base de tarjeta de color negro para dejar un pequeñísimo marco alrededor del fondo. Entonces pegué las piezas, primero añadí el león en el centro con cinta de espuma para relieve, y luego pegué la corona y el lazo.

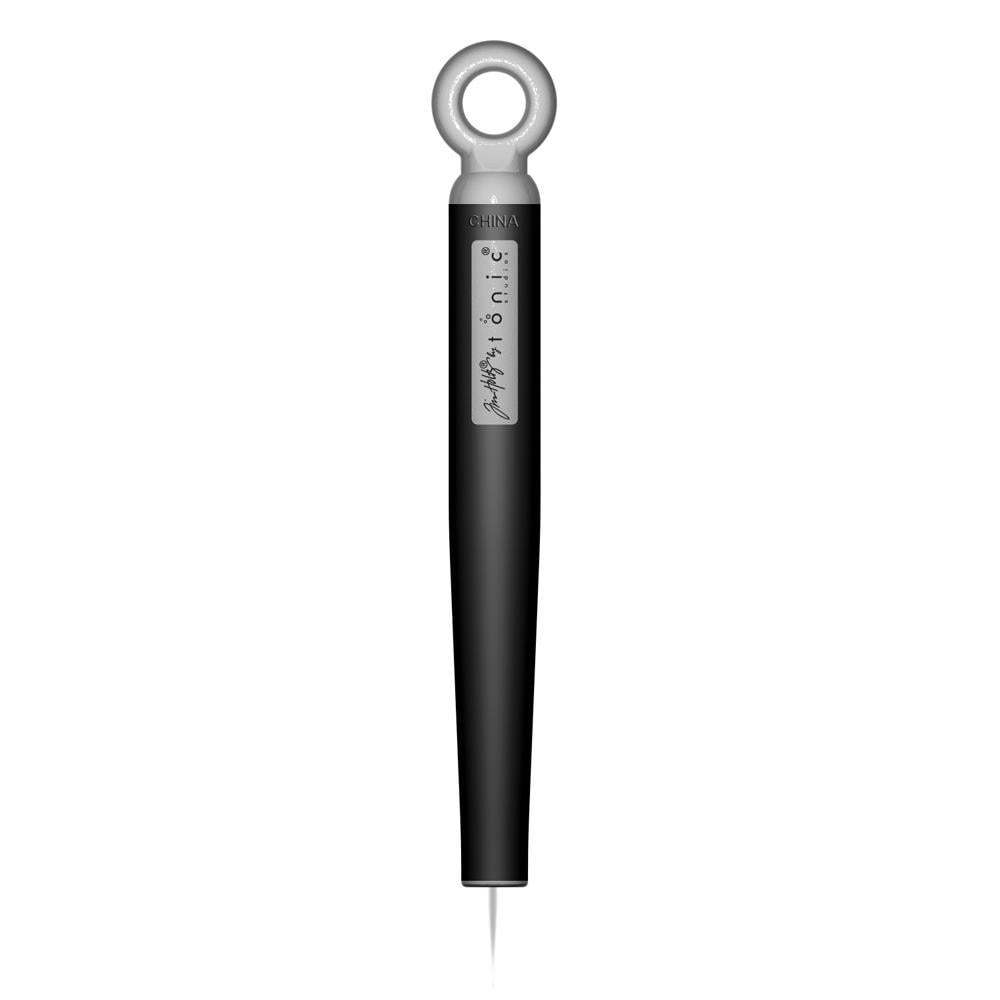
For details, I added some shimmer to the crown and the ribbon and some dimension to the crown and the lion's nose with the lacquer pen. Finally, I drew some lines on the lion's eyes with a white gel pen.
Para los detalles, añadí brillo a la corona y al lazo y algo de relieve a la corona y la la nariz del león con el lacquer pen (pegamento transparente para relieve). Finalmente dibujé algunas líneas en los ojos del león con un rotulador de gel blanco.

I've already created these kinds of cards before, you can see them here and here.
Yo ya he creado este tipo de tarjetas antes, puedes visualizarlas aquí y aquí.
I hope you like this card and...follow me on YouTube, Instagram and here, on my blog!
Thank you so much and see you soon!
Espero que les haya gustado esta tarjeta y...¡sígueme en YouTube, Instagram y aquí, en mi blog!
Muchas gracias y ¡hasta pronto!


Hi there! It's me, Cha! Today I wanted to share with you a card that I made using layering stamps.
The layering stamp set comes with layers to create a realistic image when stamping over each layer with different inks - from the clearest ink to darkest ink. The layer one is solid, then the layered medium and, the last layer is detailed. If the image is simple you can use an acrylic block in order to position the stamp on it, then ink it and stamp onto the cardstock. Later, change the layer to the second layer and before stamping, line up the stamp with the previous image that we stamped before. If the image is intricate, you probably need a stamping tool that makes easy stamping. I made this card using the stamping tool (the mini MISTI) so that I could double stamp the layers to create a perfect image.
¡Hola a todos! Soy Cha. Para hoy quise compartir con ustedes una tarjeta que hice utilizando sellos en capas. Estos sets de sellos vienen en capas para crear una imagen realista cuando se estampa cada capa una sobre la otra y utilizando diferentes tonalidades de tintas - de la tinta más clara a la más oscura. La primera capa siempre es la más sólida, luego la capa media y, la última capa que lleva los detalles. Si la imagen es simple, puedes utilizar un bloque de metacrilato para posicionar el sello en él (en el bloque), luego lo tintamos y estampamos sobre una cartulina firmemente. Más tarde, cmabiamos la capa que teníamos por la siguiente, y antes de estampar, alineamos la imagen con la otra que ya habíamos estampado antes, tintamos nuevamente y estampamos. Si la imagen es detallada, probablemente necesitamos una herramienta de estampar que hace más fácil la estampación. Esta tarjeta la realicé utilizando una herramienta de estampar (la mini MISTI) para poder estampar las imágenes dos veces y crear una imagen perfecta.
Para crear esta tarjeta escogí el set de sellos en capas de color layering brave lion de Hero Arts. Posicioné la primera capa del set de sellos en la tapa de la herramienta para estampar y tinté el sello con la tinta pumpkin pie. Cerré la tapa de esta herramienta para estampar este sello en una cartulina blanca. Luego, cambié el sello por la segunda capa que es la capa media y hice lo mismo que antes, pero, primero posicioné el sello sobre la imagen y hacia abajo para alinearla con la imagen ya estampada. Enconces cerramos la tapa para que quede en ella y así podamos tintarla con la tinta cup o'joe y presionamos la tapa para estampar este sello. Finalmente, posicionamos la última capa del set de sello y realizamos el mismo proceso pero lo tinté con la tinta black intense. También estampé dos imágenes más (el lazo y la corona) que vienen en el mismo set de sellos con las tintas tangerine, butter bar y red royal. Troquelé las imágenes con los troqueles coordinados utilizando mi mini troqueñadora (Sidekick). Dejé las piezas a un lado para crear el fondo para esta tarjeta.
For the background, I chose the mud cloth bold prints. I inked this rubber stamp with the Serengeti sunset ombré ink from the left to the right side. I put the white cardstock on the rubber stamp and I pressed down firmly. In this background, I stamped the sentiment with intense black ink at the bottom of the panel.
Para el fondo de la tarjeta, escogí el sello de caucho mud cloth bold prints. Tinté este sello con la tinta degradada (ombré ink), Serengeti sunset y, de izquierda a derecha. Pocisioné la cartulina blanca sobre este sello y presioné firmemente para que la cartulina absobiera bien la tinta. En este fondo, estampé la frase con la tinta intense black en la parte inferior del panel.
I mounted this panel on a piece of black cardstock in order to leave a tiny frame around. I assembled the pieces, first I added the lion in the center with some foam tape, then the crown and the ribbon.
Monté este fondo sobre una base de tarjeta de color negro para dejar un pequeñísimo marco alrededor del fondo. Entonces pegué las piezas, primero añadí el león en el centro con cinta de espuma para relieve, y luego pegué la corona y el lazo.
For details, I added some shimmer to the crown and the ribbon and some dimension to the crown and the lion's nose with the lacquer pen. Finally, I drew some lines on the lion's eyes with a white gel pen.
Para los detalles, añadí brillo a la corona y al lazo y algo de relieve a la corona y la la nariz del león con el lacquer pen (pegamento transparente para relieve). Finalmente dibujé algunas líneas en los ojos del león con un rotulador de gel blanco.
I've already created these kinds of cards before, you can see them here and here.
Yo ya he creado este tipo de tarjetas antes, puedes visualizarlas aquí y aquí.
I hope you like this card and...follow me on YouTube, Instagram and here, on my blog!
Thank you so much and see you soon!
Espero que les haya gustado esta tarjeta y...¡sígueme en YouTube, Instagram y aquí, en mi blog!
Muchas gracias y ¡hasta pronto!

|


For Americans, I highly recommend the Wagner heat tool from Hero Arts. I cannot use this tool because I live outside of the States and this tool cannot be used internationally due to the electrician requirements that are not the same for all the continents. No possible for use with outlet adapters.
I use Artemio heat tool (available in Europe only).
Para los americanos, recomiendo la pistola de embossing de Hero Arts - Wagner. No puedo utilizar esta herramienta porque vivo fuera de los EEUU y es incompatible debido a los requisitos eléctricos que no son iguales para todos los continentes. Tampoco es posible utilizarse con un adaptador.
Utilizo la pistola de calor de Artemio (disponible solo para Europa)
[Not all the thumbnail image links take part of Affiliate Programs | No todos los enlaces en imágenes forman parte del Programa de Afiliados]


.jpg)
.jpg)
.jpg)

0 Comments