Advertisement

Main Ad

A Card with a See-through Element | Una Tarjeta con un Elemento Transparente

[Product links are listed at the end of the page | Enlaces a productos están alistados a final de página]

Hello there! It's Cha here with another card for this October challenge at A Blog Named Hero. Remember that you can use a transparent element to your cards and Hero Arts products to join us in this challenge. There are a few couples of weeks left before this challenge ends. I hope you could join us! 

¡Hola a todos! Cha aquí con otra tarjeta para este reto del mes de octubre en el blog A Blog Named Hero. Recuerden que pueden utilizar un elemento transparente para sus tarjetas y utilizando productos de Hero Arts para poder participar en este reto. Faltan algunas semanas para que este reto acabe. ¡Esperamos que participes!


For this card, I used the Cloudy Sky Scene Dies, and a piece of acetate to create this card. I picked a Dove folded card and I trimmed the front of the card leaving a strip on the left side so that we could glue the clouds on top and the piece of acetate. So, I die cut the Cloudy Sky Scene Dies from White Dove Premium Cardstock using my Die Cutting Machine, Sizzix. Then, I glued these clouds on the left side adding some adhesive tape on the strip that I left from the folded card. Later, I added another cloud piece behind the main one and added the piece of acetate behind. Finally, I  added another cloud at the upper right corner and cut off the excess. 

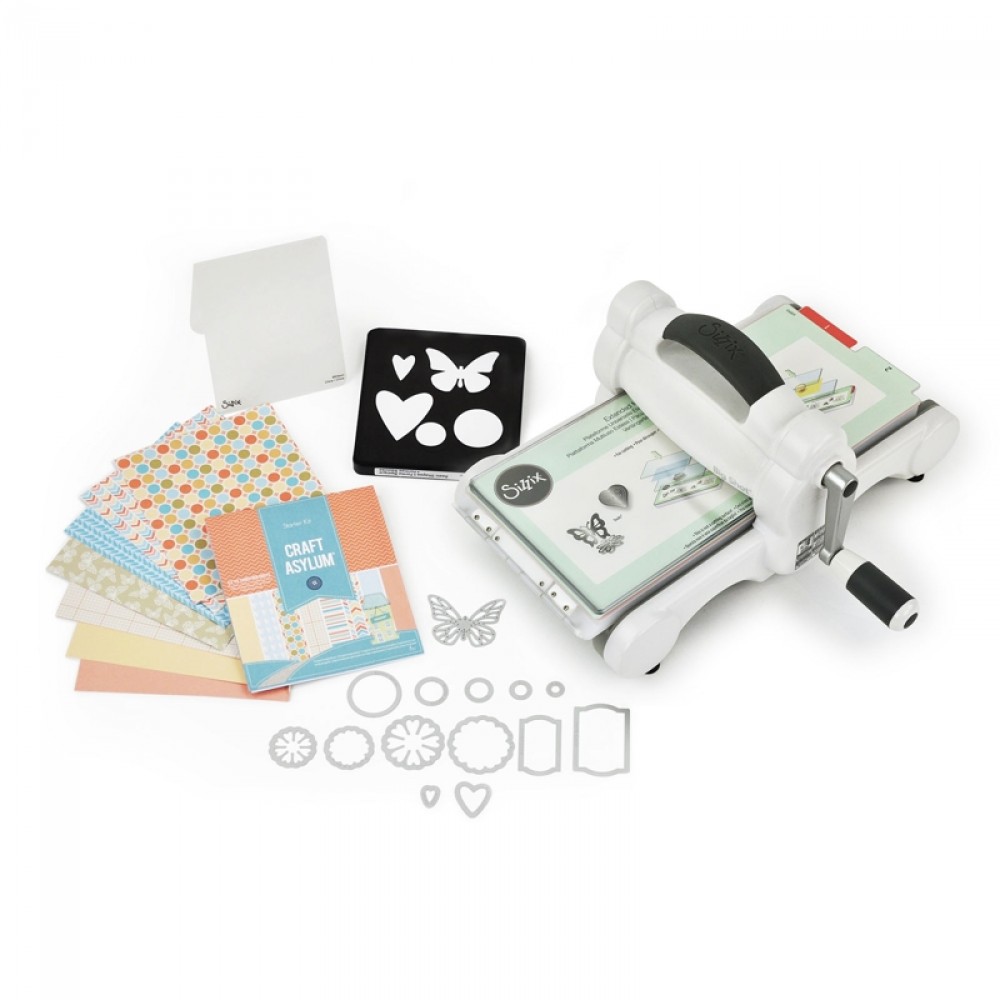
Para esta tarjeta, utilicé el set de troqueles Cloudy Sky Scene y un trozo de acetato para crear esta tarjeta. Escogí un tarjeta base Dove (cartulina blanca) y recorté la parte frontal de la tarjeta dejando una tira en el lado izquierdo para poder pegar las nubes sobre ella y la pieza de acetato. Así que troquelé el set de troqueles Cloudy Sky en cartulina blanca (White Dove Premium Cardstock) utilizando mi troqueladora manual Sizzix. Luego, pegué estas nubes en el lado izquierdo añadiendo cinta adhesiva en la tira que dejé en la base de la tarjeta. Más tarde añadí otra nube en la parte trasera de la principal y añadí el trozo de acetato detrás. Finalmente, añadí otra nube en la esquina superior derecha y recorté el exceso. 


Now that I had the background planned, I colored the top part of the inside of the card so that you could see the inside from the acetate window. I masked the bottom part and the left side. I put over the Sun Background Stencil and colored it with the Squeezed Lemonade and Mustard Seed Distress Oxide inks, using an ink blending tool. I removed the masking pieces and, as you can see in the photo, there is enough space to write the message inside! 

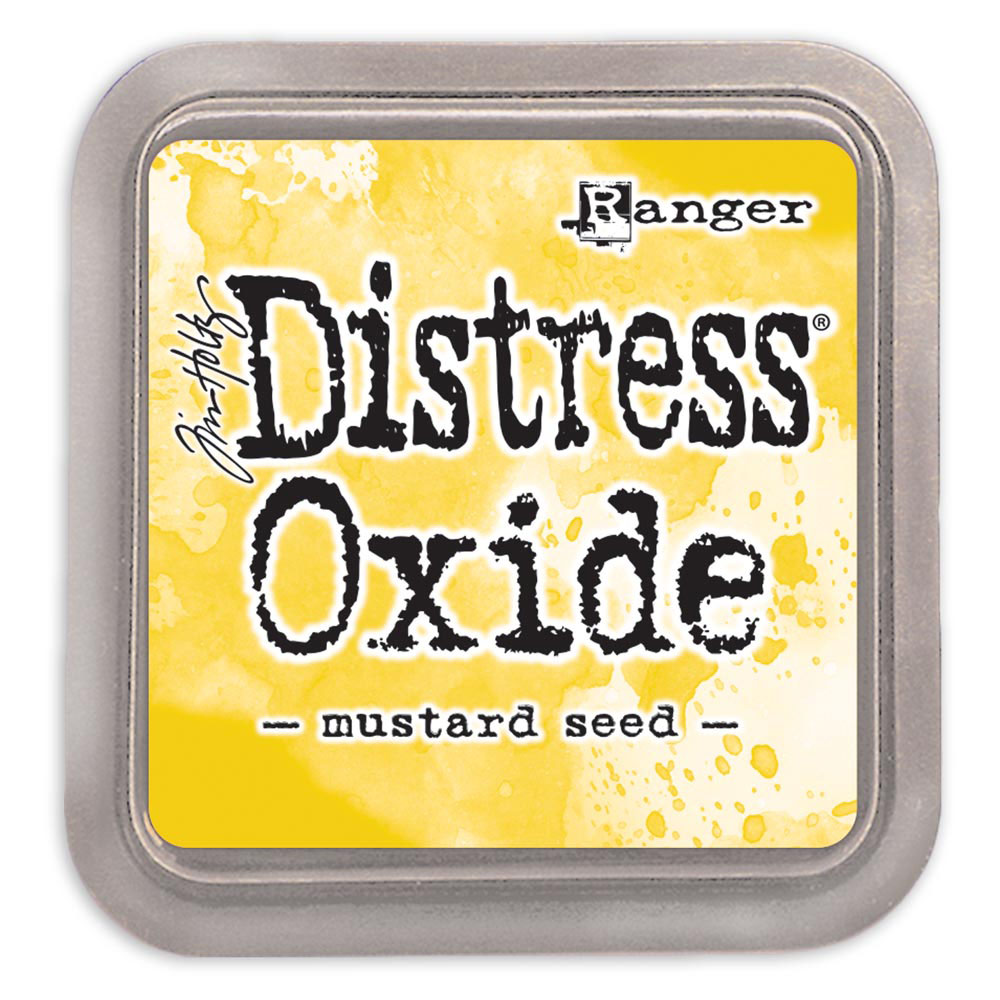
Ahora que tenía todo planeado, coloreé la parte superior del interior de la tarjeta para que se viera a través del la ventana de acetato. Entonces enmascaré la parte inferior y el lado izquierdo. Puse la máscara/stencil Sun Background Stencil y lo coloreé con tintas Distress Oxide, Squeezed Lemonade y Mustard Seed, utilizando un aplicador de tinta. Quité las piezas de enmascarar y como puedes comprobar en la foto ¡queda espacio suficiente para poder escribir el mensaje!


I used the images from the My Monthly Hero kit May 2020. I decided to use the hot-air balloons and the airplane. I colored the images with Copic Sketch Markers. I did not do anything fancy at coloring because I'm not an expert. I also stamped some stars on top of the clouds using some Hero Arts inks - Soft Pink and Rose Madder. I also stamped some hearts here and there with Intense Black ink and colored them with Copics. 

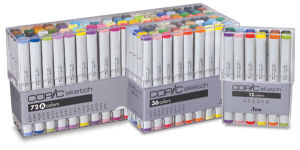
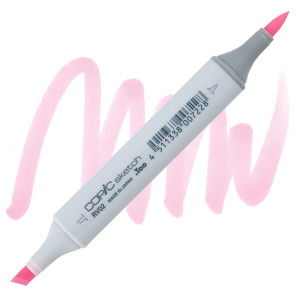
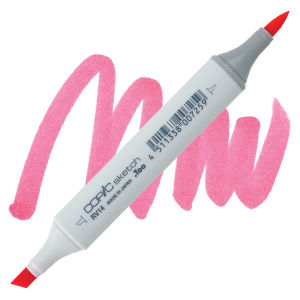
Utilicé las imágenes del kit de Hero Arts My Monthly Hero kit de Mayo 2020. Decidí utilizar los globos aeroestáticos y la avioneta. Coloreé las imágenes con los Rotuladores Copic Sketch. No utilicé ninguna técnica en colorear las imágenes ya que no soy experta.También estampé sobre las nubes algunas estrellas utilizando algunas tintas de Hero Arts - Soft Pink y Rose Madder. También estampé algunos corazones aquí y allí con la tinta Intense Black ink y los coloreé con Copics. 


In order to stamp the sentiment, I used the Mini MISTI Stamping tool because I cut with scissors the sentiment strip that comes with the kit so that I could add it at the top left corner. I placed every word on the lid of the MISTI and I stamped this sentiment with Versafine Onyx Black ink several times. 

Para estampar la frase, utilicé la Herramienta de estampación Mini MISTI porque corté con unas tijeras el sello de la frase que viene con el kit para así añadirla en la esquina superior izquierda de la tarjeta. Posicioné cada palabra en la tapa de la MISTI y estampé la frase con la tinta Versafine Onyx Black ink varias veces. 


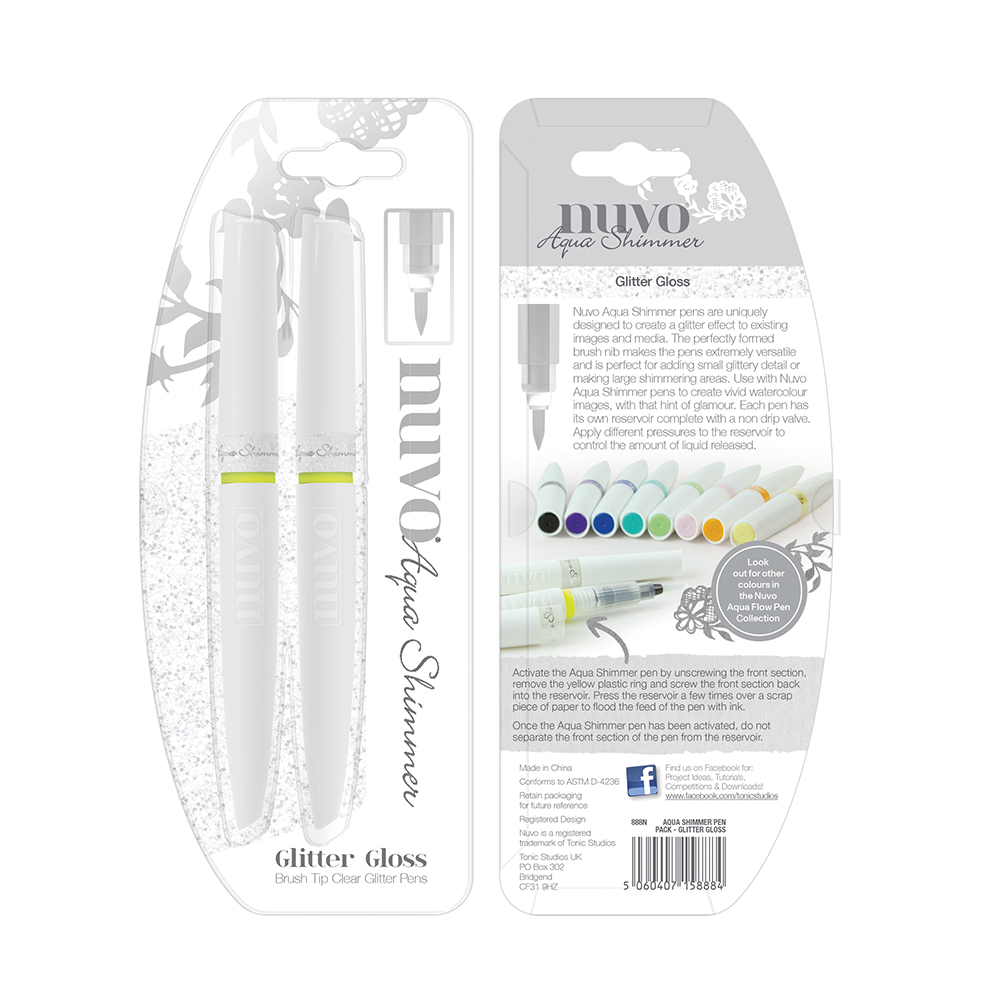
To embellish this card, I added some dimension to the airplane with the Crystal Clear Lacquer Pen, and I added a little shine to the images with the NUVO Aqua Shimmer Pen. Finally, I added some star sequins. 

Para adornar esta tarjeta, añadí relieve a la avioneta utilizando el Crystal Clear Lacquer Pen y algo de brillo a las imágenes con el NUVO Aqua Shimmer Pen. Finalmente añadí algunas lentejuelas en forma de estrellas.


I hope you like this card. Grab your Hero Arts products and create a card today. Don't forget to join us on this challenge! You can participate in this challenge until November 10. 

Espero que le guste esta tarjeta. Elige tus productos de Hero Arts y crea una tarjeta hoy. ¡No olvides de participar con nosotras en este reto! Puedes participar en este reto hasta el 10 de noviembre. 

Thank you so much! 

¡Muchas gracias! 


PS325 Hero Hues Premium Cardstock...
[ HA | SBC ]
PS406 Hero Hues Dove White Side...
[ HA | SBC ]
PS762 Acetate Sheets 5" x 6"
[ HA | SBC ]
DI775 Cloudy Sky Scene Dies (D) -...
[ HA | SBC ]
My Monthly Hero Kit May 2020 - Hero Arts
[ HA ]
SA154 Sun Background Stencil - Hero Arts
[ HA | SBC ]
AF345 Intense Black
[ HA | SBC ]
Tsukineko - VersaFine - Instant Dry...
[ SBC ]
AF168 Soft Pink Shadow Ink
[ HA ]
AF386 Rose Madder Bold Ink
[ HA ]
Ranger Ink Tim Holtz Squeezed...
[ SBC ]
Ranger Ink Tim Holtz Mustard Seed...
[ SBC ]
Hero Arts Mini MISTI Stamping Tool...
[ SBC ]
MT200 MINI MISTI Laser Etched Tool
[ HA | SBC ]
Ranger Ink Tim Holtz Round Mini Ink...
[ SBC ]
Ranger Ink Tim Holtz Round Mini Ink...
[ SBC ]
Ink Blending Tool with Domed Foam...
[ SBC ]
(3) DIY Ink Blending Tools - YouTube
[ YTB ]
Sizzix White and Gray Big Shot...
[ SBC ]
Sizzix - Standard Cutting Pads -...
[ SBC ]
Tonic Studios - Tim Holtz - 5 Inch -...
[ SBC ]
Tonic Studios - Tim Holtz - Non-Stick...
[ SBC ]
Tonic Studios, Tim Holtz - 8.5 Inch...
[ SBC ]
Be Creative Tape 7MM ROLL Double...
[ SSS ]
Therm O Web 0.5x15 Removable Purple...
[ SBC ]
NK350 Crystal Clear Lacquer Pen
[ HA ]
Nuvo 2 Pack Aqua Shimmer Glitter Gloss
[ SBC ]
Perfect Clear Acrylic Stamp Block -...
[ SBC ]
Copic Sketch Markers and Sets | BLICK...
[ BLIC ]
Copic 36 BASIC Sketch MARKER SET And...
[ SSS ]
Copic Sketch Marker - Sugar Almond...
[ BLIC ]
Copic Sketch Marker - Dark Pink RV34...
[ BLIC ]
Copic Sketch Marker - Begonia Pink...
[ BLIC ]
Copic Sketch Marker - Crimson RV29 |...
[ BLIC ]
Copic Sketch Marker - Prune BV02 |...
[ BLIC ]
Copic Sketch Marker - Deep Reddish...
[ BLIC ]
Copic Sketch Marker - Dark Red R89 |...
[ BLIC ]
Copic Sketch Marker - Strong Red R46...
[ BLIC ]
Copic Sketch Marker - Orange YR68 |...
[ BLIC ]
Copic Sketch Marker - Atoll YR65 |...
[ BLIC ]
Copic Sketch Marker - Canary Yellow...
[ BLIC ]
Copic Sketch Marker - Acid Yellow Y08...
[ BLIC ]
Copic Sketch Marker - Pale Porcelain...
[ BLIC ]
Copic Sketch Marker - Ice Blue B12 |...
[ BLIC ]
Copic Sketch Marker - Cool Gray C-00...
[ BLIC ]
Copic Sketch Marker - Cool Gray C-1 |...
[ BLIC ]
Copic Sketch Marker - Cool Gray C-4 |...
[ BLIC ]
Marvy Uchida Double Ended Jewel Picker
[ SBC ]
Studio Katia EMBELLISHMENT WAND sk014...
[ SSS ]
Studio Katia BLACK Embellishment Wand...
[ SSS ]
Beadalon 12 Tri Trays
[ SBC ]
Beadalon 3 Tri Trays
[ SBC ]
Trinity Stamps TWINKLE TWINKLE...
[ SSS ]

Post a Comment

0 Comments