

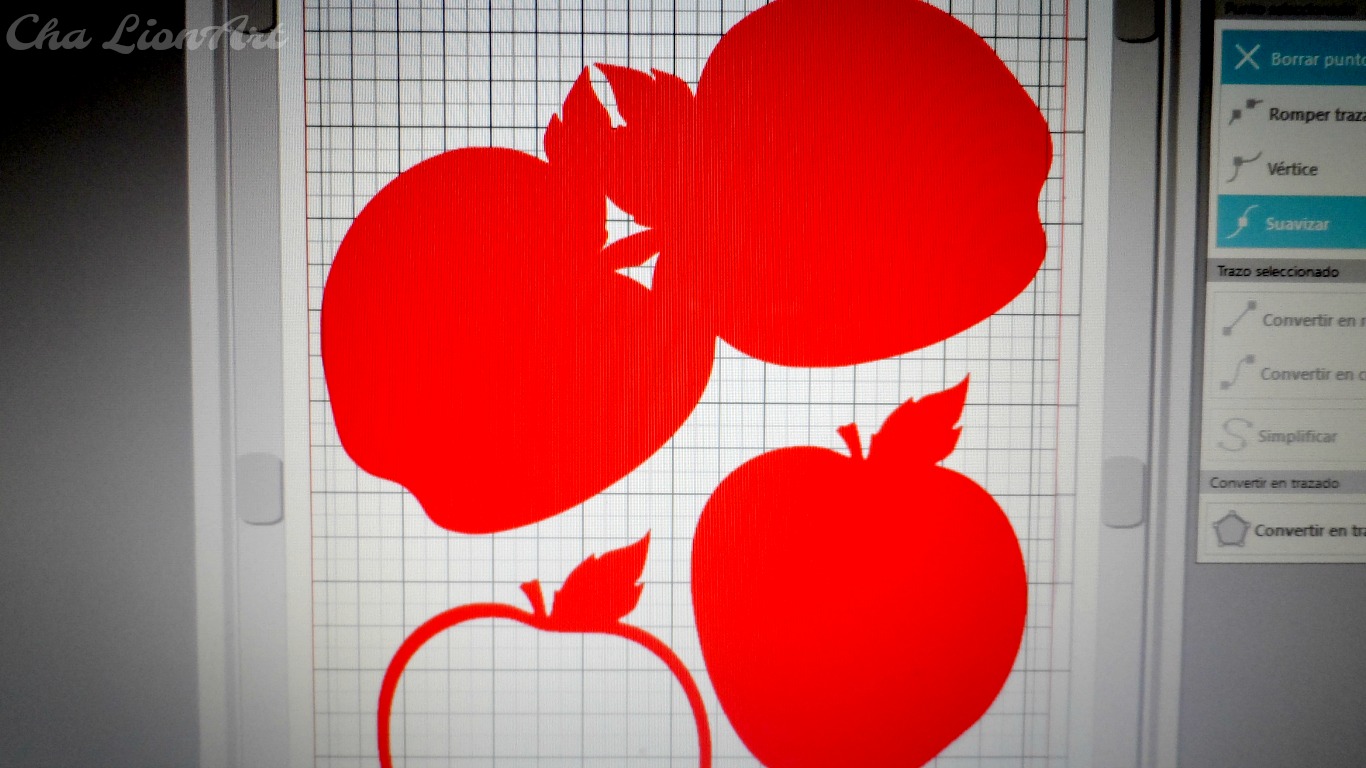
Hello there! It's me, Cha. This time I'll show you something different to do, a card with a shape of an apple. Of course, for doing this, you need an electronic cutting machine, mine is Silhouette Curio Machine (but there are many brands in the market) and I created the apple-shaped pattern that you can download on HERE for free.

I really like my electronic cutting machine, Silhouette Curio, although I acquired it just before Cameo 3 was released and I was a little annoyed at the beginning, finally, I love it! The only thing that I don't like about my machine, it is that its workspace is quite small if you compare to Cameo. Curio is an A4 size and Cameo is 12 by 12 inches.
First, I cut all my pieces with my Silhouette Machine (as I said before) and prepared all the supplies that I was going to use. This time I cut all these pieces on white snow cardstock by Hero Arts.
Card 1
For this first card, I used some black chalk paint to color the front of my card. As I wanted to color just the front, I covered the back with a piece of cardstock and some removable tape and I let it dry completely. I have to say that I'm very impatient and I dried it a little with my heat gun...
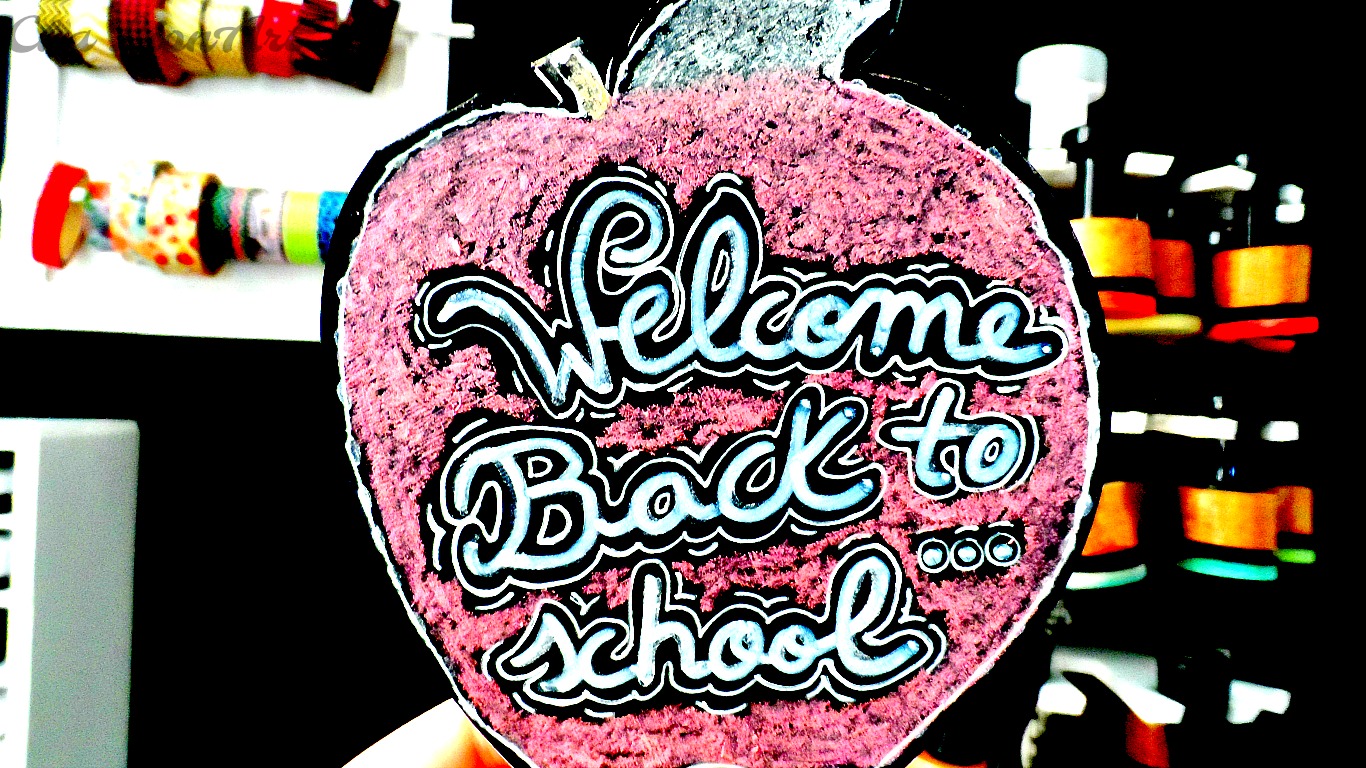
Once it was completely dried, I took my chalk marker (the one that it is usually used in restaurants and coffee shops) and wrote my sentence 'Welcome back to school'. I also made some stitches along the edges of my card but, at this point, it didn't convince me at all, so I decided to use my white gel pen and embellished the sentiment and the edges, just a little bit. As I love colors, I couldn't resist to take some chalks and paint this apple... I chose the pink (because I didn't have red chalk), green and orange (for the little branch at the top of the card).
The good thing about making this card, it is that if you don't like the result, you can clean it up and start again!
And that's all! It is so easy to make!
Let's move on to Card 2.


The good thing about making this card, it is that if you don't like the result, you can clean it up and start again!
And that's all! It is so easy to make!
Let's move on to Card 2.
Card 2
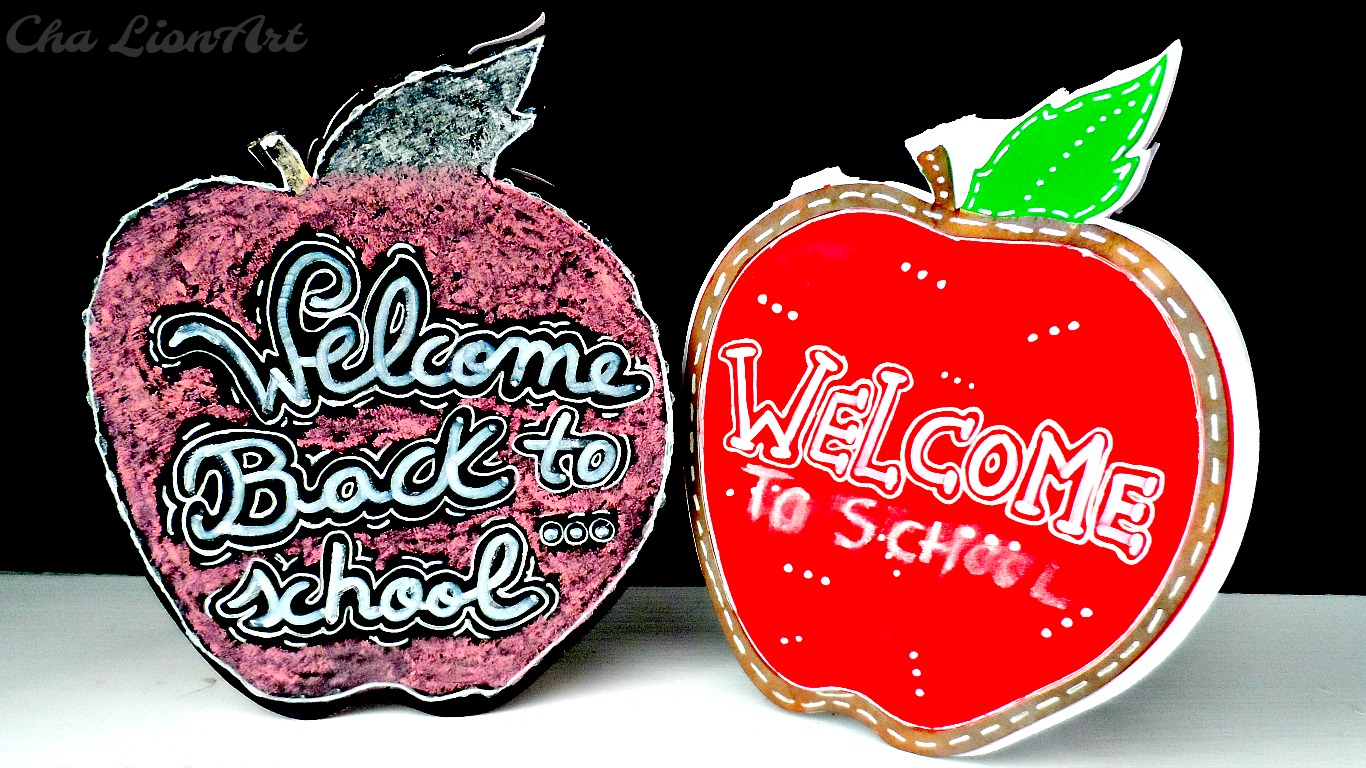
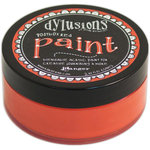
For the second card, instead of using some chalk paint, I used some clear varnish that turns surfaces into a chalkboard. That's why I chose to paint my card with Dylusions paint.
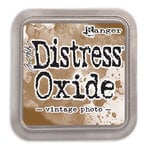
First, I colored the panel with red and left aside to let it dry. Meanwhile, I colored a border that I also cut before and colored with Vintage Photo Distress Oxide and I also sprayed some water on it to give it that oxide look. I left this border aside and moved again to the front panel. As it was dried, I colored the leaf with a green color (Dylusions paint) and again, I let it dry just for a couple of minutes. Later, I glued the panel onto my white apple card base (that was already cut) and also glued the Oxide border on it.
For this card, I also used some chalks and my white chalk marker that I used in the previous card. I wrote in the middle of the card the word 'Welcome' with my chalk marker, and embellished with fine lines and dots using my white gel pen. Finally, I wrote 'To school' with simple white chalk that you can erase it!
And this was the result for this card!
YouTube Video
As you can see, these cards are so easy to make and if you choose to make some cards with my apple-shaped card bases, I would like to see them! On Instagram, you can tag me on your cards (@chadelel) or just leave me a comment below this post or on my YouTube channel with a link to your blog and I will visit you there!
See you soon.


.jpg)
.jpg)
.jpg)
)
)