

[Product links are below this post | Los enlaces de productos se encuentran al final de este post]
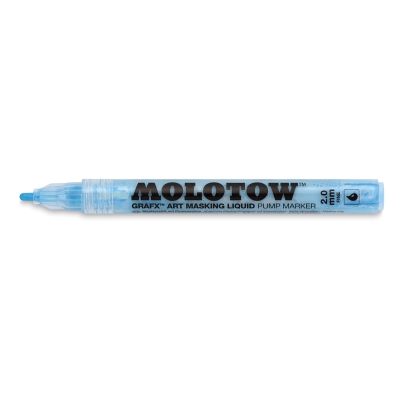
Hello there! It's me, Cha! This time, I would like to show you a card that I made using several techniques. The first one is masking with the Molotow liquid masking pen, and the second one is to cut in a partial way using your favorite die cutting machine. Mine is the Big Shot machine!

¡Hola a todos! ¡Soy Cha! Esta vez me gustaría enseñarles una tarjeta que creé utilizando varias técnicas. La primeta es enmascarar con el rotulador de enmascarar de Molotow, y la segunda es cortar de manera parcial utilizando tu maquina troqueladora favorita. ¡La mía es la Big shot!
First of all, I used a past MMH kit from Hero Arts. I like using the products that I already have in order to try techniques. So, this time, I used for this card the kit from December 2017. If you don't know very much about Hero Arts kits, link HERE.
Primero de todo, utilicé un kit MMH de Hero Arts pasado (My Monthly Hero Kit). Me gusta utilizar productos que ya tengo para probar nuevas técnicas. Así que, esta vez, utilicé el kit de Hero Arts del mes de Diciembre 2017. Si no conoces muy bien sobre estos kits, enlace AQUÍ.
I picked a piece of watercolor cardstock to create an Arabian scene. I positioned my two images of people and one ceiling light on the plate of the Travel Stamp Platform by Tim Holtz. I stamped them firmly using Tsukineko Memento Tuxedo Black that is one of the best ink which works when coloring with alcohol markers. I stamped the images several times. I dried the images a little bit with my heat gun and I colored the images with the liquid masking pen, Molotow. When this blue ink from this pen dried, I positioned the rug stamp on the plate of the Travel Stamp Platform. Then, I inked the image again with the same ink (Tuxedo Black) and pressed onto the paper. I heat it again using the craft tool and colored with the Molotow masking pen. I let it dry very well.
Elegí papel de acuarela para crear una escena arábica. Coloqué las dos imágenes de personas y una imagen de una lámpara de techo en la plataforma de estampar de Tim Holtz. Las estampé firmemente utilizando la tinta Tsukineko Memento Tuxedo Black que es una de las mejores tintas que funcionan cuando coloreas con rotuladores de alcohol. Estampé varias veces para que las líneas de las imágenes quedaran definidas. Sequé un poco las imágenes con la ayuda de mi pistola de calor o embossing y, entonces, coloreé las imágenes con el rotulador de enmascarar de Molotow. Cuando la tinta azul de este rotulador se secó, coloqué el sello con una alfombra en la plataforma de estampar y estampé esta imagen utilizando la misma tinta (Tuxedo Black ink) y presionando muy bien sobre el papel. Sequé otro poco esta imagen con la pistola de embossing y coloreé nuevamente con el rotulador de enmacarar de Molotow.

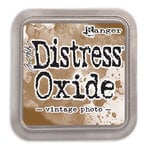
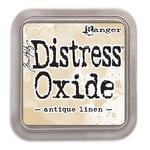
I masked the bottom part of the card using masking tape in order to color the wall - I mean the part behind the masked images. So, I blended using Distress Oxide ink - gathered twigs that I applied with an ink blending tool and dried with my heat tool. Then, I put the stencil that came with the kit on top and I blended with Distress Oxide ink - walnut stain applying again with an ink blending tool. I heat it again with the craft tool. Later, I masked the top part in order to color the bottom o the card - the floor. I started blending the bottom part using Distress Oxide Ink - antique linen and then, I used Distress Oxide Ink - frayed burlap. I heat it that part with the heat gun. Once all is dried, I sprayed some water and let it dry again for a couple of minutes.
Enmascaré la parte inferior del papel utilizando cinta de carrocero o carpintero para colorear lo que sería la pared, es decir, la parte trasera de las imágenes. Así que mezclé la tinta Distress Oxide - gathereed twigs y la apliqué con un aplicador de tinta y sequé la tinta con la pistola de calor. Entonces coloqué el stencil o máscara que vino con el kit sobre el papel y apliqué la tinta Distress Oxide - walnut stain aplicándola con un aplicador de tinta nuevamente. Sequé un poco con la pistola de embossing. Más tarde enmascaré la parte superior de la tarjeta para colorear la parte inferior de la tarjeta, es decir, el suelo. Empecé tintando la parte inferior utilizando la tinta Distress Oxide - antique linen , y luego resalté un poco con la tinta Distress Oxide - frayed burlap. Volví a secar con la pistola de calor. Una vez que todo estuviera seco, rocié con agua y lo dejé secar otra vez por unos minutos.
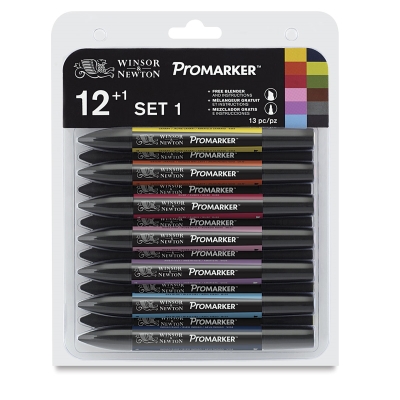
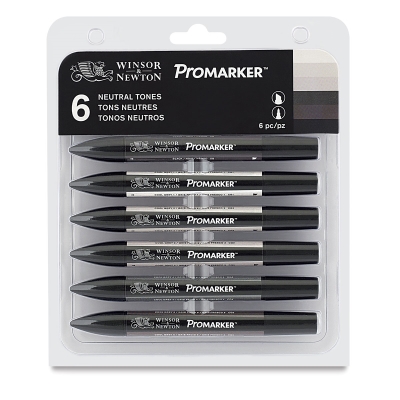
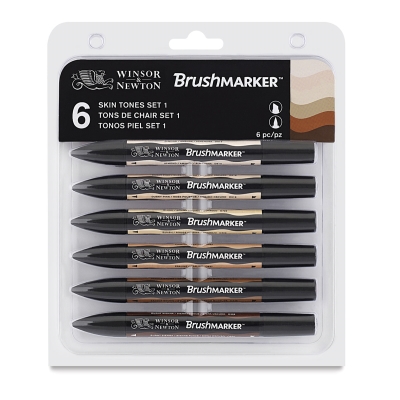
I removed all the masking from the card with a rubber cement (or a glue eraser). I colored the characters of this card using alcohol markers - ProMarkers and BrushMarkers from Winsor&Newton. You can use what you have at home - Spectrum Noir or Copics.
Quité toda la tinta azul del enmascarado de las imágenes con una goma para pegamento (rubber cement). Entonces, coloreé todas las imágenes de la tarjeta utilizando los rotuladores de alcohol - ProMarkers y BrushMarkers de Winsor&Newton. Ustedes pueden utlizar los que quieran - Spectrum Noir y los Copics son los más utilizados.

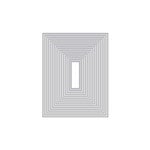
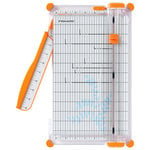
At this moment, I wanted a window behind the characters, so I planned the partial die cutting. I picked the window die from the main kit and positioned over the card where I wanted to cut. Also, I added the coordinating dies of the characters - I just wanted to cut the top part of everything on this card. I put the panel onto the cutting pads of my die cutting machine (the Big Shot) but I left the part that I didn't want to cut outside the cutting pads. After that, I passed it through the Big Shot several times. At this point, my top card was cut except the bottom part which the characters were. So, I cut the bottom part using a ruler and a cutter, then I removed the remain with scissors from side to side of the bottom of the window and around the characters. The characters are off of the window.
En este momento quise una ventana detrás de los personajes, así que planeé el troquelado parcial. Tomé el troquel de ventana que venía con el kit y lo posicioné sobre la tarjeta donde quería cortar. También, posicioné los troqueles coordinados para los personajes - pero sólo quería cortar la parte superior de todo. Coloqué este panel con los troqueles posicionados en la base de corte de la máquina para troquelar (la Big Shot) pero, dejé la parte inferior de la tarjeta, es decir, la parte que no quería cortar fuera de las bases de corte. Después de colocar todo, lo pasé por la Big Shot varias veces. Entonces, en este momento, tenía la parte superior del panel cortado excepto la parte inferior en la cual estaban mis personajes. Así que corté la parte inferior utilizando una regla y cortando solamente la parte que falta por cortar con el cúter y lo que no pude terminarlo, lo rematé con unas tijeras de un lado a otro de la parte inferior de la ventana y alrededor de los personajes. Los personajes están fuera de la ventana.

With the piece that I cut from the window, I used the coordinating die of the ceiling light and I cut it too. I left aside.
Con la pieza que corté de la ventana, utilicé el troquel coordinado para cortar la lámpara de techo. Lo dejé para más tarde.
I wanted to create the outside, meaning the inside of the window. I put my main panel on top of another piece of white cardstock that I wanted to use. I marked the window shape from the main panel to another piece with a pencil. Then, I left aside the main panel for a while.
Quería crear una escena en la parte exterior, es decir, dentro de la ventana. Puse mi panel principal sobre otra cartulina blanca. Marqué con un lápiz la forma de la ventana en esta nueva cartulina. Entonces dejé a un lado el panel principal por un momento.

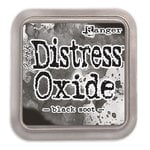
In this piece, I blended some Distress Oxide Inks - squeeze lemonade, spiced marmalade, candied apple and black soot (from the bottom to the top). Then, I sprayed some water and removed the excess with a piece of paper. After that, I stamped the palm tree stamp that also came with the kit using Versafine Onyx Black. I stamped this image several times. Later, I stamped many stars above the palm trees using Hero Arts white pigment ink - unicorn (one of my favorites!).
En esta pieza, mezclé varios colores de las tintas Oxide - squeeze lemonade, spiced marmalade, candied apple y black soot (desde la parte inferior hacia la parte superior del panel). Entonces rocieé el panel con agua y eliminé el exceso de agua con un trozo de papel. Después, estampé el sello con una palmera que, también, vino con el kit, utilizando la tinta Versafine Onyx Black. Estampé varias veces esta misma imagen. Más tarde, también estampé varias estrellas por encima de las palmeras utilizando la tinta de pigmento de Hero Arts - unicorn (¡Una de mis favoritas!).
I picked the ceiling light and on it, I made a small hole with the picker craft tool from Tim Holtz. Next, I embossed the sentiment with white detail embossing powder on a black paper strip. For embossing, I used Versamark ink and my craft tool, too. I also gave some gold embossing details to the pictures.
Tomé la imagen de la lámpara de techo y le hice un pequeño agujero con un el picker craft tool de Tim Holtz. Después, escogí la frase y la estampé sobre una cartulina negra y utilizando la tinta versamark ink, y le añadí polvos de embossing - white detail y los sequé con la pistola de embossing. Corté la frase en forma de banda utilizando la cizalla. También le dí a las imágenes un toque de embossing gold (oro).

Let's mount the card! I picked the piece that it was going to be inside of the card and I adhered to the center of a 5.5" by 4.25" white notecard. Next, I took the ceiling light and I added a brown string to it. I adhered the string to the part behind of the main panel with some tape. Then, I added foam tape in the part behind of the panel too. Later, I attached the main panel on top of the notecard leaving a white strip as the border around. Finally, I also adhered the light to the center of the card with some foam tape. I glued the sentiment on the top part of the window - just above the light.
¡Vamos a montar la tarjeta! Escogí la pieza que iba a ir dentro de l tarjeta y la adherí a una tarjeta de base blanca de 5.5 por 4.25 pulgadas. Lo siguiente que hice fue tomar la lámpara de techo y le añadí un trozo de cuerda de mis materiales. Adherí el trocito de cuerda a la parte trasera del panel principal con cinta de doble cara. Entonces, también en la parte trasera, añadí cinta adhesiva de espuma, alrededor del hueco de la ventana. Después, pegué este pegué principal encima de la tarjeta base dejando una tira blanca como borde. Finalmente, adherí la lámpara en el centro de la tarjeta, justo en el hueco de la ventana con cinta adhesiva dimensional de espuma. Pegué la frase que había creado por arriba de lámpara, de un lado a otro de la ventana.
In order to give more contrast in color between the main panel (the outside) and the background (the inside), I colored the edges of the window with a brown marker (ProMarker - Saddle Brown). Finally, I added some shimmer to the images with the Nuvo aqua shimmer pen.
Para crear contraste en color entre el panel principal (la parte exterior) y el fondo (la parte interior), coloreé los bordes de la ventana con un rotulador marrón (ProMarker - Saddle Brown). Finalmente, añadí algo de brillo a las imágenes de esta tarjeta con el Nuvo aqua shimmer pen.

And this is how I made this card. This card can be a little complicated to make but it is worth it! I also made some mistakes that I had to start over but the result at the end it is what I love the most. Starting over is not a bother, it is seeing things from another perspective and trying other techniques during the process. I highly recommend trying this technique because it is super fun!
Y esto es todo de cómo creé esta tarjeta. Esta tarjeta puede parecer complicada de realizar pero ¡merece la pena! También cometí varios errores y tuve que volver a empezar a crearla pero el resultado del final es lo que más vale. Comenzar algo no debe ser una molestia sino un aprendizaje, mejorar lo que hiciste e incluso añadir nuevas técnicas. Recomiendo intentar eesta técnica porque... ¡es súper divertida!

If you like posts like this, subscribe to my blog and my YouTube channel to stay tuned for the latest news!
Thanks and see you soon!
Si te gusta posts como este, subscríbete a mi blog y mi canal de YouTube para mantenerte al tanto de todos mis proyectos.
¡Gracias y hasta pronto!


.jpg)
.jpg)
.jpg)
0 Comments