

All product links are found below this post | Todos los enlaces de productos los pueden encontrar al finalizar esta entrada
Hi there! It's me, Cha! I'm showing you a card that I made for the new challenge from Hero Arts official blog 'A Blog Named Hero'. I'm super excited about these kinds of challenge and in the last one, I was among the favorites so I would like to be the first someday!
 |
| Añadir una flor en el proyecto |
¡Hola a todos! ¡Soy cha! Esta semana he creado una tarjeta que hice para el nuevo reto del blog oficial de Hero Arts 'A Blog Named Hero'. Estoy muy emocionada de poder participar en este tipo de retos y en el último reto del mes pasado, estuve entre las favoritas, así que me gustaría seguir participando para ser una de las primeras algún día.
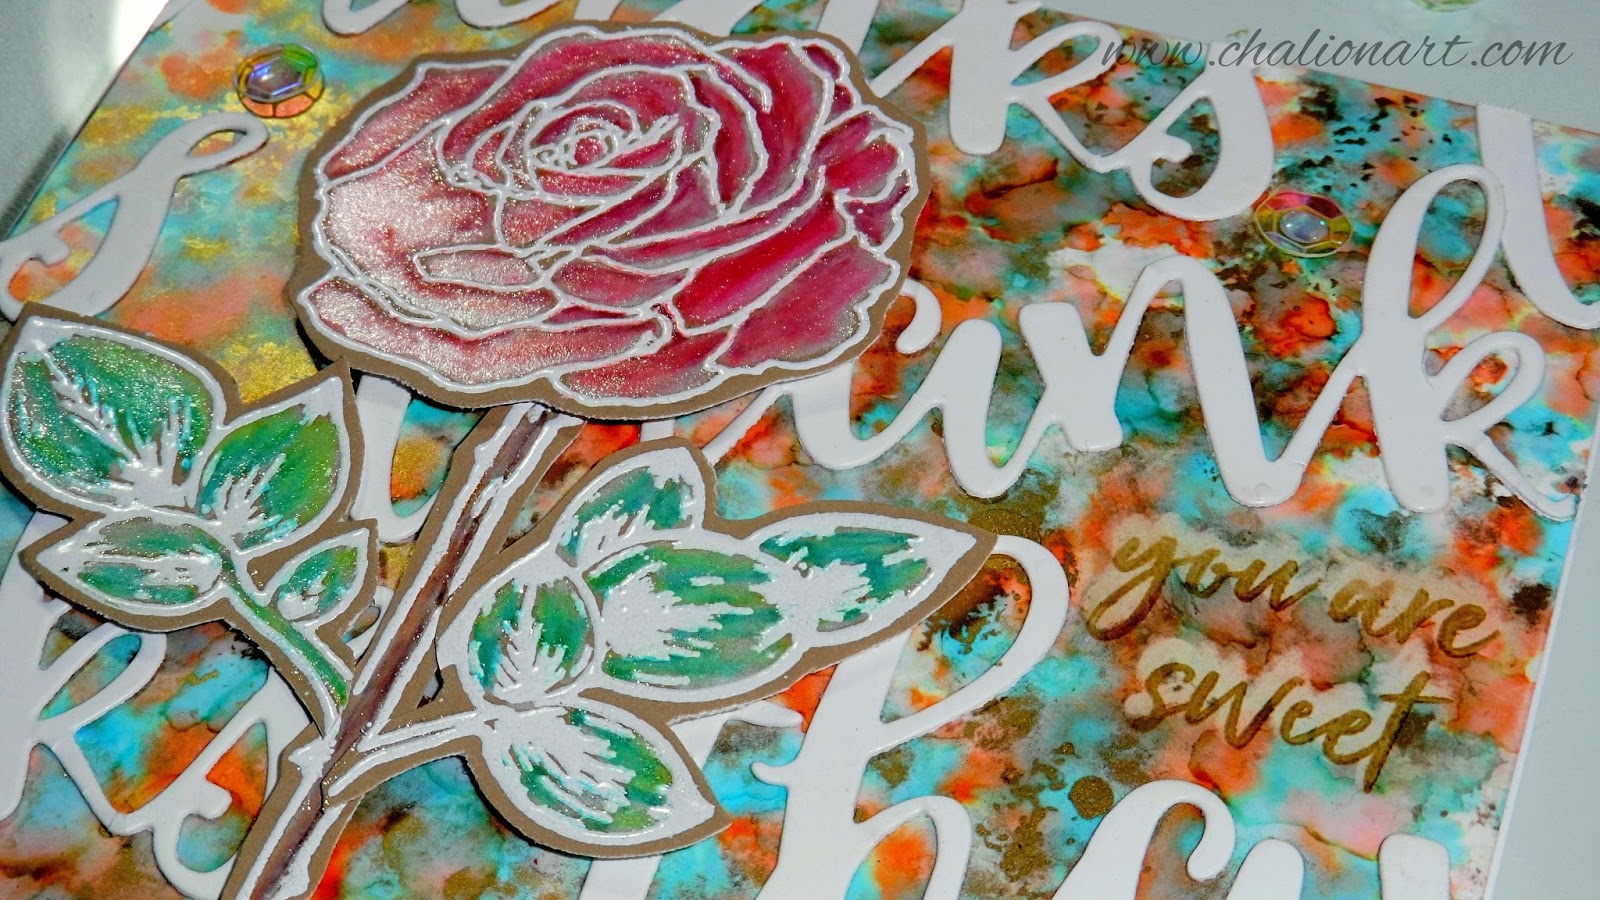
For this challenge, we have to use some flowers on the project. So, I decided to use the Layering Rose stamp set from Hero Arts as the central point of this project. Then, the idea that came to my mind was to make a simple background with alcohol inks by Tim Holtz and, also, some die cuts using the word 'thanks' from Altenew word die set. Notice that you can try this technique using the word die cuts from the MMH March 2018 (My Monthly Hero Kit) that it is still available (I ordered mine and I'm waiting for it!)
Para este reto, tenemos que utilizar flores en el proyecto. Así que decidí utilizar el set de sellos de Hero Arts Layering Rose para la imagen principal de este proyecto. Entonces, la idea que me vino a la mente fue crear un fondo simple utilizando las tintas de alcohol de Tim Holtz y, también, algunos troqueles utilizando la palabra 'thanks' del set de troqueles de Altenew. En vez de utilizar este troquel, se puede utilizar otros troqueles que tengan para realizar esta técnica, como el set de troqueles de Hero Arts que lanzó con el kit MMH de marzo 2018 (My Monthly Hero) y que todavía están disponibles en su web (¡ya pedí los míos y los estoy esperando!).

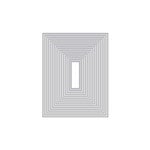
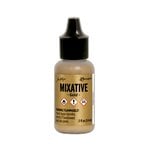
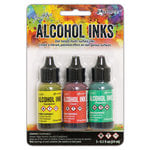
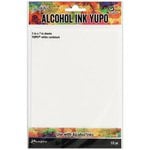
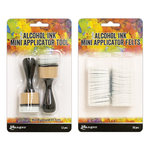
First of all, I made a simple background using some alcohol inks and a piece of YUPO paper that has the best results working with these inks. I took an ink blending tool with a piece of felt that it is specifically for using alcohol inks and I added some drops of alcohol inks - Valencia, Turquoise, gold mixative and the alcohol blending solution. I tapped these inks onto the whole paper and the result is amazing! Finally, I cut the paper in order to fit on a card base (4 1/4 inches by 5 1/2 inches) using the rectangle die from Hero Arts Infinity Dies, although you can cut it with a trimmer.
Primero creé el fondo simple utilizando algunas tintas de alcohol de Tim Holtz y el papel especial para estas técnicas llamado YUPO que es con el que se consigue crear una infinidad de efectos. Para crear un fondo fácil, simplemente cogí el aplicador de tinta con un fieltro que son los que se utilizan para las tintas de alcohol, y le impregné algunas tintas de alcohol - Valencia, Turquoise, mixative gold y el mezclador de alcohol (alcohol blending solution). Emplée dando toques con estas tintas sobre toda la superficie del papel y la verdad es que...¡el resultado es increíble! Finalmente, corté este fondo para que se ajustara a la base de la tarjeta (es decir, 4.25 pulgadas por 5.50 pulgadas) utilizando el troquel rectangular del set de Hero Arts Infinity Dies pero, también, se puede cortar con una guillotina o cizalla.

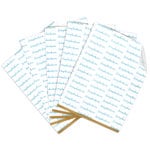
At this point, I needed some transition between my image and the background, so I decided to integrate the sentiment onto my inky background. I picked one of the dies that come in the script words 2 die cuts from Altenew and some white cardstock with adhesive sheets on the back. I cut many of the words 'thanks' using the Big Shot. When I finished cutting all the pieces, I started to peel off the words and added them to the colored background one by one. As these adhesive sheets are so sticky and strong, I decided to remove the words with the help of a hook. Finally, I cut the excess from the panel.
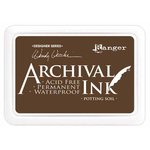
I also added another sentiment in the background. As the background was very colored, I decided to take Potting Soil Archival Inks and stamped some sentiment from the same set (Layering Rose). I removed the ink several times with a cloth until this part stays colorless. Then, I stamped again using the same ink and now the sentiment stands out from the background.
En este punto necesitaba una conexión o transición entre mi imagen y el fondo, así que decidí integrar la frase para esta tarjeta en el fondo tintado. Escogí uno de los troqueles que vienen en el set de troqueles Script Words 2 de Altenew y una cartulina blanca con una hoja adhesiva de doble cara que pegué a la parte trasera. Corté muchas palabras 'thanks' con la máquina troqueladora de la Big Shot. Cuando terminé de cortar todas las piezas, comencé a despegar las palabras y las añadía en el fondo coloreado una a una. Como estas hojas adhesivas son muy pegajosas y fuertes, decidí quitar cada palabra con la ayuda de un gancho (para la máquina de la Silhouette). Finalmente, recorté el exceso que sobresale del panel.
También añadí una frase en el fondo. Como el fondo era muy colorido, decidí estampar la frase que también venía en el mismo set (Layering Rose) con la tinta Potting Soil Archival Ink. Estampé y quité la tinta con un trapo varias veces hasta que el área quedara más clara. Entonces, estampé la frase otra vez con la misma tinta y ahora la frase resalta del fondo.

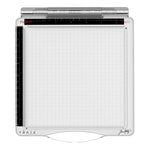
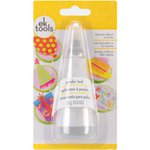
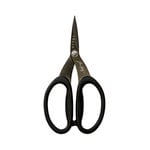
For the image, I decided to use the Travel Stamp Platform by Tim Holtz because I wanted to stamp several times. So, I picked the outlined rose stamps from the Layering Rose (from Hero Arts) and positioned in the Travel Stamp Platform. I first added the Powder Tool and stamped the images using Versamark Ink on some brown cardstock from Hero Arts. Then, I added some white embossing powders and heat it with my craft tool. Later, I cut each image with scissors (I also ordered the die cuts for this set and I'm waiting for them!)
Para la imagen, decidí utilizar la Plataforma para Estampar de Viaje de Tim Holtz porque quería estampar la imagen varias veces. Así que escogí los sellos en que la imagen está delineada, o modo sketch, del set de Hero Arts Layering Rose y posicioné todas ellas en la Plataforma para Estampar. Primero, añadí la herramienta para polvos de embossing y estampé las imágenes utilizando la tinta Versamark y cartulina marrón de Hero Arts. Entonces, añadí los polvos de embossing blancos y los derretí utilizando la pistola de calor. Más tarde, recorté cada imagen con unas tijeras de precisión. (También pedí los troqueles para este set de sellos y...¡los estoy esperando!)

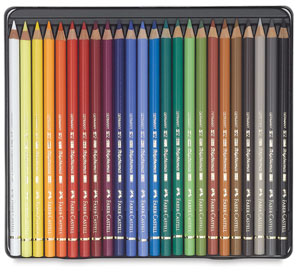
For coloring the images, I decided to use the Polychromos from Faber Castell. I didn't do anything fancy, I just added a layer of white color pencil due to I was going to color a dark cardstock. Then, I colored the petals of the rose with red tones, the leaves with green tones and the stem with brown tones. When I finished coloring, I decided to emboss my images again, so I positioned the panel again in the Travel Stamp Platform, stamped again with Versamark ink, added again some white embossing powders and heat it again. I adhered all the pieces to the background with some thin foam squares.
Para colorear las imágenes, decidí utilizar los lápices de colores Polychromos de Faber Castell. No coloreé de una manera original, simplemente añadí primero una capa del lápiz de color blanco ya que iba a colorear una cartulina oscura. Entonces, coloreé los pétalos con tonos rojos, las hojas con tonos verdes y el tallo con tonos marrones. Cuando terminé de colorear, decidí volver a realizar el embossing a las imágenes. Así que, nuevamente, posicioné la hoja en la Plataforma para Estampar, estampé con la tinta Versamark, añadí los polvos de embossing blancos y los volví a derretir con la pistola de calor nuevamente. Todas las piezas las adherí al fondo con los cuadritos de espuma para darle algo de dimensión a la tarjeta.

For final touches, I just added some iridescent sequins and some Wink of Stella glitter clear.
Para los toques finales, añadí algunas lentejuelas iridescentes y purpurina con Wink of Stella - glitter clear.
BONUS CARD | TARJETA BONUS
I also created another same card using other color palettes but very same supplies and techniques. For this card, I was inspired by love and tragedy Shakespearean plays. Here I post some photos with this Shakespearean inspiration.
También creé otra tarjeta igual con los mismos materiales y técnicas pero utilizando otra paleta de colores diferentes. Para esta tarjeta, me inspiré en las obras de tragedia y amor de Shakespeare. Aquí les publico alguna de las fotos de esta inspiración Shakespeariana.


Thank you so much!
¡Muchas gracias!


.jpg)
.jpg)
.jpg)
0 Comments