

Hello there! It's me, Cha! This week, I've been creating so much and now, I need some time for editing and writing on the blog. So, I wanted to ask you for being patient a little bit until everything is ready to share with you. What's more, I would like you to know that Creativation 2018 is just around the corner and we must stay tuned for the new releases! It's going to be super fun!! One of the products that Tim Holtz is going to launch at this craft experience is the new Tim Holtz Stamping Platform Travel which is the same platform that I used for my card today, but a little bit smaller so that you can take it with you everywhere.

¡Hola a todos! Soy Cha. Esta semana he estado creando muchísimo y ahora necesito tiempo para editar y escribir en el blog. Por ello, les quisiera pedir algo de paciencia hasta que todo este listo para publicar y compartir con ustedes. Además, quisiera compartir que Creativation 2018 está a la vuelta de la esquina y que por ello hay que estar atentos a los nuevos productos que saldrán a la venta. ¡Va a ser súper divertido! Uno de los nuevos productos que van a lanzar al mercado es la Plataforma de Viaje para Estampar de Tim Holtz que es la misma plataforma que utilicé para este post para hoy pero que es más pequeña para que puedas llevartela a todas partes.

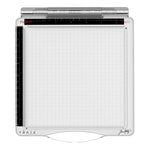
I think crafters need to have one of this Tim Holtz Stamping Platform because it gets the better results! Basically, this tool makes images to be stamped at the same position on your cardstock or on paper. It is useful to have to make multiple cards or layering stamping. Remember that I have one of this tool that I made myself with an IKEA frame (see the video HERE). However, I couldn't resist getting this one because I saw it in one of the local stores in my town.
Pienso que todos los que hacemos manualidades deberíamos tener una plataforma de estampado como esta de Tim Holtz ya que obtienes unos resultados más precisos a la hora de estampar los sellos. Básicamente, se trata de una herramienta que te permite estampar un sello en la misma posición en la que estampas la primera vez. Es bastante útil de tener si haces muchas tarjetas o si te gusta los sellos en capas. Recuerden que yo tengo una herramienta parecida a esta que hice yo misma con un marco de IKEA (mira el vídeo AQUÍ). Sin embargo, no pude resistirme a obtener esta herramienta cuando la vi en una tienda local de mi ciudad.
For this card, I also used the MMH December 2017 kit from Hero Arts that it is still available! I used this kit again because I haven't played with it too much and, for those who don't know me, I love using all my kits from Hero Arts! Also, the new MMH January 2018 is available.
Para esta tarjeta, también utilizo el kit de Hero Arts de diciembre de 2017 y que... ¡todavía está disponible! Utilicé este kit otra vez porque no he jugado mucho con él, y para aquellos que no me conocen ¡me encanta utilizar todos mis kits de Hero Arts! Además, el nuevo kit de MMH de enero 2018 está disponible.

I positioned my white panel at the base of the Stamping Platform by Tim Holtz and added some of the stamps from the Hero Arts MMH kit - I added the dunes, the magic carpet and one of the sentiments that are included in the kit. First, I used the Powder Tool because it removes the electricity from my cardstock in order to emboss the images. So, I decided to do the stamping using Versafine Onyx black ink that is a juicy pigment ink and stays wet enough to do the embossing. Then, I added some clear embossing powders and heat embossed with my craft gun tool. For a little more of dimension to the card, I embossed my card twice. Thanks to the Stamping Platform and as I didn't remove the stamps from the Stamping Platform, I could do the stamping right on top of the first time.
En la base de la Plataforma de Estampar de Tim Holtz, posicioné la cartulina para crear mi escena. En la plataforma, añadí los sellos del kit de Hero Arts que iba a utilizar para crear esta tarjeta - las dunas, la alfombra mágica y una de las frases que se incluían con el kit. Primero, utilicé la Herramienta Anti-estática (Powder Tool) para eliminar la electricidad de la cartulina para poder hacer embossing. Decidí estampar los sellos utilizando la tinta negra Versafine Onyx Black que es una tinta de pigmento jugosa que se queda lo suficientemente fresca para realizar el embossing. Entonces, añadí los polvos de embossing claros y los sequé utilizando la pistola de calor específica para esta técnica. Para un mejor acabado, suelo realizar dos veces el embossing. Gracias a la Plataforma de Estampación y el no quitar los sellos de la misma, pude volver a realizar la estampación con precisión justo encima de la vez anterior.
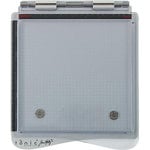
I must say that I lined up the sentiment using an acetate grid that I created myself but you can get one HERE.
Debo decir que alineé la frase utilizando una cuadrícula de acetato que creé yo misma pero puedes obtener una AQUÍ.
I must say that I lined up the sentiment using an acetate grid that I created myself but you can get one HERE.
Debo decir que alineé la frase utilizando una cuadrícula de acetato que creé yo misma pero puedes obtener una AQUÍ.
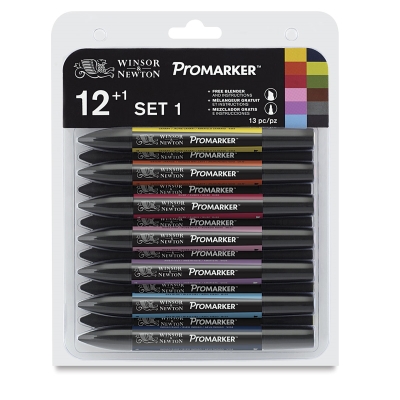
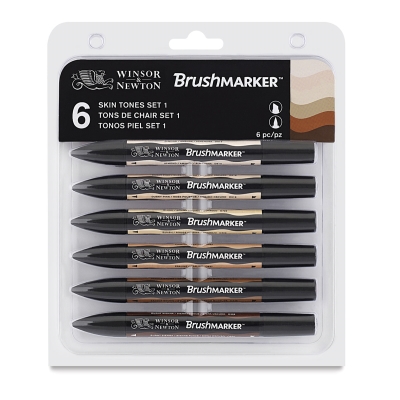
For coloring the images (the dunes and the magic carpet), I used some alcohol markers (mines are ProMarkers and BrushMarkers from Winsor&Newton but you can use Copics or Spectrum Noir Markers). I didn't do anything fancy, I just colored the magic card in bright colors and the dunes in brown tones.
Para colorear las imágenes (las dunas y la alfombra mágica), uitilicé algunos rotuladores de alcohol (los míos son los ProMarker y BrushMarkers de Winsor&Newton pero pueden utilizar otros como los Copics o los Spectrum Noir). Coloreé la carpeta mágica con colores brillantes y las dunas con tonos marrones.


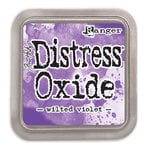
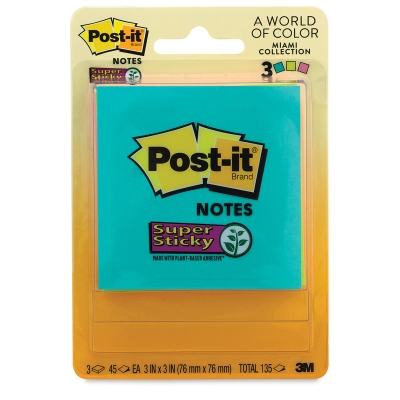
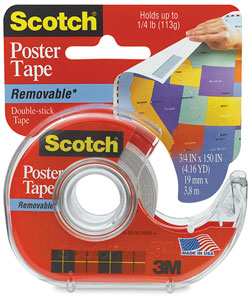
For coloring the background, I needed to mask my images in order not to color them when I was going to color the sky behind the images. So, I stamped the magic carpet on a piece of post-it notes and I stamped the dunes on a basic cardstock. I cut both images right on the edges. Later, I covered up each image with the two pieces, the post-it notes and the piece of cardstock. For this piece of cardstock, I used some removable tape for keeping the cardstock on the place. I must say that my post-it notes are not stronger enough, so I recommend you to get the sticky ones. Then, I started coloring my background of my scene using Distress Oxide Inks - Worn Lipstick, Wilted Violet and Faded Jeans. At this point, I saw that my background and the images were too colored, so, I spritzed some water to leave some white slightly splashes. I removed the masking pieces and the result is so cool!
Para colorear el fondo, necesitaba enmascarar las imágenes para no colorearlas con el cielo de detrás. Así que estampé el sello de la alfombra mágica en un trozo de post-it notes y estampé las dunas en una cartulina básica. Recorté ambas imágenes por el borde. Luego, cubrí cada imagen, es decir, el papel de post-it sobre la imagen de la alfombra mágica, y el trozo de cartulina sobre las dunas que pegué con cinta removible. Debo decir que mis post-it notes no cubrían del todo la imagen, y por ello, les recomiendo los post-it llamados Sticky que tienen pegue por toda la hoja y facilitan la técnica de enmascarar. Después, comencé a colorear el fondo de mi escena utilizando las Tintas de Distress Oxide - Worn Lipstick, Wilted Violet y Faded Jeans. En este momento, ví que mi fondo junto con las imágenes eran demasiado coloridos, así que rocié con agua el fondo para darle algún toque blanco. Quité el papel de enmascarar y... ¡está guay el resultado!

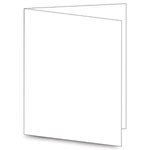
For mounting my card, I decided to add the main panel on top of a piece of purple craft foam and I adhered this whole piece to a black blank notecard. Finally, I added some glitter to my magic carpet using Wink of Stella and some sequins around the magic carpet.
Para montar la tarjeta, decidí pegar el panel principal (el coloreado) sobre un trozo de goma eva o foamy violeta y lo adherí a una base de tarjeta negra. Finalmente, añadí purpurina a la alfombra mágica utilizando Wink of Stella y, también, algunas lentejuelas (sequins) alrededor de la alfombra.

I hope you enjoy this card and if you do, remember to subscribe to my YouTube Channel and my blog. Thanks and I hope I can see you soon! Bye, Bye.
Espero que hayan disfrutado de esta tarjeta y si lo hicieron, recuerden subscribirse a mi Canal de YouTube y a mi blog. ¡Gracias y espero verlos pronto! Chao!


DIY Ink Blending Tool | DIY Aplicadores de Tinta

.jpg)
.jpg)
.jpg)