

Hello there! It's me, Cha! Last week, I started a series of Christmas cards. This week, I made a cards using few supplies. As the last previous video, you can see that you can create different and gorgeous cards with a little of imagination, creativity, and just some stamps and embossing powders as you wish.

¡Hola a todos! Soy yo...¡Cha! La semana pasada comencé una serie de tarjetas navideñas. Esta semana, sigo con las tarjetas de navidad y utilizando pocos materiales. Como ya han visto en mi vídeo y post anterior, con pocos materiales puedes crear muchísimas tarjetas preciosas con muy pocos materiales. Lo único que se necesita es creatividad e imaginación.
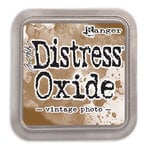
Para la creación del fondo de la tarjeta, decidí estampar varias veces la palabra 'Christmas' utilizando un set de sellos de alfabeto. Primero, coloreé una cartulina blanca con la tinta Tea Dye Distress Ink de Tim Holtz. Estampé muchas veces la palabra de 'Christmas' en toda la cartulina y utilizando la tinta, también de Tim Holtz, de Vintage Photo Oxide Ink y rocié con agua para darle ese efecto óxido o vintage que hacen magia con estas tintas, las Oxide Inks.
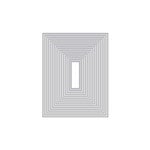
I cut this piece a little bit smaller than the card base (5.5 by 4.25 inches). For cutting the panel, I used the third rectangle die from Hero Arts Infinity Dies.
Corté este panel coloreado un poco más pequeño que la tarjeta base regular (en pulgadas, 5.5 x 4.25). Para cortarlo utilicé el tercer troquel de rectángulo del set de Hero Arts Inifinity Dies.
Fue muy interesante crear el aspecto de esta tarjeta porque quería crear todas los elementos por mí misma evitando el uso de sellos. Por ello, coloreé un trocito de cartulina blanca con el mismo color del fondo, con la tinta Tea Dye Distress ink. Como quería crear algunas ramas con nieve, decidí utilizar el rotulador de embossing de Ranger y diseñé la posición de las ramas, que luego, repasé con el rotulador de embossing, después le añadí los polvos blancos de embossing y los quemé utilizando la pistola de calor de manualidades. Finalmente, recorté este elemento por los bordes con ayuda de unas tijeras.
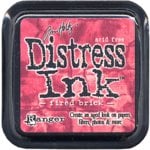
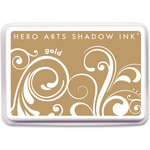
I also wanted a Christmas ornament that holds from one of these branches. So, I colored with Candied Apple and Fired Brick Distress Ink another piece of white cardstock and cut it with a circle Sizzix die-cut. Moreover, I drew the part of the top of the ornament on a piece of white cardstock also and colored it with gold Hero Arts ink. I cut it around the edges and make a hole in the center with a punch. I glued this piece at the top of the ornament that I previously colored in red tones. Then, I tied a bow from that hole from the ornament using white and red baker twine.
También quería diseñar un adorno navideño para colgar desde una de esas ramas. Así que en otro trocito de cartulina blanca, primero coloreé de dos tonalidades diferentes de rojo utilizando Fired Brick y Candied Apple Distress Ink. Recorté ese trozo que había coloreado con un troquel circular de Sizzix. Además, dibujé la parte superior de este adorno en cartulina blanca y lo pinté con la tinta de Hero Arts de color dorado. Lo recorté por los bordes y utilicé un punzón para hacerle el agujerito en medio. Pegué este trocito en la parte superior del adorno navideño que había coloreado previamente en tonos rojizos. Más tarde, até en ese agujero que había creado en el adorno navideños, un lazo con un hilo baker twine de color blanco y rojo.
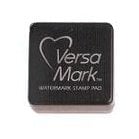
Para crear la frase para esta tarjeta, tardé muchísimo debido a que utilicé un set de sellos de alfabeto que utilicé. Decidí estampar primero la palabra 'Merry' sobre una cartulina roja. Utilicé el aplicador de polvo antiestático para eliminar la electricidad estática del papel y estampé solamente tres de las letras de la palabra 'Merry' (es decir, 'Mer'), y utilizando la tinta Versamark ink y añadí polvos blancos de embossing que luego quemé utilizando la herramienta de calor. Realicé varias estampaciones sobre las mismas letras, y todo el proceso del embossing caliente hasta conseguir unas letras totalmente sólida y sin huecos de aire. Más tarde, realicé el mismo proceso con las dos letras restantes ('ry') y, también, con la palabra 'Christmas' que utilicé para crear el fondo.
I cut the words separately and left aside in order to mount the elements first.
Recorté estas palabras una por una y las dejé a un lado para montar los elementos de la tarjeta primero.
Primero, pegué el elemento de las ramas utilizando cinta de doble cara en el panel principal (es decir, el que coloreé al principio). Cuando terminé de pegar las ramas, corté el sobrante del panel.
Second, I added the Christmas ornament with the bow on one of the branches.
Segundo, añadí el adorno navideño con el lazo en una de las ramas.
Third, I added the second word 'Christmas' at the top of the branches and, above of this, I glued the word 'Merry', both with foam tape.
Tercero, añadí la segunda palabra de 'Christmas' arriba de las ramas y, arriba de esta, pegué la palabra 'Merry', ambos elementos los pegué utilizando adhesivo de espuma.
Fourth, this panel in which I added all the elements, I glued on a piece of red fun foam that I cut a little bit bigger than the main panel. Finally, I glued this whole piece on a soft orange folded card (4.25 by 5.5 inches).
Cuarto, este panel de fondo en el que añadí todos los elementos, lo pegué sobre un trozo de goma eva roja que recorté un poco mayor que el panel principal. Finalmente, pegué toda esta pieza en una tarjeta base de color naranja (en pulgadas, 5.5 x 4.25).
Antes de terminar mi tarjeta, añadí algunos sequins o lentejuelas a la tarjeta. En el adorno navideño, añadí algo de brillo con el rotulador Wink of Stella claro. Como quería que este adorno sobresaliera más que el resto de los elementos de la tarjeta, le di un poco de dimensión con el pegamento tridimensional Glossy Accents de Ranger.

That's all for this beautiful card. You can see that with few supplies you can create a professional card for your family and friends!
Y eso es todo para esta tarjeta. Puedes comprobar que con tan solo algunos materiales puedes crear tarjetas para tu famila y amigos.
I hope you really enjoy this post as well as the video!
Espero que hayan disfrutado de este post y... ¡también del vídeo!
¡Muchas gracias!


¡Hola a todos! Soy yo...¡Cha! La semana pasada comencé una serie de tarjetas navideñas. Esta semana, sigo con las tarjetas de navidad y utilizando pocos materiales. Como ya han visto en mi vídeo y post anterior, con pocos materiales puedes crear muchísimas tarjetas preciosas con muy pocos materiales. Lo único que se necesita es creatividad e imaginación.
Remember that you can find the supplies of the products down below this post!
¡Recuerden que pueden encontrar la lista de los productos al final de este post!
Background | Fondo
For the background, I decided to create a stamping background with an alphabet stamp set. First, I picked a piece of white cardstock and colored with Tea Dye Distress Ink. Then, I stamped the word 'Christmas' on the whole piece of this cardstock with Vintage Photo Distress Oxide Ink and split some water on it to give that vintage look.Para la creación del fondo de la tarjeta, decidí estampar varias veces la palabra 'Christmas' utilizando un set de sellos de alfabeto. Primero, coloreé una cartulina blanca con la tinta Tea Dye Distress Ink de Tim Holtz. Estampé muchas veces la palabra de 'Christmas' en toda la cartulina y utilizando la tinta, también de Tim Holtz, de Vintage Photo Oxide Ink y rocié con agua para darle ese efecto óxido o vintage que hacen magia con estas tintas, las Oxide Inks.
I cut this piece a little bit smaller than the card base (5.5 by 4.25 inches). For cutting the panel, I used the third rectangle die from Hero Arts Infinity Dies.
Corté este panel coloreado un poco más pequeño que la tarjeta base regular (en pulgadas, 5.5 x 4.25). Para cortarlo utilicé el tercer troquel de rectángulo del set de Hero Arts Inifinity Dies.
Images | Imágenes
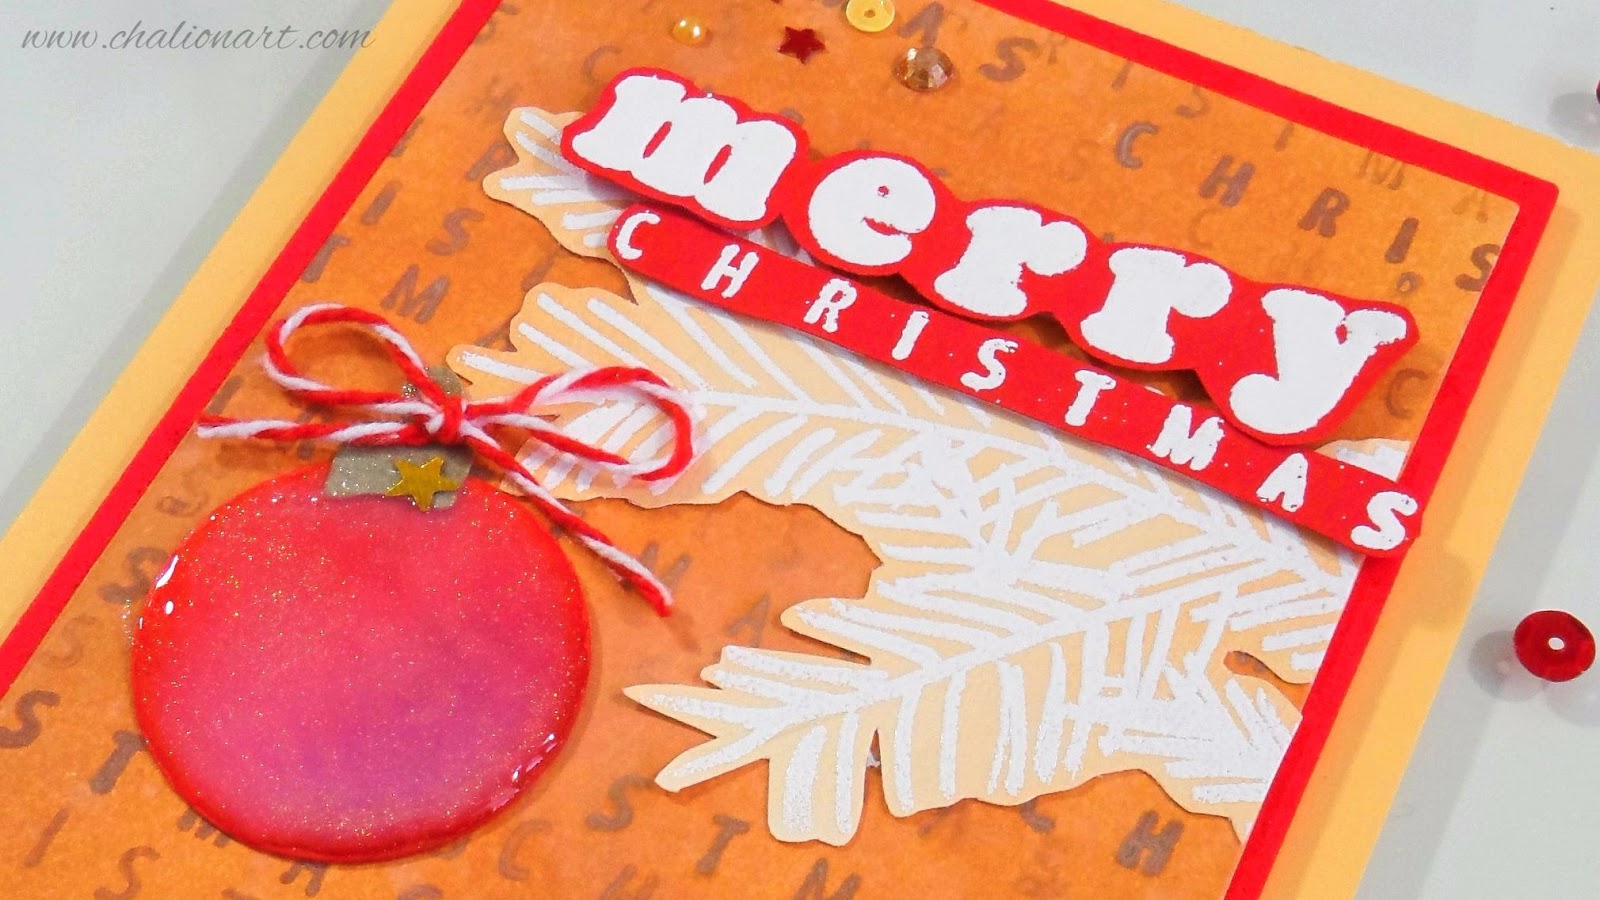
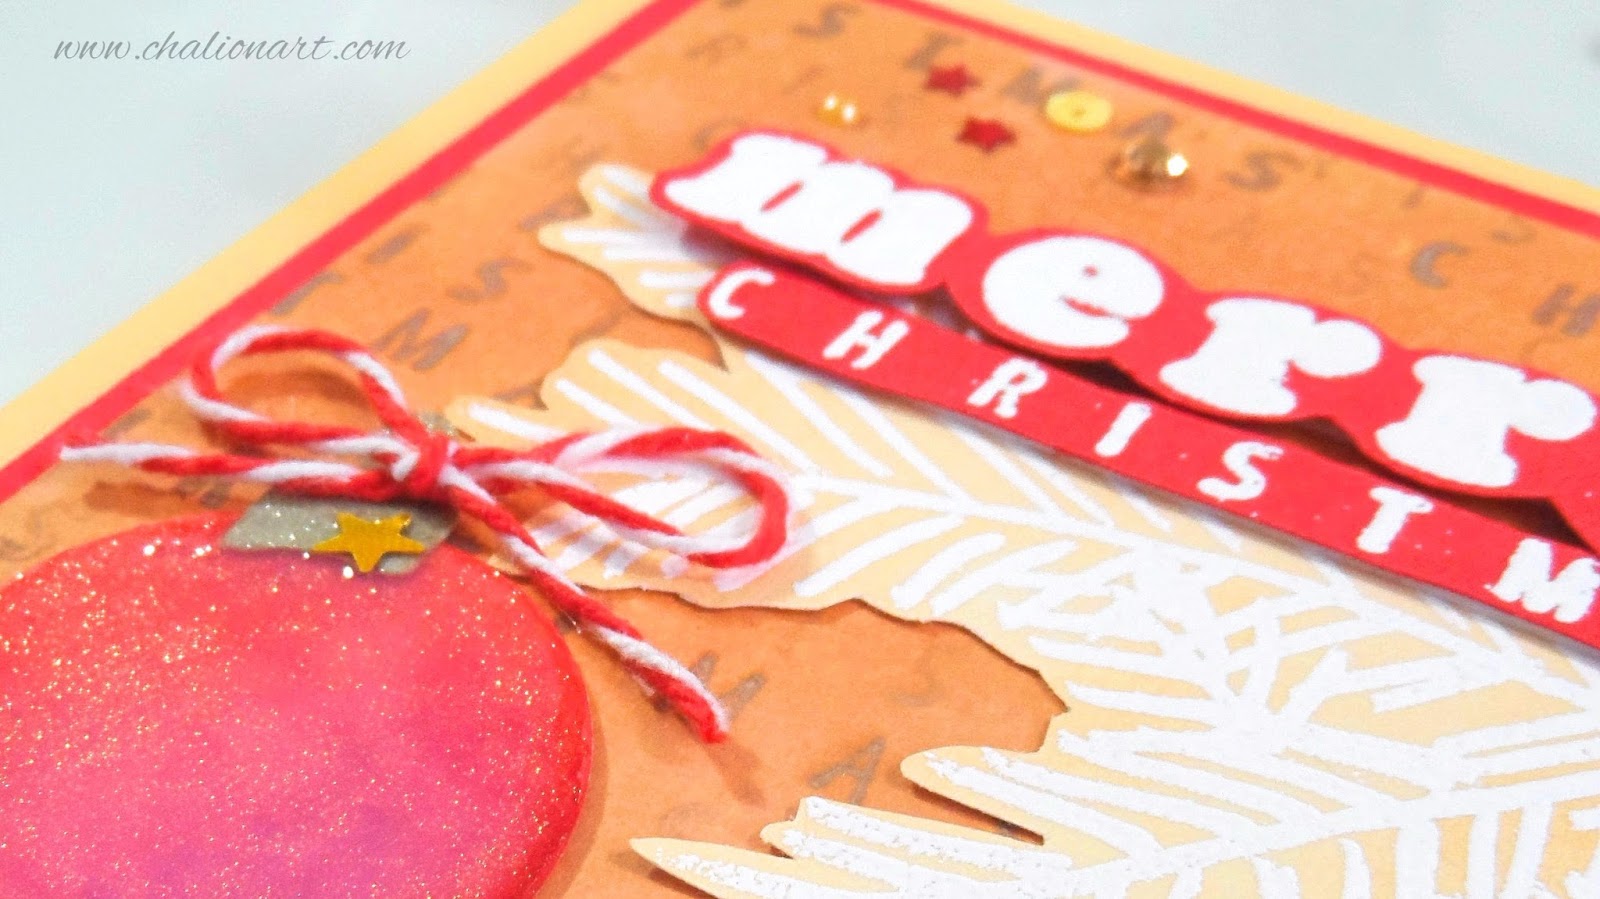
Creating this card, it was really exciting because I wanted to create myself all the elements without stamps. First, I colored a smaller piece of white cardstock with the same ink that I colored the background (Tea Dye Distress Ink). As I wanted some snowed branches, I used the Ranger embossing pen and designed the position of the branches. Then, I added some white embossing powders and heat it with my craft gun tool. Later, I cut this piece with a pair of scissors around the edges.Fue muy interesante crear el aspecto de esta tarjeta porque quería crear todas los elementos por mí misma evitando el uso de sellos. Por ello, coloreé un trocito de cartulina blanca con el mismo color del fondo, con la tinta Tea Dye Distress ink. Como quería crear algunas ramas con nieve, decidí utilizar el rotulador de embossing de Ranger y diseñé la posición de las ramas, que luego, repasé con el rotulador de embossing, después le añadí los polvos blancos de embossing y los quemé utilizando la pistola de calor de manualidades. Finalmente, recorté este elemento por los bordes con ayuda de unas tijeras.
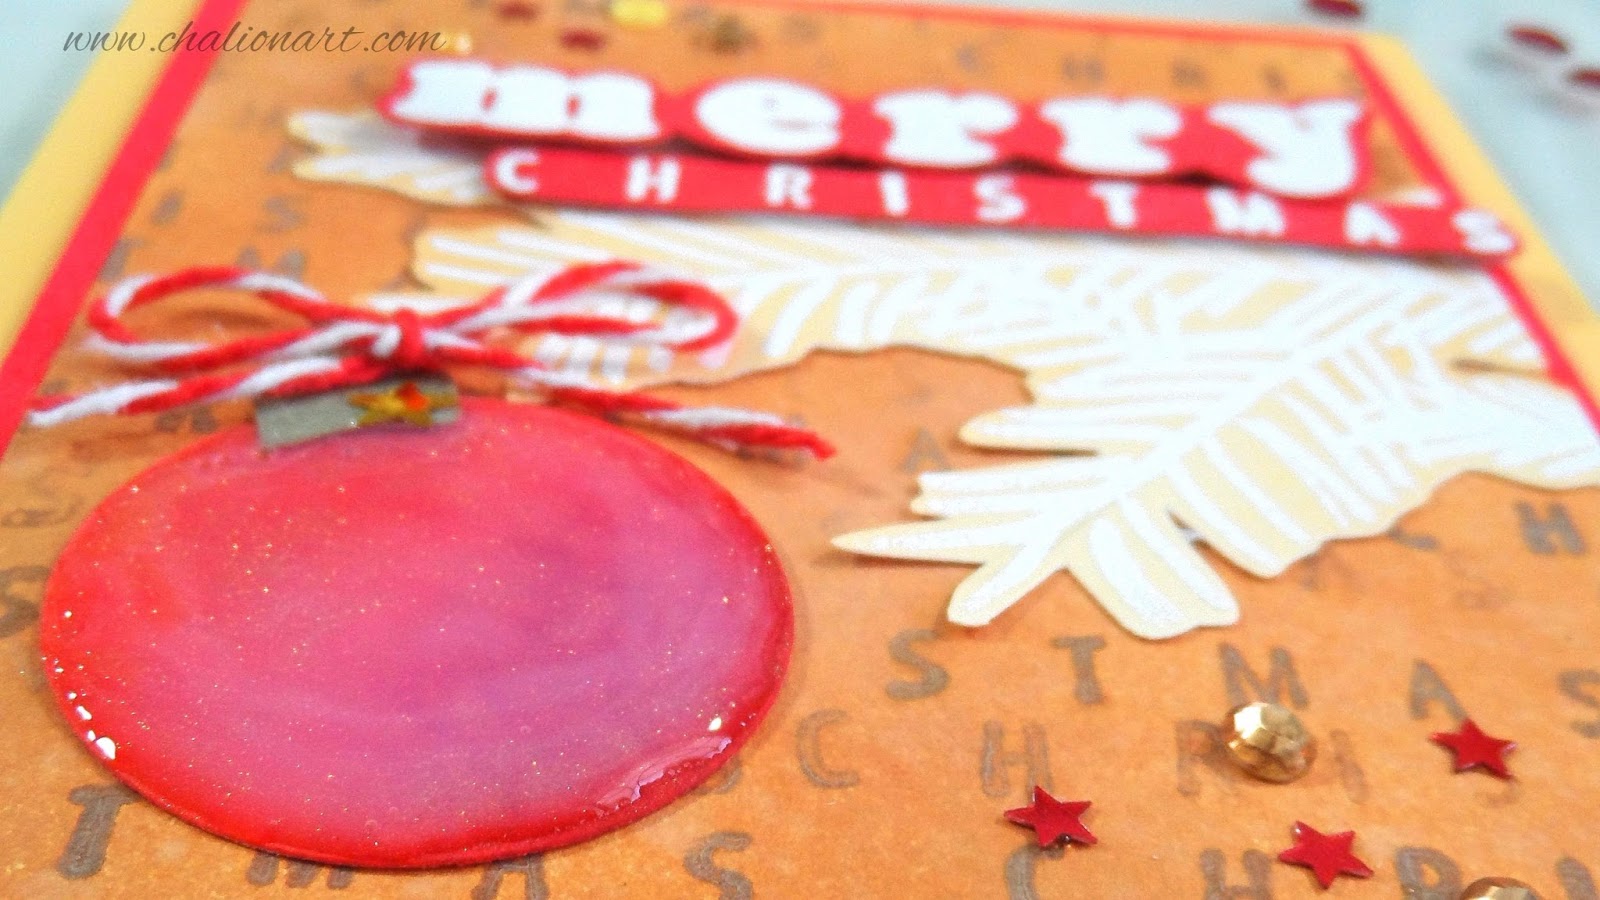
I also wanted a Christmas ornament that holds from one of these branches. So, I colored with Candied Apple and Fired Brick Distress Ink another piece of white cardstock and cut it with a circle Sizzix die-cut. Moreover, I drew the part of the top of the ornament on a piece of white cardstock also and colored it with gold Hero Arts ink. I cut it around the edges and make a hole in the center with a punch. I glued this piece at the top of the ornament that I previously colored in red tones. Then, I tied a bow from that hole from the ornament using white and red baker twine.
También quería diseñar un adorno navideño para colgar desde una de esas ramas. Así que en otro trocito de cartulina blanca, primero coloreé de dos tonalidades diferentes de rojo utilizando Fired Brick y Candied Apple Distress Ink. Recorté ese trozo que había coloreado con un troquel circular de Sizzix. Además, dibujé la parte superior de este adorno en cartulina blanca y lo pinté con la tinta de Hero Arts de color dorado. Lo recorté por los bordes y utilicé un punzón para hacerle el agujerito en medio. Pegué este trocito en la parte superior del adorno navideño que había coloreado previamente en tonos rojizos. Más tarde, até en ese agujero que había creado en el adorno navideños, un lazo con un hilo baker twine de color blanco y rojo.
Sentiment | Frase
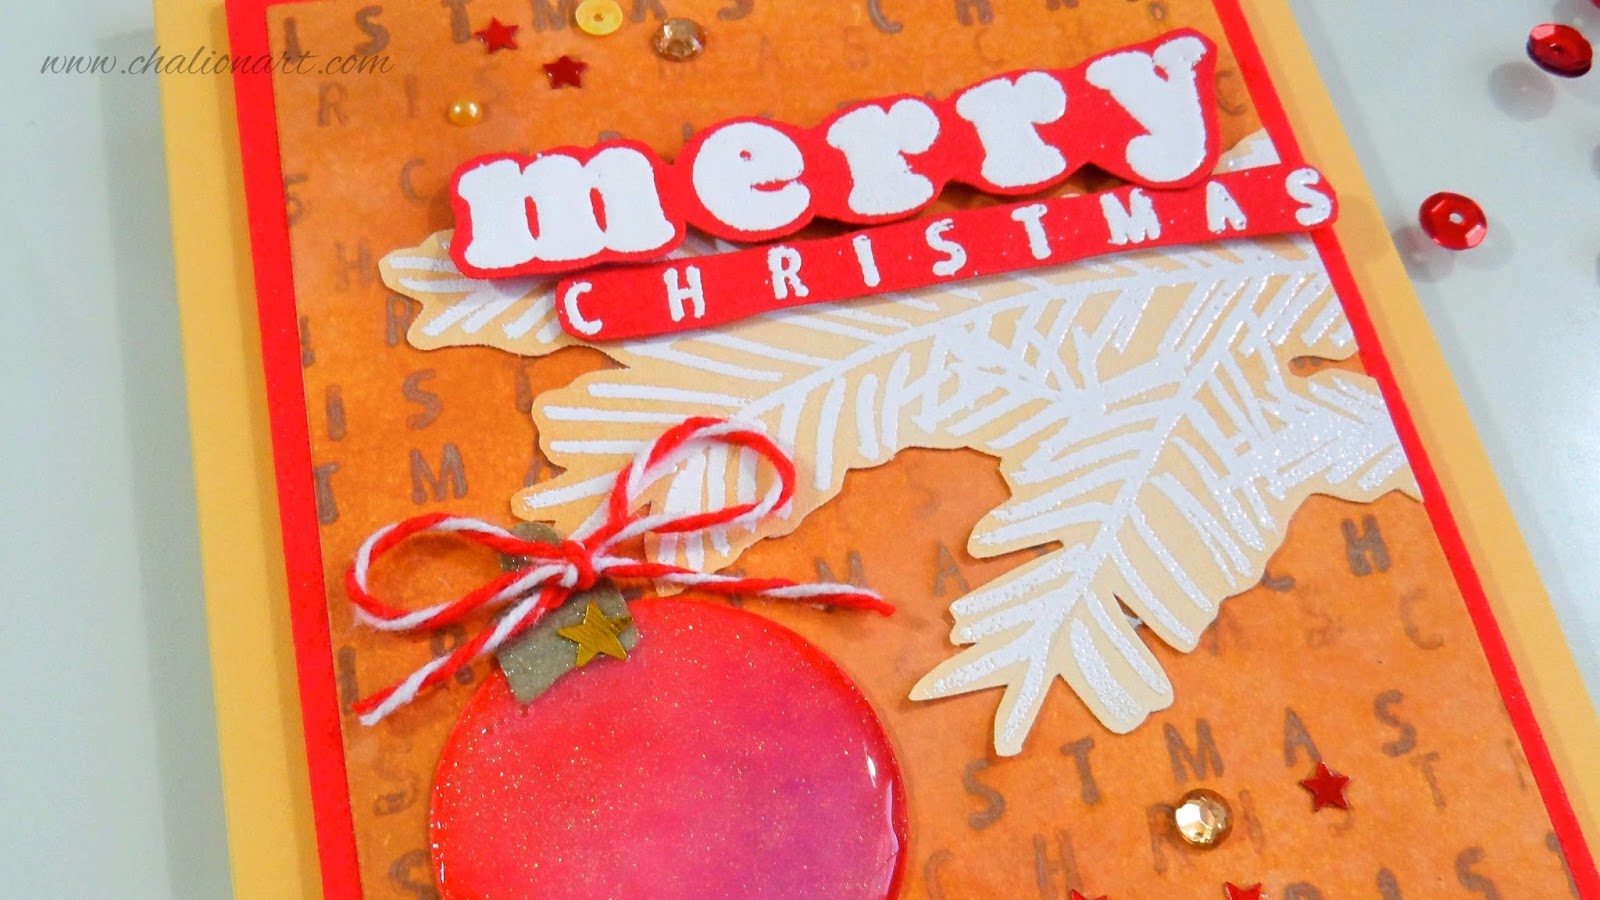
Stamping my sentiment, it took me a lot of time due to the alphabet stamp set that I used. I decided to stamp first the word 'Merry'. So, I used my Powder tool to avoid the electricity on my piece of red cardstock first. Then, I stamped the first three letters ('Mer') using Versamark ink and added white embossing powders. Then, I heat this part with my craft gun tool. I repeated the same process four times to get a solid image. Later, I did the same thing with another part ('ry') and also with the word 'Christmas' that I used for creating my background.Para crear la frase para esta tarjeta, tardé muchísimo debido a que utilicé un set de sellos de alfabeto que utilicé. Decidí estampar primero la palabra 'Merry' sobre una cartulina roja. Utilicé el aplicador de polvo antiestático para eliminar la electricidad estática del papel y estampé solamente tres de las letras de la palabra 'Merry' (es decir, 'Mer'), y utilizando la tinta Versamark ink y añadí polvos blancos de embossing que luego quemé utilizando la herramienta de calor. Realicé varias estampaciones sobre las mismas letras, y todo el proceso del embossing caliente hasta conseguir unas letras totalmente sólida y sin huecos de aire. Más tarde, realicé el mismo proceso con las dos letras restantes ('ry') y, también, con la palabra 'Christmas' que utilicé para crear el fondo.
I cut the words separately and left aside in order to mount the elements first.
Recorté estas palabras una por una y las dejé a un lado para montar los elementos de la tarjeta primero.
Card Mounting | Montaje de Tarjeta
First, I glued the element of the branches using double-sided tape on the main panel (the one that I colored at the beginning). When I finished gluing this element, I cut the excess.Primero, pegué el elemento de las ramas utilizando cinta de doble cara en el panel principal (es decir, el que coloreé al principio). Cuando terminé de pegar las ramas, corté el sobrante del panel.
Second, I added the Christmas ornament with the bow on one of the branches.
Segundo, añadí el adorno navideño con el lazo en una de las ramas.
Third, I added the second word 'Christmas' at the top of the branches and, above of this, I glued the word 'Merry', both with foam tape.
Tercero, añadí la segunda palabra de 'Christmas' arriba de las ramas y, arriba de esta, pegué la palabra 'Merry', ambos elementos los pegué utilizando adhesivo de espuma.
Fourth, this panel in which I added all the elements, I glued on a piece of red fun foam that I cut a little bit bigger than the main panel. Finally, I glued this whole piece on a soft orange folded card (4.25 by 5.5 inches).
Cuarto, este panel de fondo en el que añadí todos los elementos, lo pegué sobre un trozo de goma eva roja que recorté un poco mayor que el panel principal. Finalmente, pegué toda esta pieza en una tarjeta base de color naranja (en pulgadas, 5.5 x 4.25).
Embellishments | Adornos
Before finishing my card, I just added some sequins to the card. On the Christmas ornament, I added some glitter with my Wink of Stella glitter clear. As I wanted this ornament to be more vibrant, I also added Glossy Accents to this element.Antes de terminar mi tarjeta, añadí algunos sequins o lentejuelas a la tarjeta. En el adorno navideño, añadí algo de brillo con el rotulador Wink of Stella claro. Como quería que este adorno sobresaliera más que el resto de los elementos de la tarjeta, le di un poco de dimensión con el pegamento tridimensional Glossy Accents de Ranger.
That's all for this beautiful card. You can see that with few supplies you can create a professional card for your family and friends!
Y eso es todo para esta tarjeta. Puedes comprobar que con tan solo algunos materiales puedes crear tarjetas para tu famila y amigos.
I hope you really enjoy this post as well as the video!
Espero que hayan disfrutado de este post y... ¡también del vídeo!
¡Muchas gracias!


.jpg)
.jpg)
.jpg)