

Hello there! It's me, Cha. I have many things to share with you this week. The first one is some cards that I created using Distress Oxide Inks but using the Second Generation technique. If you haven't heard about it, it is just that you ink your stamp and stamp it on a piece of cardstock and then, with the ink that remains on the stamp you stamp again on another piece of cardstock. The new image that you created in the second one, for me, it seems if you had colored it with colored pencils and... yes! it is so beautiful if you see it closely. In fact, you can try this technique with different types of inks but I wanted to try this technique that I watched a lot of time on YouTube using the Distress Oxides and also using Layering Stamps.

¡Hola! Soy Cha. He preparado varios posts para esta semana así que vamos al lío ya. Esta vez he usado las tintas Distress Oxide Inks para utilizar la técnica de la Segunda Generación con sellos en capas (Layering Stamps). Si no has oído hablar de esta técnica en tarjetería, simplemente consiste en entintar el sello y estamparlo una vez en una cartulina y con la tinta que queda en el sello (sin volver a entintarlo) volver a estamparlo en otra cartulina. Esta nueva imagen de una segunda estampación da un toque a la imagen como si lo hubieses coloreado con lápices de colores. La verdad es que el resultado es precioso si lo ves al detalle. Para realizar esta técnica, en realidad, se puede utilizar cualquier tipo de tintas pero yo, la verdad, quería utilizarla con las tintas Distress Oxides y con sellos en capas. Puedes ver más vídeos en YouTube con esta técnica con el nombre en inglés de Second Generation Technique.
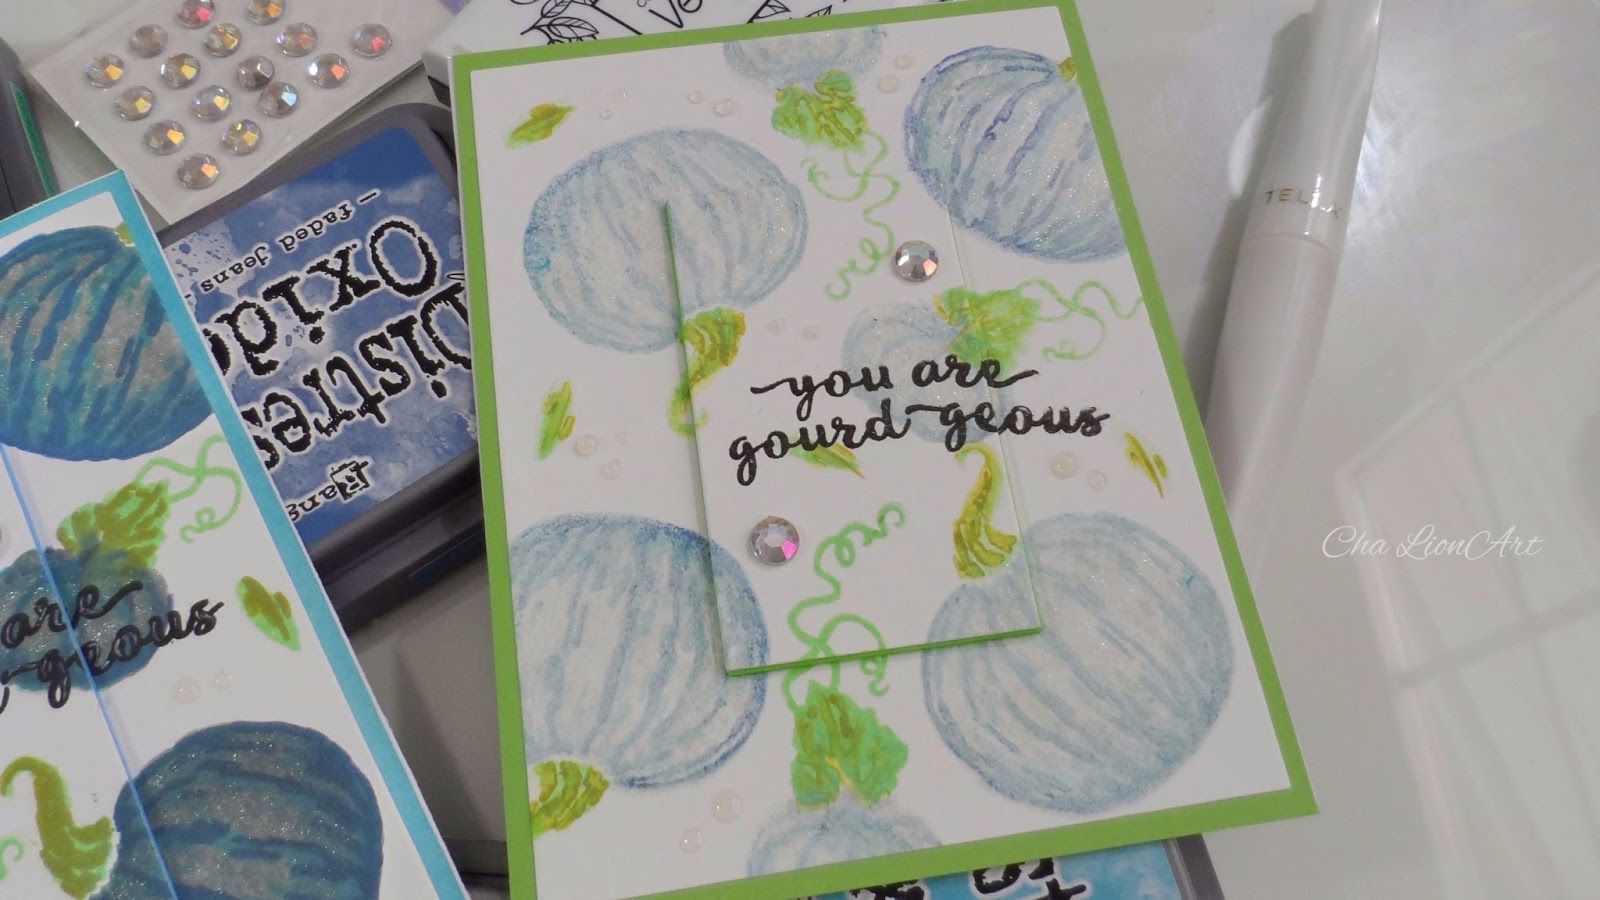
In order to create some backgrounds with the Second Generation Technique, I picked the stamps from the September 2017 Hero Arts Kit, the layering stamps with the pumpkin. Last week I created a card using the same pumpkins and in tones of oranges, so this time, I wanted some 'Winter Pumpkins' that means that I colored these new pumpkins in blue. I must say that I like the result a lot!
Para crear algunos fondos en las tarjetas con esta ténica de la Segunda Generación, escogí algunos sellos del kit de septiembre 2017 de Hero Arts en el que viene un sello en capas de una calabaza. La semana pasada hice una tarjeta con el mismo sello y lo coloreé en diferentes tonalidades de naranja, así que esta vez quería unas "Calabazas Invernales", es decir, colorée estas nuevas en diferentes tonos de color azul y debo decir que me encantó el resultado.

Background: Second Generation Technique | Fondo: Técnica Segunda Generación
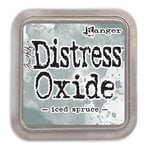
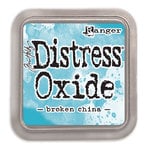
Creating this background, I also kept the first generation (the first that I created). So, my pumpkin image has three layers, so I picked three different Distress Oxide colors, for the first layer I chose Spruce Iced, for the second one, Broken China and for the last one, Faded Jeans.
Para crear esta tarjeta con esta técnica, también guardé la tarjeta en la que estampé primero, es decir, la primera generación, que es la siempre utilizamos. De hecho, creé las tarjetas de manera igual pero la primera quedó con colores intensos y la segunda con colores más suave. La imagen de la calabaza viene en tres capas, así que escogí los colores de las tintas Distress Oxide para las tres capas, así que elegí para la primera capa el color Spruce Iced , para la segunda el color Broken China
 y para la última capa Faded Jeans
 .
.
First, I inked the pumpkin stamp with Spruce Iced Distress Oxide and stamped on the first piece of white cardstock and with the ink that remained on the stamp I stamped again but on another piece of white cardstock and in the same position that I had stamped on the first sheet. I repeated stamping this first layer on the first cardstock and then, on the second one. Later, I picked the second layer and stamped it on every image that I stamped previously with the first layer, using Broken China. I did the same process but first I lined up the second stamp layer on the first stamp layer, then, I positioned this second layer on an acrylic block and inked it with Broken China and stamped it on the first cardstock and then, on the second one. I inked it again and stamped on the first cardstock again, and again, I stamped it (without adding more ink) on the second cardstock and so on until I stamped this second stamp layer on every stamp that I had stamped first. I did the same with the third layer using Faded Jeans color. When I finished stamping the three layers of this pumpkin stamp, I also stamped a smaller layering stamp (small pumpkin stamp) using the same colors.
Primero, entinté la primera capa del sello con Distress Oxide, Spruce Iced y lo estampé en la primera cartulina blanca y con la tinta que quedó en el sello, sin volver a entintarlo, volví a estamparlo en otra cartulina blanca y en la misma posición en que había estampado la primera. Para las estampaciones utilicé una base de metacrilato. Entonces seguí estampando primero en primera cartulina y luego en la otra hasta quedar satisfecha con el resultado. Después cogí la segunda capa del sello, y lo entinté con el color Broken China y, esta vez, tenía que estamparlo solo donde había estampado la primera capa y realizando el mismo proceso, es decir, entintar, estampar en la primera cartulina y estampar en la segunda cartulina y así sucesivamente. Hice exactamente lo mismo con la tercera y última capa del sello utilizando el color Faded Jeans. Cuando terminé de estampar todas las capas del sello, también estampé un sello de una calabaza más pequeña en los mismos colores y siguiendo el mismo proceso que había usado hasta ahora.

I moved on to stamp the leaves of all the pumpkins. The leaf stamps came with two layers. So, I also picked Distress Oxide Inks. For the first layer I used Cracked Pistachio and for the second one, Peeled Paint. While I was creating this video, I realized that the Cracked Pistachio color was too soft when creating Second Generation. So, for the second generation, I decided to ink the stamp again (with Cracked Pistachio) and stamp it first on a glass surface (or it could also work on an acrylic block) and then, stamp it (with no ink) on the second cardstock. For the second stamp layer of the leaves, I repeated the same process that at the beginning, I mean, just stamped the stamp on the first cardstock and then, stamped on the second one and so on. The result is gorgeous! I love it!
A continuación comencé a estampar las hojas de todas las calabazas. Los sellos de las hojas vienen con dos capas, así que utilicé para la primera capa Cracked Pistachio , también con las tintas Distress Oxide, y para la segunda capa utilicé Peeled Paint
 . Mientras estaba haciendo el vídeo, me di cuenta que el color Cracked Pistachio era demasiado suave para utilizalo en la segunda generación. Por ello, para crear su segunda generación lo que hice fue volver a entintarlo y en vez de estamparlo en la primera cartulina, lo estampé en una superficie de cristal o en un bloque acrílico y luego estampar en la segunda cartulina.
Sentiment | Frase
For my sentiment, I didn't use the Second Generation Technique to stamp my sentiment. So, I chose one sentiment that came with the kit (MMH September 2017) and I stamped it on the two cards with Versafine Onyx Black.
Para la frase, simplemente la estampé directamente sobre la cartulina, es decir, sin utilizar la técnica de la segunda generación. La frase también la escogí del kit de Hero Arts (Septiembre 2017) y la estampé en cada una de las tarjetas con la tinta para pequeños detalles, la Versafine Onyx Black .
.

Dimension | Relieve
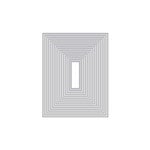
For a little bit of dimension to the card, I picked one of the rectangle die-cuts from the set of HA Infinity Dies. I think this is the fifth smaller rectangle from the set. So, I took the panel and I positioned the die-cut on the center of the card and cut it using the Big Shot machine. By then, I had two panels with two rectangular openings in the middle. I also cut two rectangles with the same size on colored fun foam, one on blue fun foam (for the first generation) and another one on green fun foam (for the second generation). What I wanted to do was to add first the fun foam on the center and then, adhere the missing part from the center on the fun foam. So, that would give some dimension to the card.
Para darle relieve a a tarjeta y que no quede muy llana, escogí el set de troqueles de rectángulos de Hero Arts. Creo que es el quinto más pequeño del set de troqueles. Lo que hice con el troquel fue que lo centré en cada una de las tarjetas, primero en una y luego en otra y corté con la Big Shot . También corté con el mismo troquel, dos rectángulos de goma eva o foamy
  de color azul y verde. El de color azul lo utilicé para la tarjeta de la primera generación y de color verde para la tarjeta de la segunda generación. Lo que quería hacer es darle un poco de dimensión al centro de la tarjeta y que quedara un poco discontinua.
Card Mounting | Montaje de la Tarjeta
For mounting my card, I first glued the panel (with the opening in the middle) on a piece of green cardstock . Then, I used double-sided tape to glue the green fun foam just on the rectangular opening of the panel that was color green because of the cardstock below. Later, I adhered the missing center piece with double-sided tape on the green fun foam, too. Finally, I glued the whole panel to a white card base.
Making this card, I run out of my Tombow runner tape and I had to buy some disposable runner tape. I had to order one! So sad...
Para el montaje de la tarjeta, primero pegué la tarjeta (con la apertura rectangular en el medio) en una cartulina de color verde. Luego, pegué con cinta adhesiva de doble cara
 el rectángulo de la goma eva o foamy verde justo en la apertura central de la tarjeta, y por último, pegué el trozo de cartulina que faltaba de la tarjeta justo encima de la goma eva o foamy, también con cinta de doble cara.
Debo mencionar que durante el proceso de realización de esta tarjeta, me quedé sin adhesivo runner o con dispensador de Tombow y tuve que utilizar uno desechable. ¡Tengo que pedirlo online! Jo...

Embellishment | Adornos
For final touches, I just added some dots of Glossy Accents here and there, two clear gemstones and some touches of clear glitter with my Wink of Stella on the pumpkins.
Para adornar simplemente añadí unos puntitos dimensionales con Glossy Accents , dos gemas adhesivas de Hero Arts
 y le di algo de brillo a las imágenes utilizando Wink of Stella
 .
.
YouTube Video
BONUS CARDS | TARJETAS BONUS

In order to create these bonus cards, I used the sunflowers layering stamps from the same set of Hero Arts and also the Distress Oxide Inks. For the first layer of the sunflower, I picked the Fossilized Amber and for the second one, I used Fired Brick. As you can see, I didn't use the third layer. For the center of the card, I used the Vintage Photo color.
Para esta tarjeta utilicé el sello por capas del girasol que vino con el mismo kit de Hero Arts y también utilizando las tintas Distress Oxide. Para la primera capa, utilicé Fossilized Amber y para la segunda capa Fired Brick
 . Para el centro del girasol utilicé la tinta Vintage Photo
 .
.

As you can see in the pictures, I also created these cards with the Second Generation Technique. So, the left card corresponds to the first generation and the right one to the second generation. For this last card, I created an individual post because I wanted to show you this card in detail.
Como pueden ver en la imagen, también realicé la técnica de la segunda generación. Así que la imagen de la izquierda corresponde a la tarjeta de la primera generación y la derecha de la segunda generación. Esta última tarjeta tendrá un post propio ya que me gustaría mostrarla más al detalle.
So, I'm focusing on the left card. First, as I said before I used the second generation technique for the background. The only thing that I did was to add some gold dots on the center of each sunflower using Stickles.
Así que centrémonos en la que corresponde a la tarjeta de la izquierda. Una vez creado el fondo, como ya mencioné antes, utilizando la técnica de las tarjetas anteriores. Añadí varios puntos al centro de cada girasol utilizando un pegamento de brillo dorado, Gold Stickles de Ranger .
.

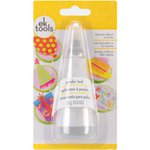
For my sentiment, I first added the Powder Tool so that the embossing powder sticks just to the part that I want. So, I stamped the sentiment on a piece of black cardstock using Versamark Watermark Ink and added some gold embossing powder on it and heat it with my craft heat gun tool. I cut my sentiment in two pieces with scissors and added to the card in the center using some foam tape.
Para mi frase, primero agregué el Powder Tool para que los polvos de embossing se adhieran solamente en la frase. Así que estampé mi frase con la tinta para Embossing
 sobre una cartulina negra y seguidamente añadí los polvos de embossing dorados de Ranger y los sequé con la pistola de calor
 . Recorté en dos partes y las pegué en el centro de la tarjeta con un adhesivo dimensional
 .
.
Finally, I added some red Stickles around some of the sunflowers and adhered to the panel onto a piece of black cardstock and then, I mounted the whole panel on a white card base.
And that's all!
Por último, añadí unos pocos puntos de Stickles rojos en el fondo y pegué la tarjeta a una cartulina negra y lo monté en una tarjeta base de color blanca.
¡Listo!

Do you like all the cards? I hope so! See you soon.
¿Les ha gustado? ¡Espero que si! Les veo pronto. ¡Gracias!


.jpg)
.jpg)
.jpg)