

Hello everyone! It's me, Cha! In this post, I'm going to talk about a little bit more of Distress Oxide Inks because I've been playing with them again (I have the set one) but, this time, I wanted to know how they worked on Vellum paper. Maybe, many of you have already tried this but I wanted to try and share the process from my experience.

¡Hola a todos! Soy Cha y en este post les voy a hablar un poco sobre las tintas Distress Oxide ya que las voy a utilizar y probar sobre papel Vellum que es un papel especial que se parece al papel vegetal pero es más grueso. Por ello, en este post les hablo de mi experiencia creando este proyecto.
There are some features that we must know before starting. Vellum paper has a smooth surface and Distress Oxide Inks are a fusion of pigment ink and dye ink. Thanks to the pigment, these inks stay wet longer that it is wonderful for other techniques but this feature can complicate the stamping with them on the vellum due to its smooth surface. This means that when we stamp with Distress Oxide Ink, I highly recommend stamping first, and once the acrylic block is on the paper pressing down firmly and trying not to move the acrylic block because it can smear easily.
Antes de comenzar con nuestro proyecto hay varias características que debemos saber de los productos que vamos a utilizar para evitar complicarnos un poco la vida. En primer lugar el papel Vellum tiene una superficie bastante suave y las Distress Oxides es la fusión de tintas de pigmento y tintas dye (de tinte). Gracias a que tiene parte de esas tintas de pigmento, las tintas se secan más lento y por ello, se pueden realizar muchas técnicas con ellas pero para la tarjeta de hoy, esta propiedad podría dificultar su realización porque, como ya mencioné, el papel Vellum es bastante suave y se podría estropear la superficie de trabajo porque podría deslizar. Recomendaría que antes de estampar, primero pusieramos la base de metacrilato con el sello en el papel, sin mover y con mucho cuidado. Una vez que esté en el papel, presionamos firmemente o dando toquitos pequeños pero con cuidado porque de los suave que es el papel Vellum el sello con la tinta hace que resbale.
Antes de comenzar con nuestro proyecto hay varias características que debemos saber de los productos que vamos a utilizar para evitar complicarnos un poco la vida. En primer lugar el papel Vellum tiene una superficie bastante suave y las Distress Oxides es la fusión de tintas de pigmento y tintas dye (de tinte). Gracias a que tiene parte de esas tintas de pigmento, las tintas se secan más lento y por ello, se pueden realizar muchas técnicas con ellas pero para la tarjeta de hoy, esta propiedad podría dificultar su realización porque, como ya mencioné, el papel Vellum es bastante suave y se podría estropear la superficie de trabajo porque podría deslizar. Recomendaría que antes de estampar, primero pusieramos la base de metacrilato
This card could seem a little complicated to create because I also used Layering Stamps, so I have to layer the stamps one by one and one on another... but the result is gorgeous! To avoid smearing the layers, just I heat the images between the layers or just let it dry for a little bit.
Además, esta tarjeta podría parecer más complicada todavía poque también utilicé los sellos en capas (Layering Stamps) que es básicamente estampar capas de sello una sobre otra y de una a una... pero el resultado es... ¡super bonito! Lo importante es que la tinta de cada capa donde vamos a estampar es que esté seca para evitar que se nos mueva la base de metacrilato. Por ello, es mejor secar con una pistola de calor
Image | Imagen
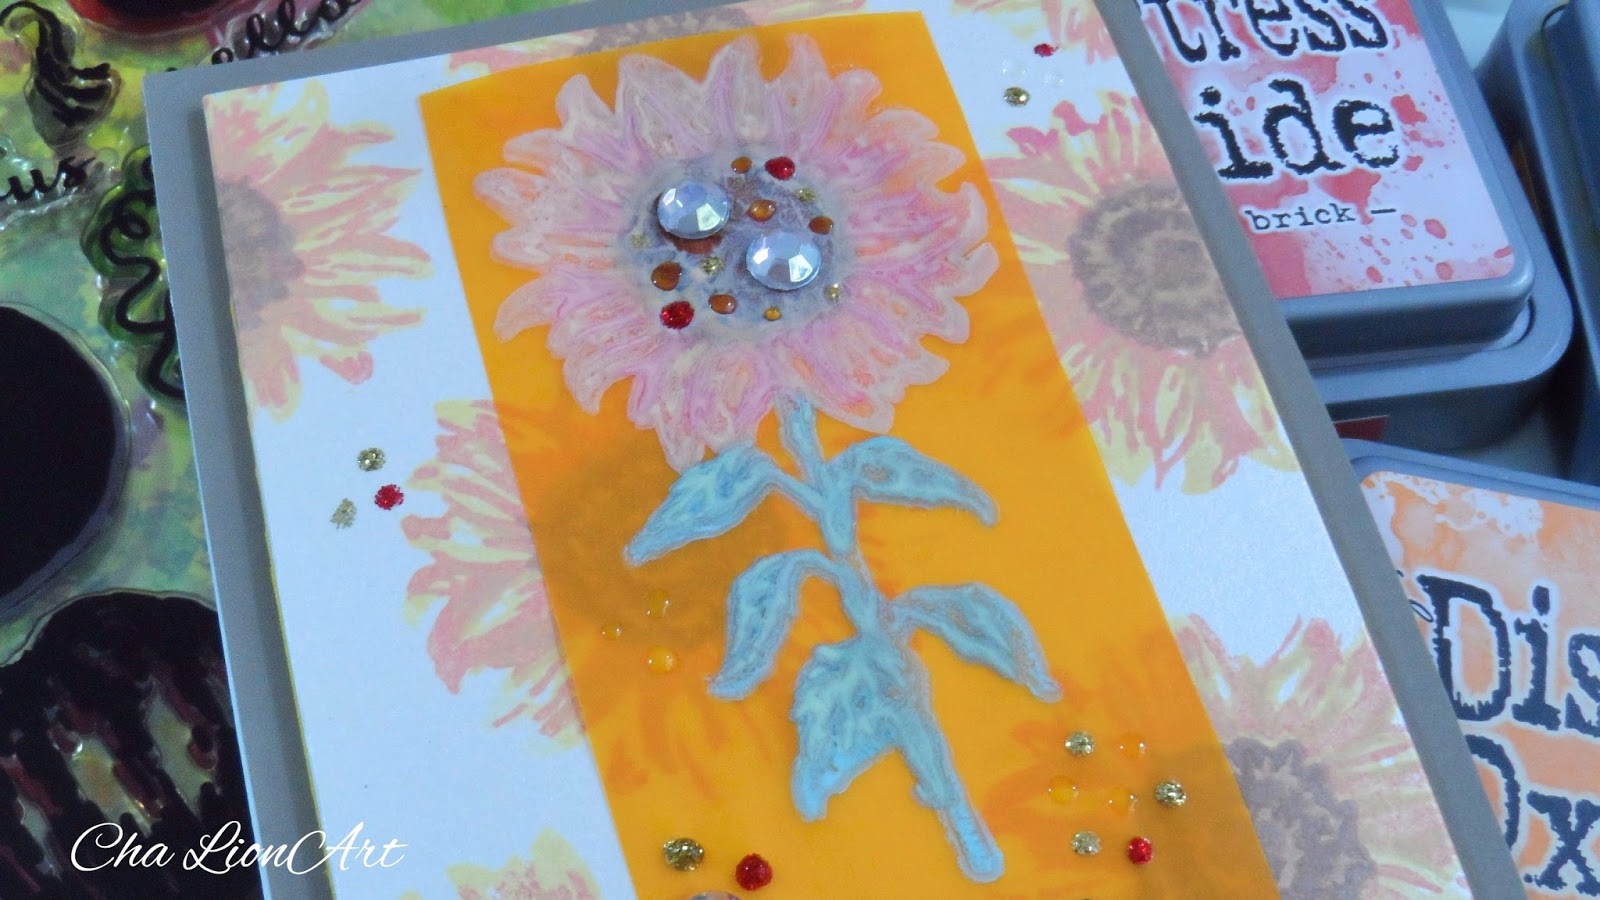
As I had already mentioned before, I used Layering Stamps from Hero Arts (September 2017 kit - not available anymore but you can use any layering stamps that you already have). I picked the Sunflower Stamps from the kit as well as the Vellum Paper which is colored in orange.
Como ya había mencionado antes, para esta tarjeta utilicé los sellos en capa (Layering Stamps) de Hero Arts (que vienen en kits limitados y que ya no están disponibles debido a su demanda pero esta técnica se puede realizar con cualquier sello que tengamos en casa). Yo escogí los sellos de girasoles del kit (Hero Arts Septiembre 2017) al igual que el papel Vellum y que es de color naranja.
I decided to create the petals of the sunflower first in three different Distress Oxide Inks. On Vellum Paper, I stamped the first layer of the petals using Fossilized Amber (Distress Oxide)
Primero decidí estampar los pétalos del girasol que vienen en tres capas y que para ello utilicé tres colores distintos de las tintas Distress Oxides

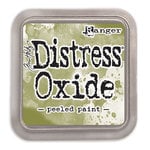
I continued stamping the second layer lining up first before leaving the acrylic block over the first image. Then, I left the acrylic block on the paper and pressed down again and so on. I stamped this second layer with Spiced Marmalade Distress Oxide. I did the same process for the last layer of the petals, using Fired Brick Distress Oxide. The leaves of this sunflower stamps have two layers only, so for the first layer I used Cracked Pistachio Distress Oxide Ink and for the second and last layer, Peeled Paint. Finally, I used Vintage Photo Distress Oxide for the center of the flower.
Continué estampando la segunda capa de los pétalos del girasol, pero esta vez antes de posicionar, alineé la imagen con la que ya había estampado antes. Entonces, como la otra vez, puse sobre la imagen la base de metacrilato con el sello y una vez en el papel Vellum, presioné de nuevo y así sucesivamente con todas las demás capas. Para esta segunda capa, utilicé el color Spiced Marmalade
Sentiment | Frase
I also stamped the sentiment below the image. Instead of using Distress Oxide Inks, I preferred using the Jet Black by Stazon because it works on all surfaces and I didn't want to ruin the project by then.
La frase para esta tarjeta la estampé justo debajo del girasol con tinta de color negro. En vez de utilizar las tintas Distress Oxides, preferí utilizar la tinta Stazon, la Jet Black

Background | Fondo
For the background, I decided to use one of the backgrounds that I made for a previous video in which I showed how I created some backgrounds using Second Generation Stamping. The Second Generation Stamping consists on inking your stamp and stamp it on a piece of cardstock and then, with the ink that remains on your stamp, you stamp again on another piece of cardstock. The effect that you create when you stamp the second time, it seems if you'd colored it with colored pencils because it looks with a soft color.
Para el fondo utilicé uno que había hecho para mi vídeo anteior en el cual mostré cómo realizar fondos con la técnica Segunda Generación con Sellos (Second Generation Stamping). La técnica de la Segunda Generación en estampación con sellos consiste en entintar el sello y estamparlo en una cartulina y con la tinta que ha quedado en el sello y sin volver a entintarlo, volver a estamparlo en otra cartulina. El efecto que se crea en esta segunda cartulina es como si hubieses pintado la imagen con lápices de colores ya que queda de un tono más suave.
The paper that I used for creating my background is one that came with the Hero Arts Kit (Sept 2017) and I don't know exactly how it is called but it is like pearlescent paper and look how it works doing the second generation with Oxide Inks.
El papel que utilicé para crear el fondo vino también con el kit de Hero Arts (Sept 2017) y no sé exactamente como se llama pero es un papel perlado y como ya pudieron ver, funciona genial la técnica de la segunda generación.
Card Mounting | Montaje de Tarjeta
For mounting my card, I decided to cut a little bit the background and glued it on a sheet of yellow foam with the same size and attached all to a brown cardstock so that there is a border around the main panel. Later, I added the Vellum paper with the sunflower on the center of the background and the whole piece I attached to a 5.5 by 4.25 white card base.
Para el montaje de la tarjeta, decidí cortar el fondo un poco más pequeño para que así quedara con un borde alrededor. Primero, pegué el fondo a un trozo de goma eva / foamy amarillo
Embellishments | Adornos
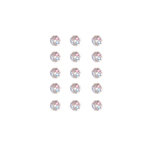
For final touches, I added some clear gemstones to the center of the flower and I also added some dots Stickles and Glossy Accents to the background randomly. I used are Xmas Stickles and Gold Stickles.
Para el toque final, añadí algunas gemas adhesivas (de Hero Arts)

Honestly, I didn't like adding the Glossy Accents and Glue Stickles on Vellum because the sunflower gets lost on the panel, maybe I should have added just the clear gemstones and that's it. What do you think?
Sinceramente, no me gustó añadir el Glossy Accents y los Stickles sobre el papel Vellum porque le quita el foco al girasol, quizás solo con las gemas adhesivas bastaba. ¿Qué piensan ustedes?
YouTube Video
BONUS CARD | TARJETA BONUS

I hope you like these cards, and get inspired and see you soon!
Bueno espero que les haya gustado esta tarjeta y que se inspiren para crear maravillosos proyectos. ¡Nos vemos pronto!. ¡Gracias!


.jpg)
.jpg)
.jpg)